CHC03 Reset & Teardown (FCC ID 2AKIT-CHC03)
Factory reset and internal photos for Aqara (Lumi United) CHC03. Aqara Zigbee smart plug.
January 16, 2026
•
11 read
Before you buy the Aqara (Lumi United) CHC03, check what's inside.
The Aqara Camera Hub G5 Pro (PoE) is an advanced security camera featuring high-resolution video, AI-powered object and person detection, and a built-in Zigbee hub. It offers flexible power options with both PoE and USB-C, making it suitable for various mounting scenarios.
⚠️ NOTE: Disconnect PoE or USB-C power before performing any physical maintenance.
Quick Specs
- Manufacturer: Aqara (Lumi United)
- Model: CHC03
- Protocol: Zigbee
- Chipset: Zigbee SoC
- Ecosystem: Aqara Zigbee
- App: Aqara Home
🔧 Geek Corner (Flashing Info)
- Chipset: Unknown (Likely an Aqara/Lumi Zigbee SoC)
- Flashable: ❌ No
- Info: Proprietary Aqara Zigbee SoC, not designed for flashing custom firmware like Tasmota or ESPHome.
User Manual
Scanned pages from the official user manual:
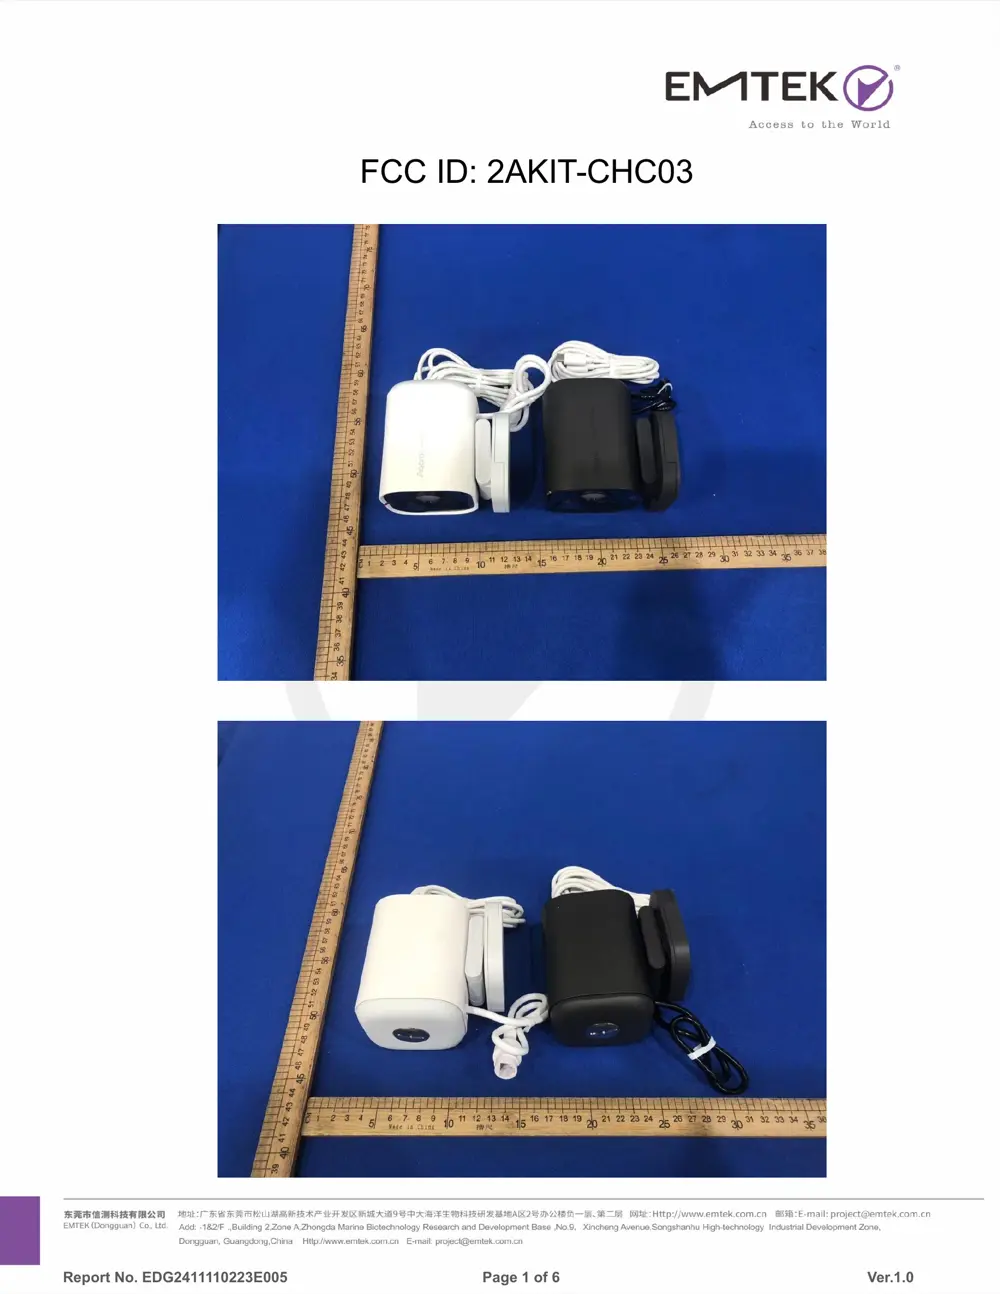
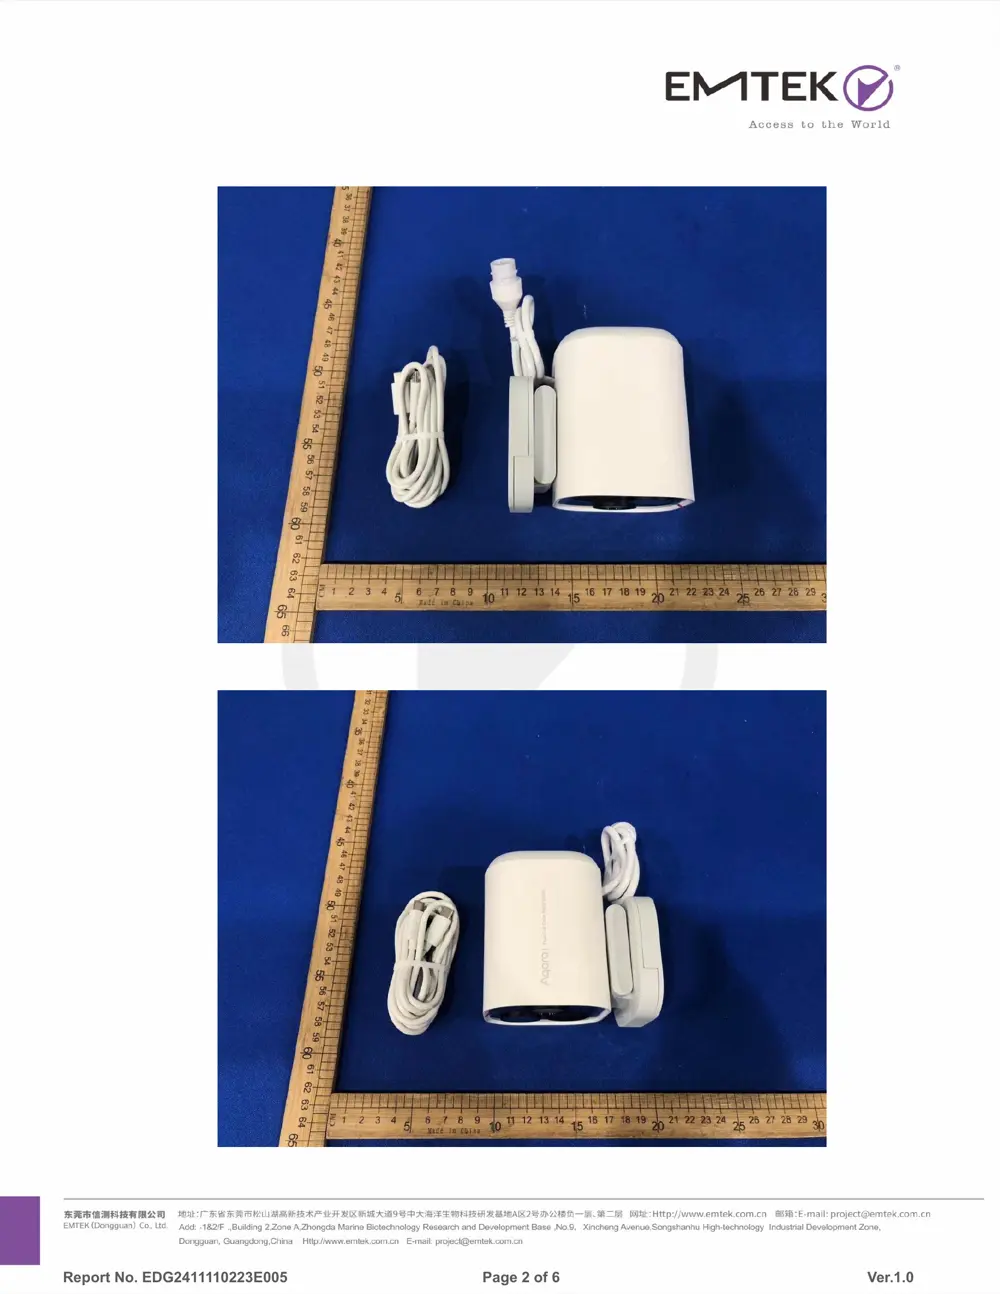
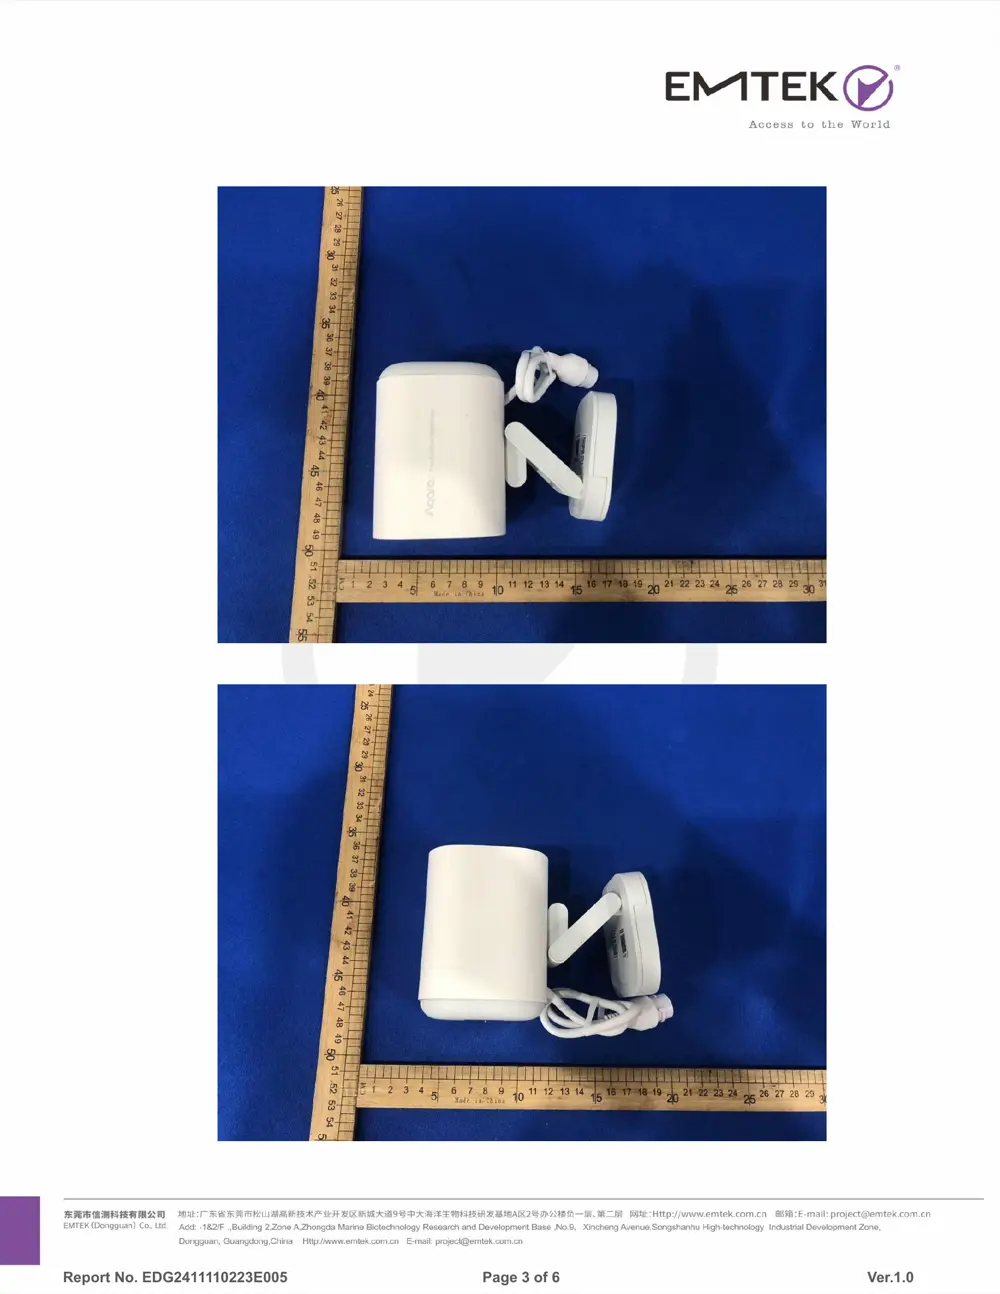
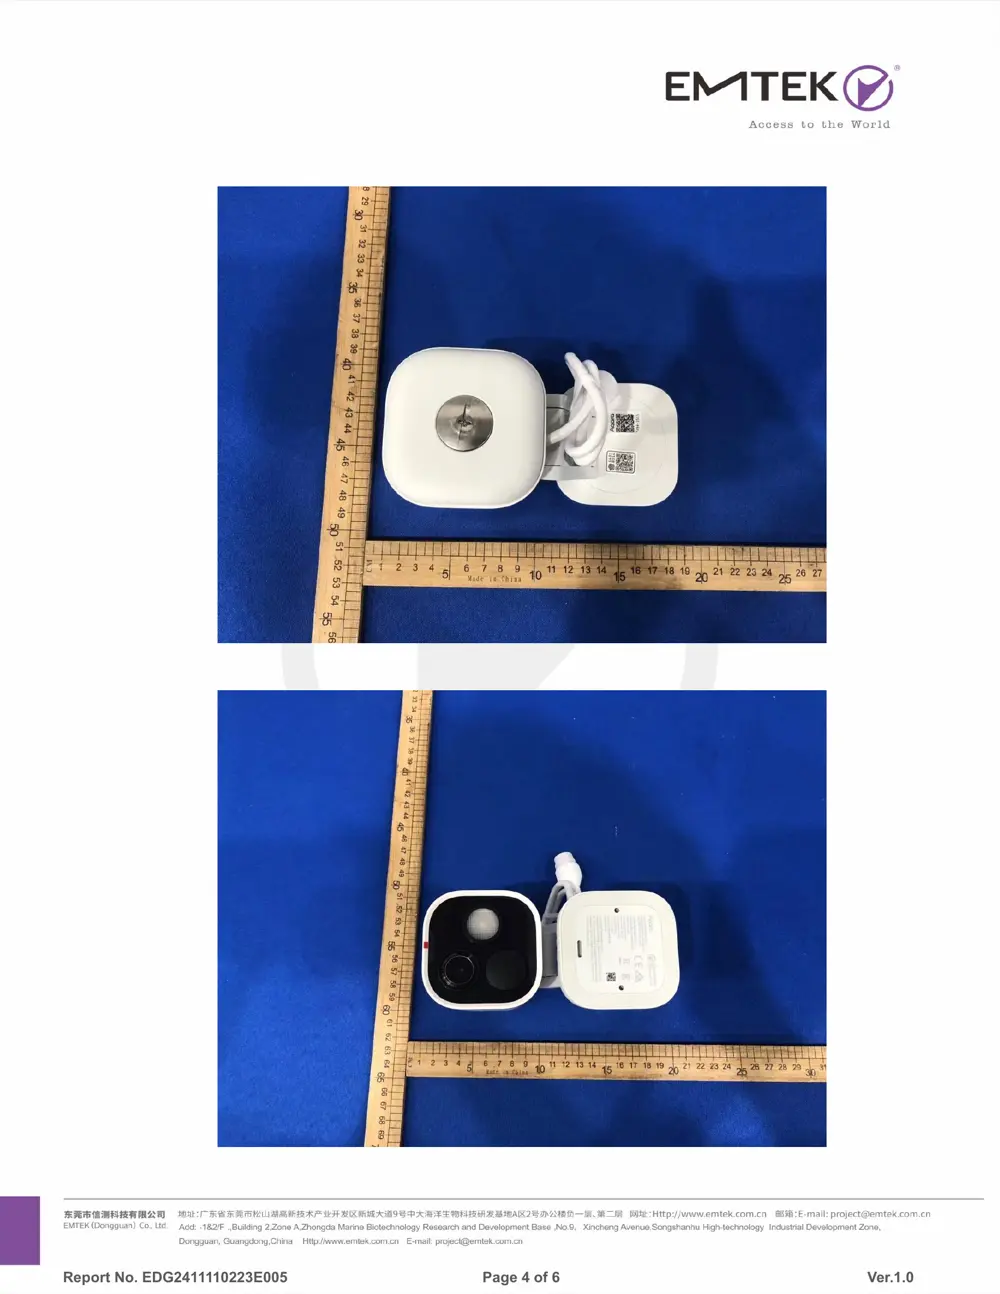
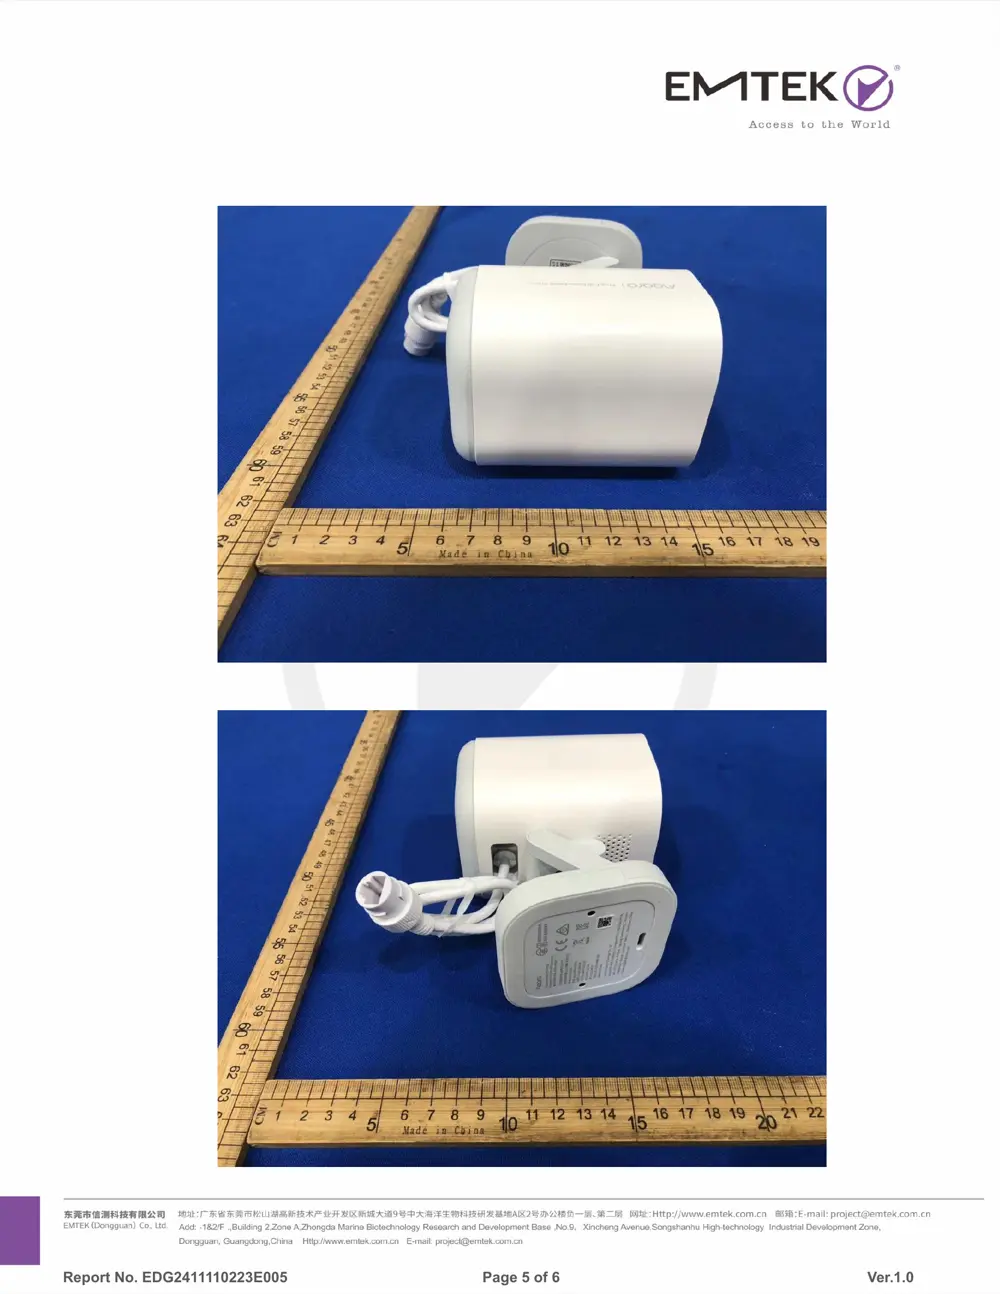
External Photos
Photos of the device exterior:
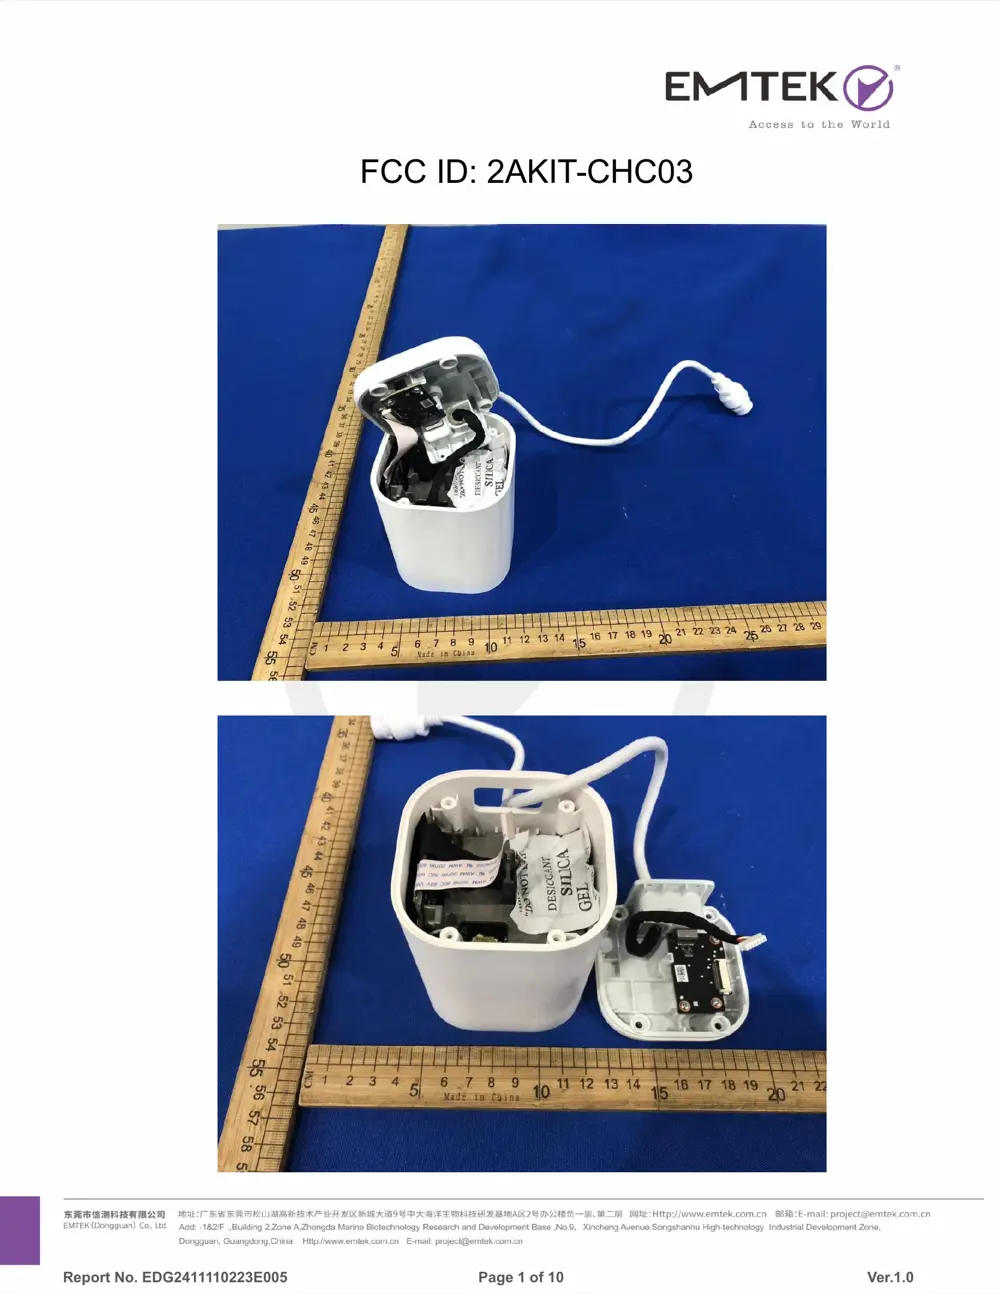
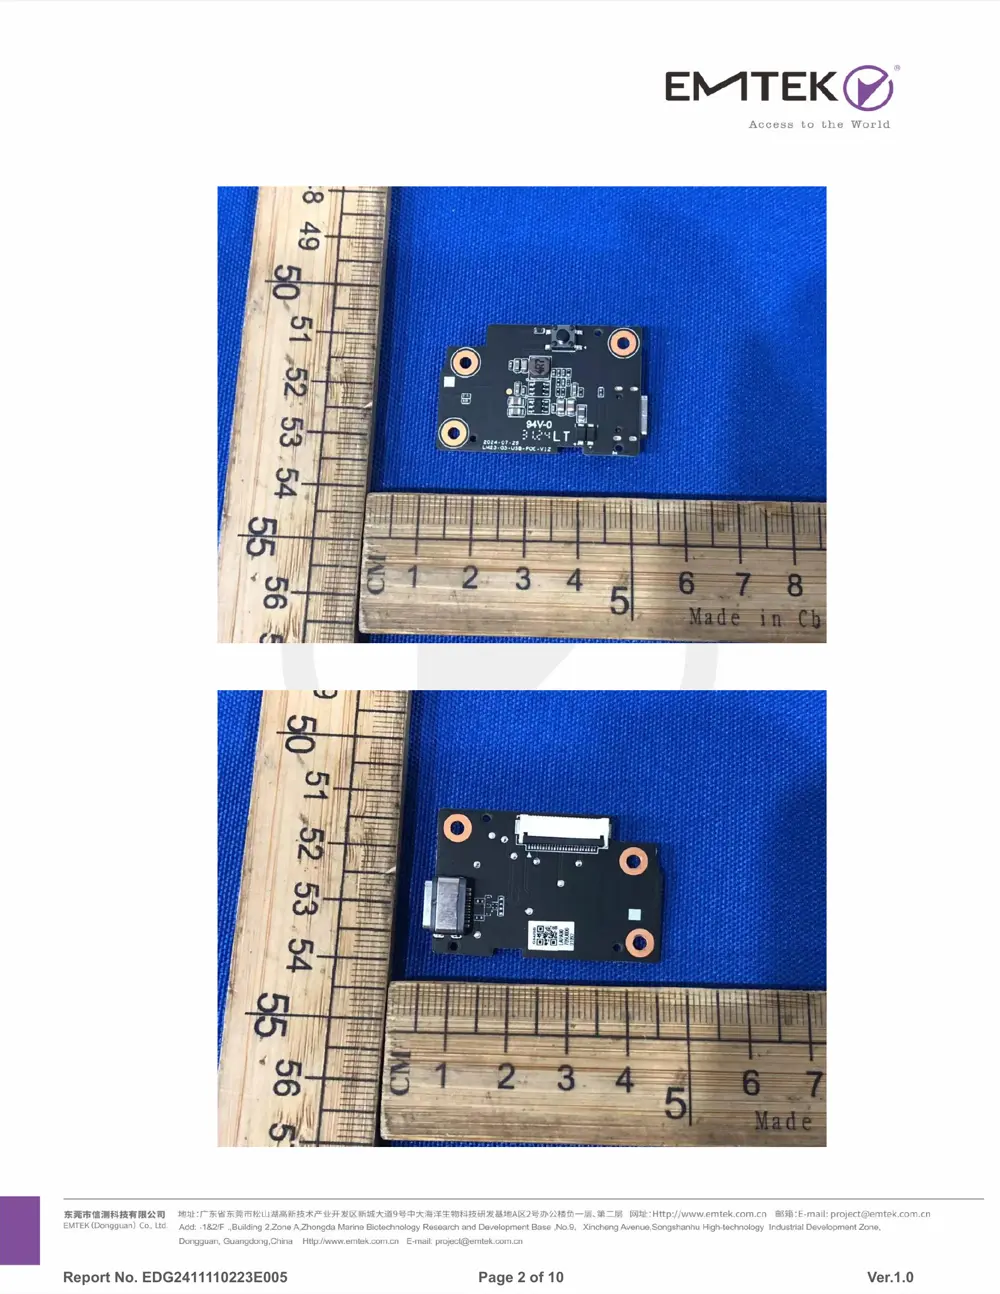
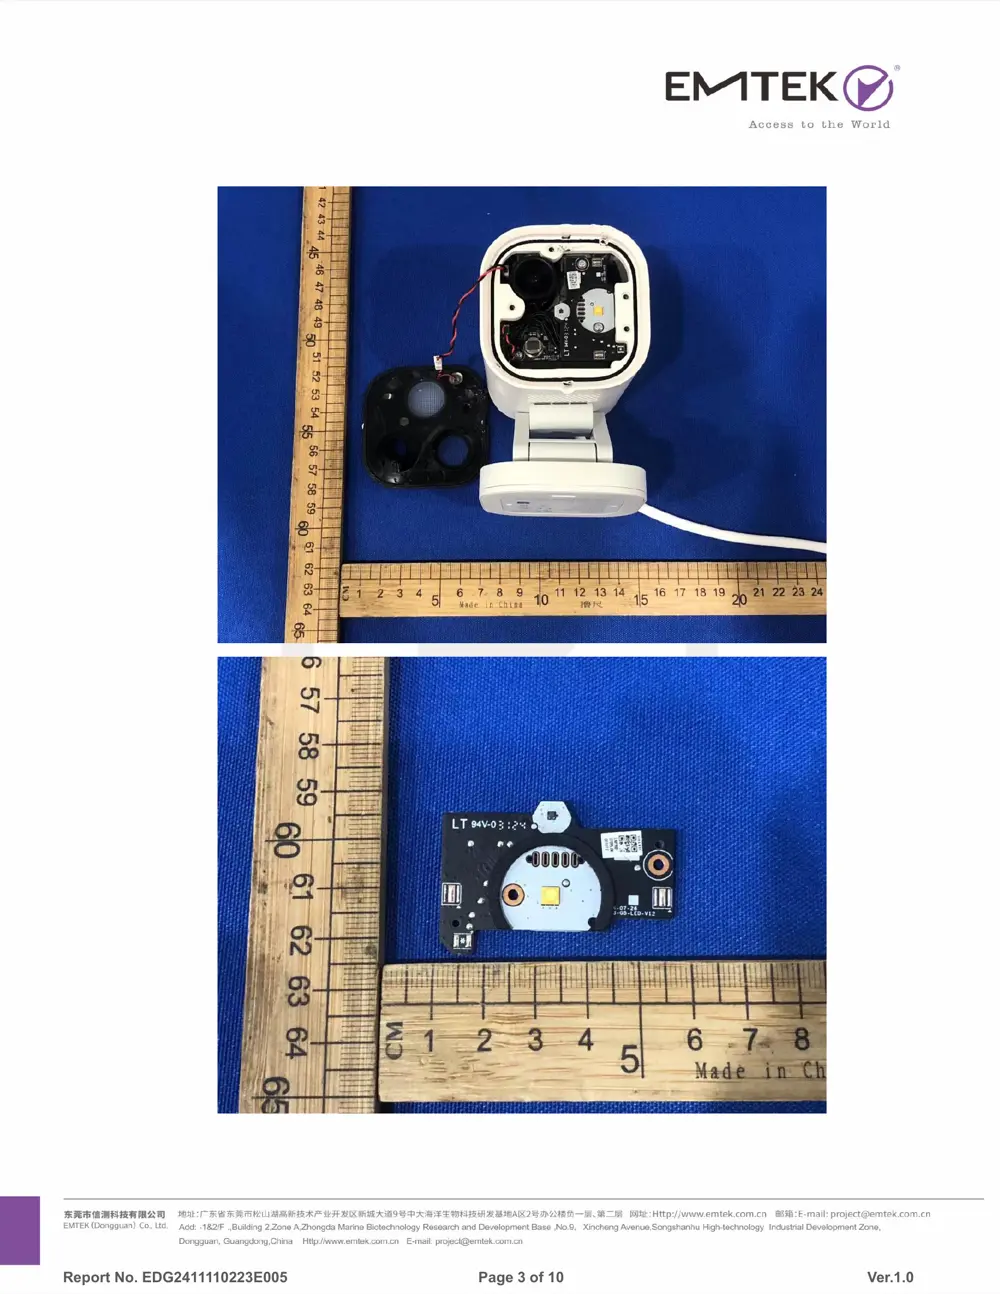
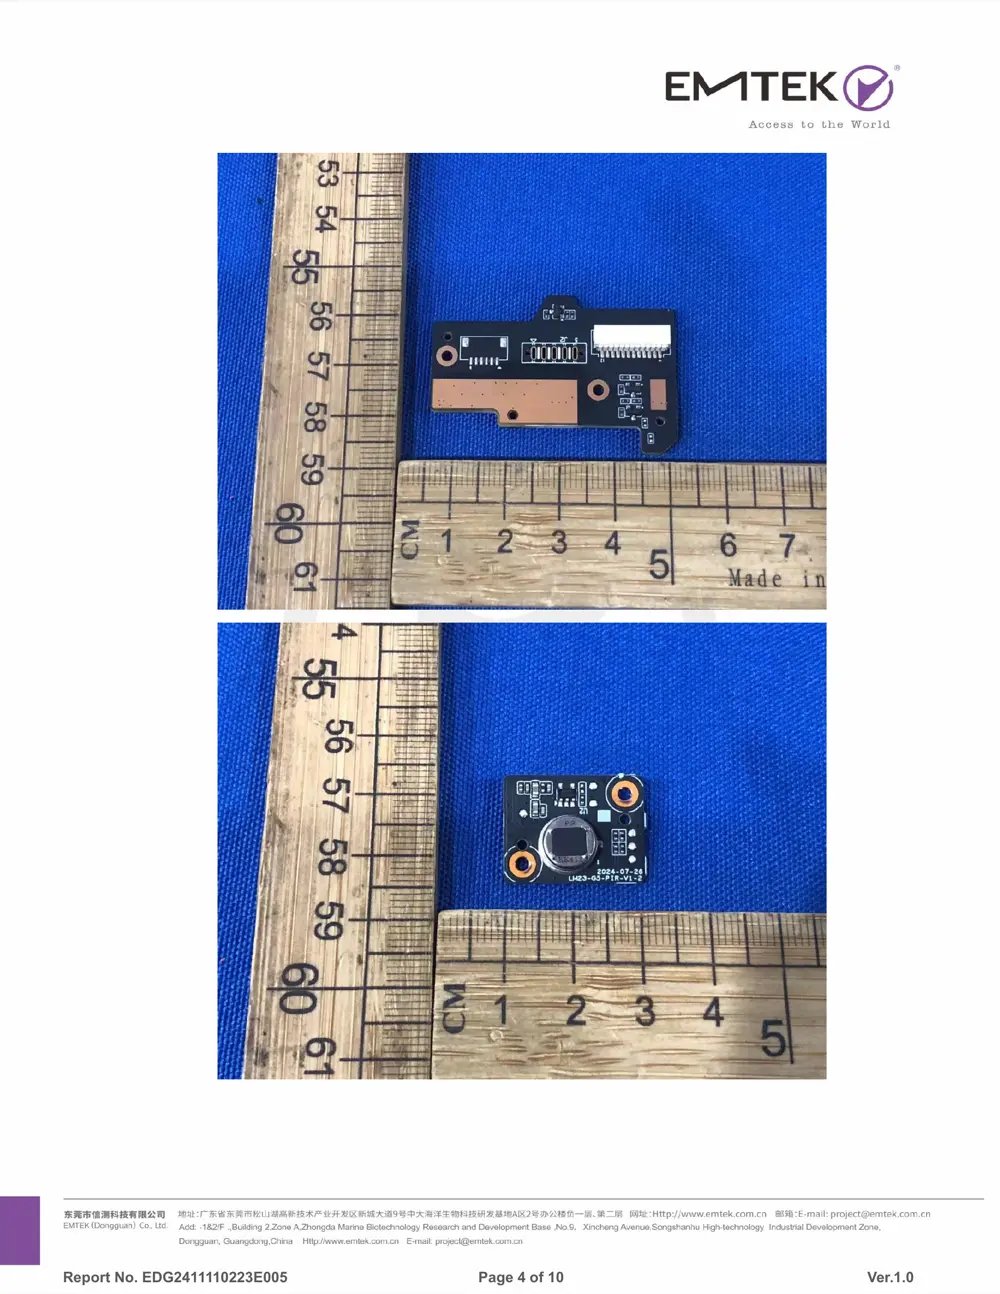
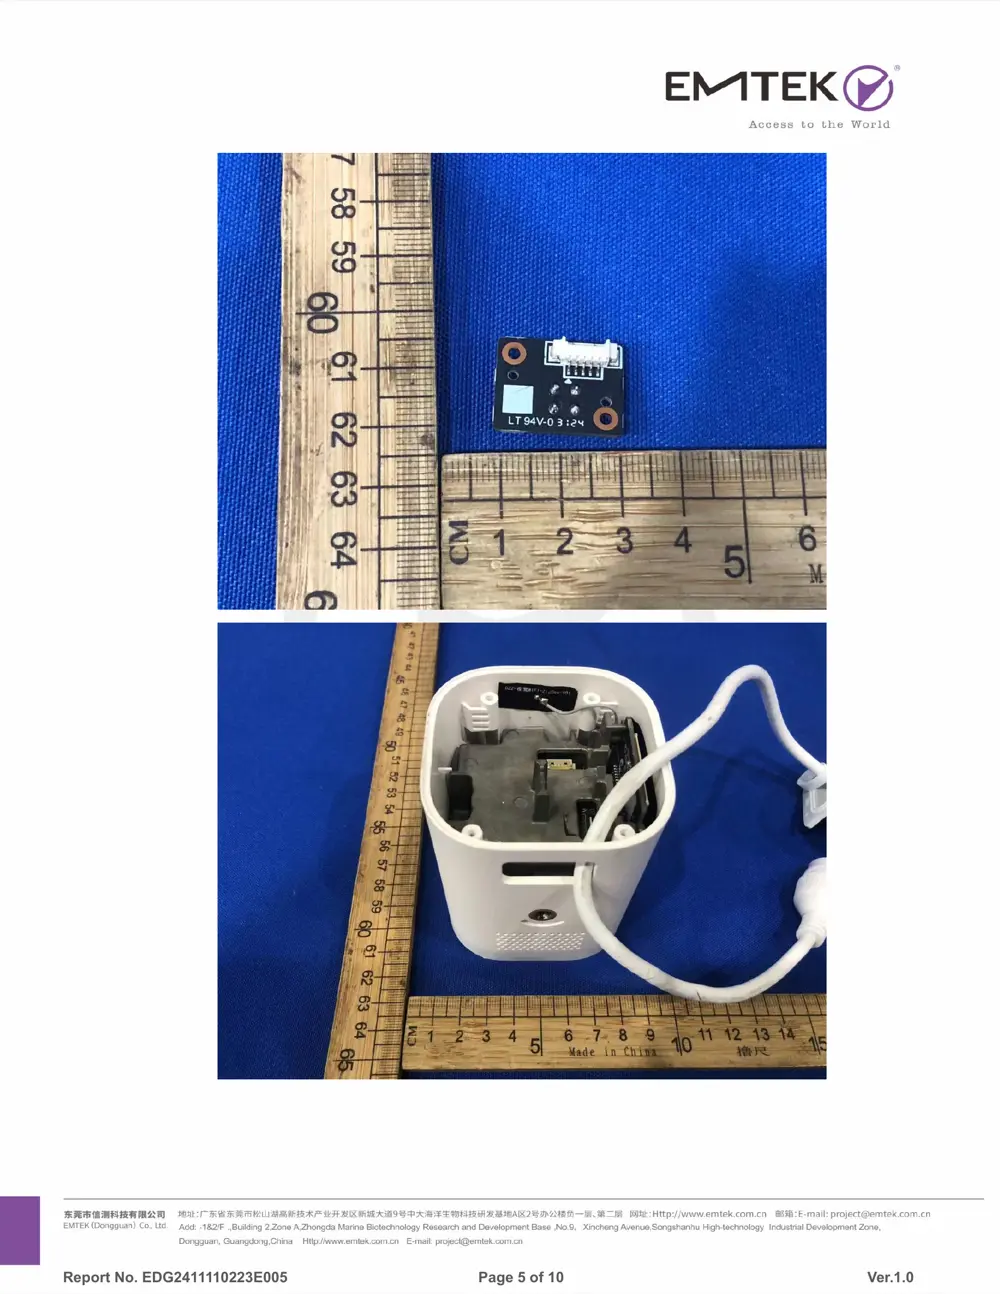
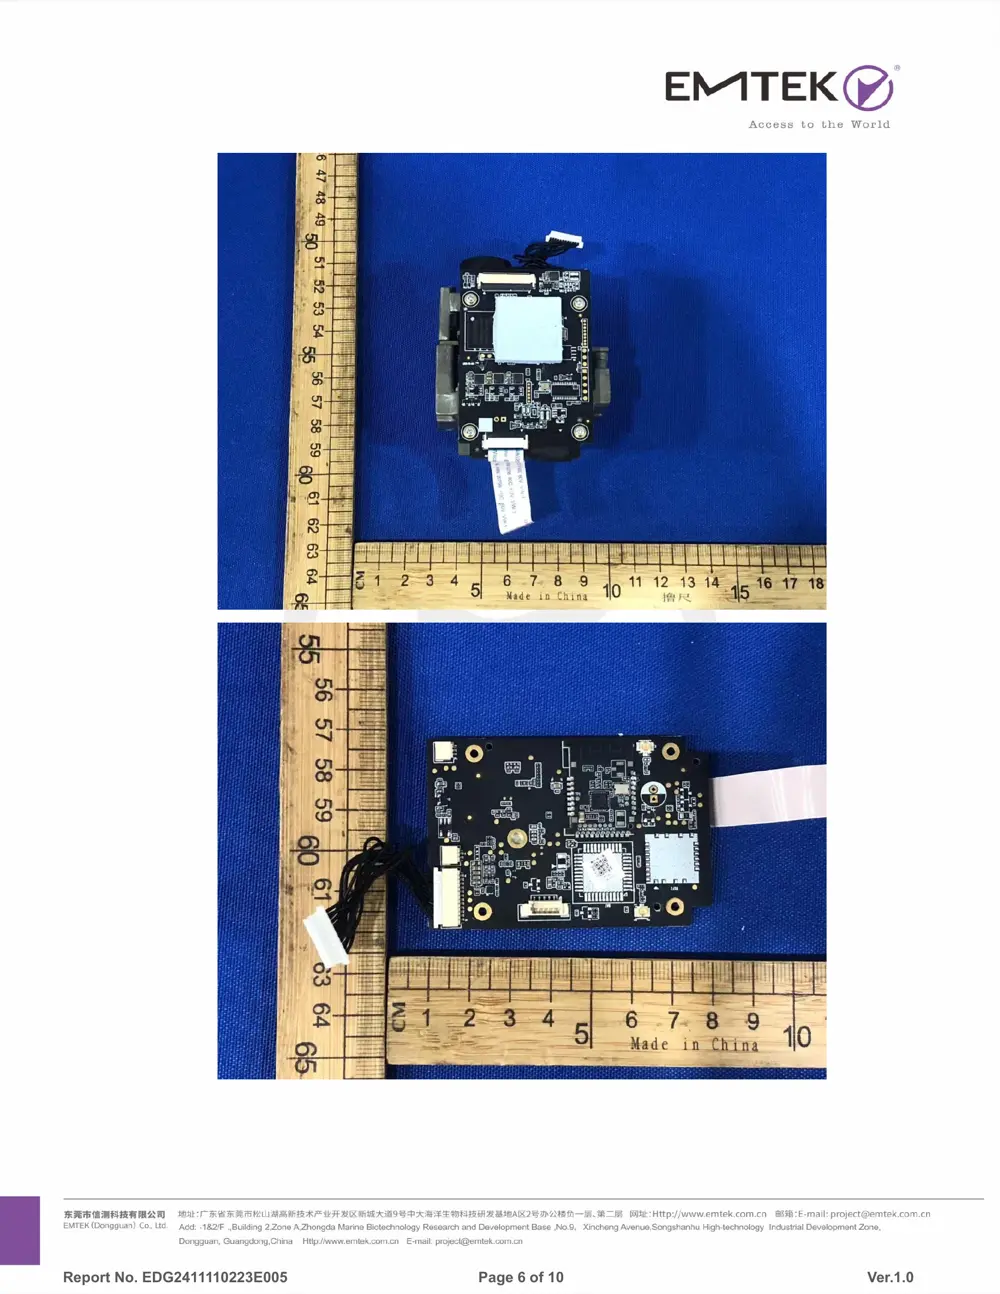
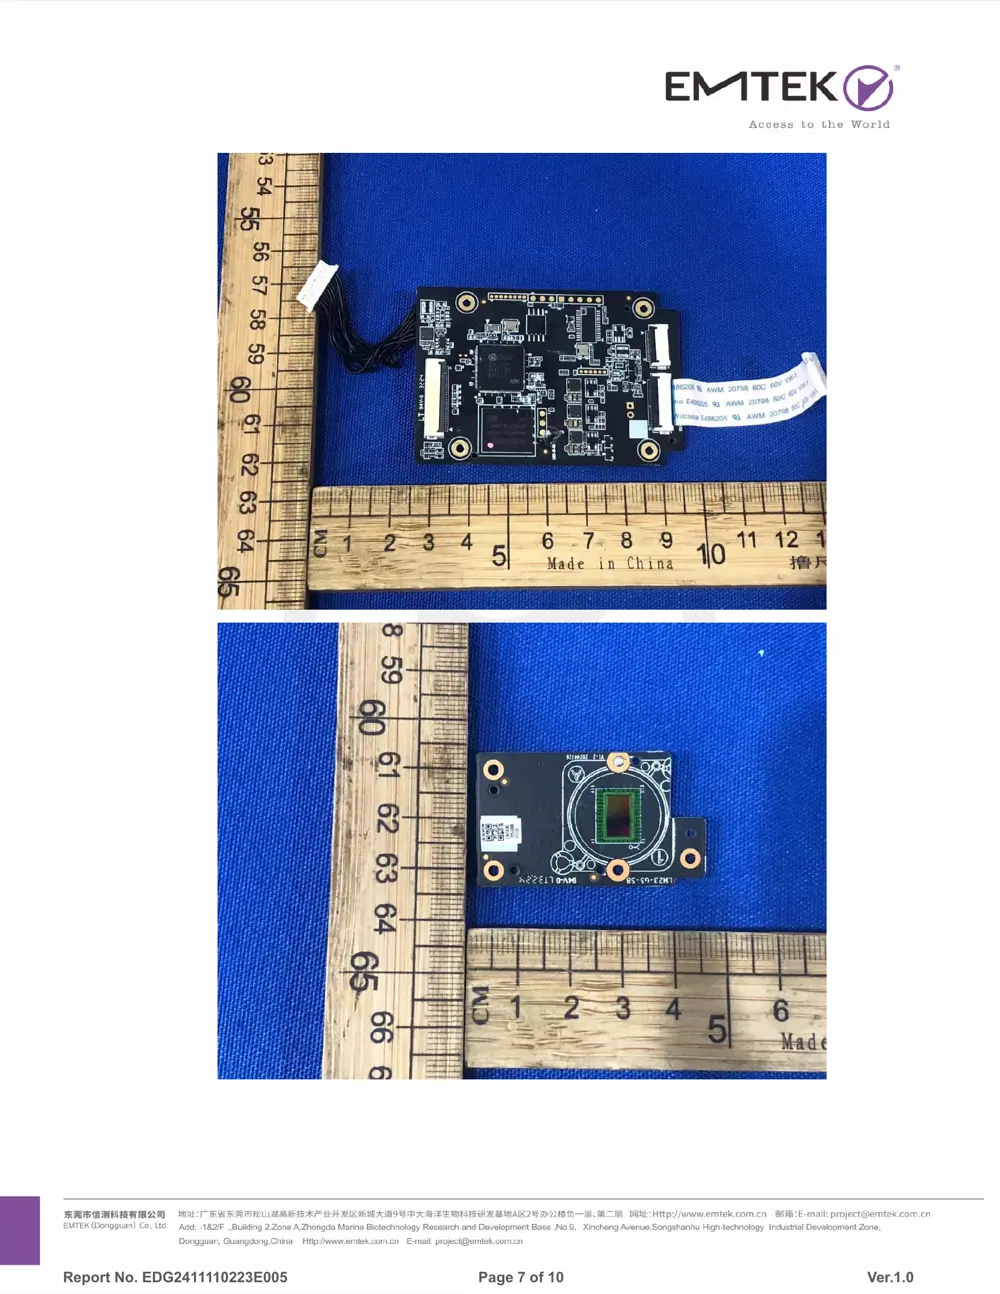
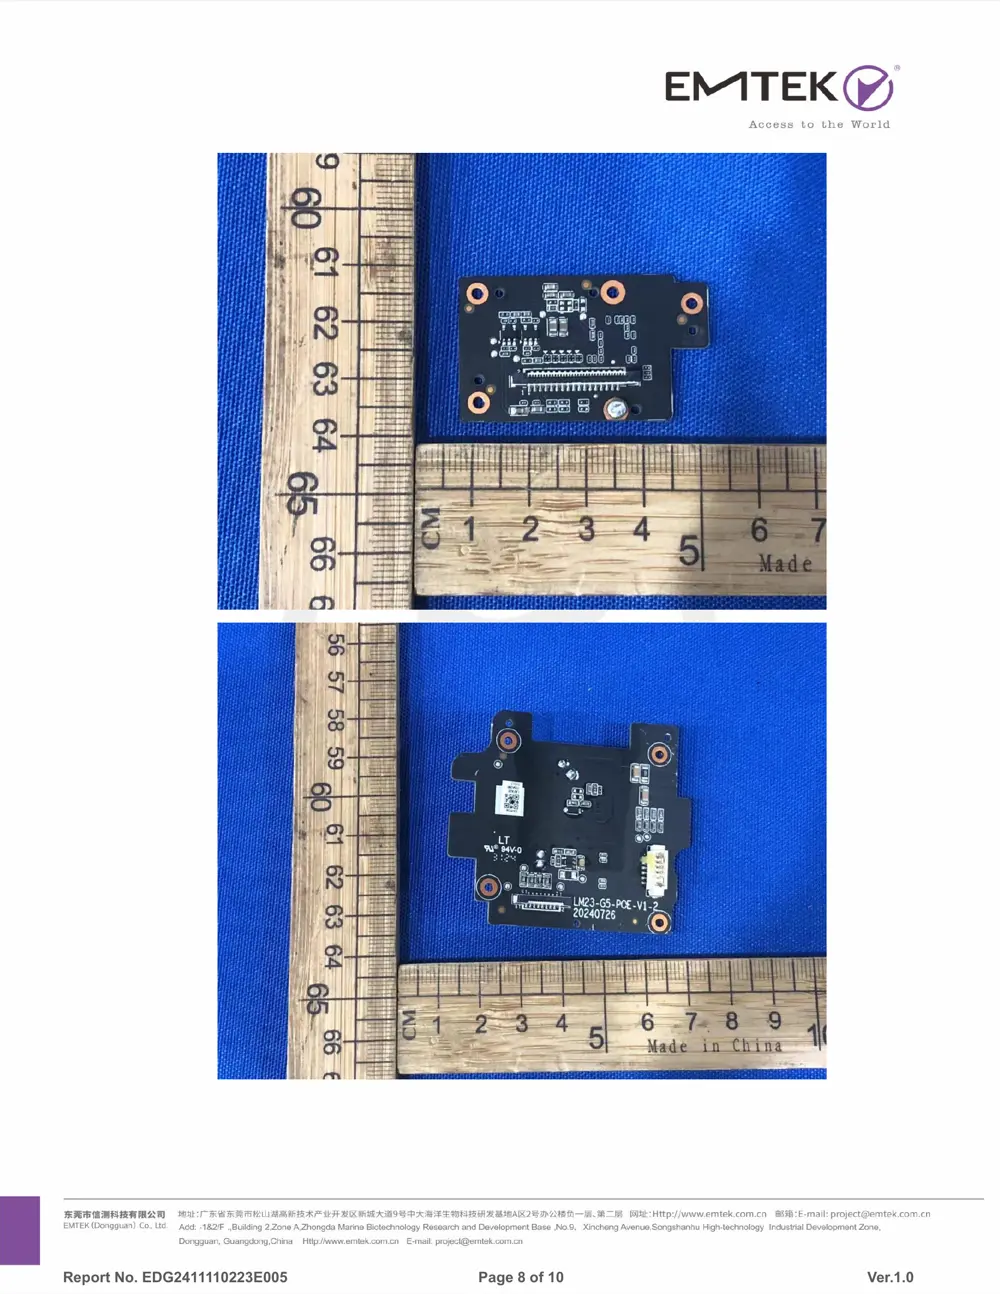
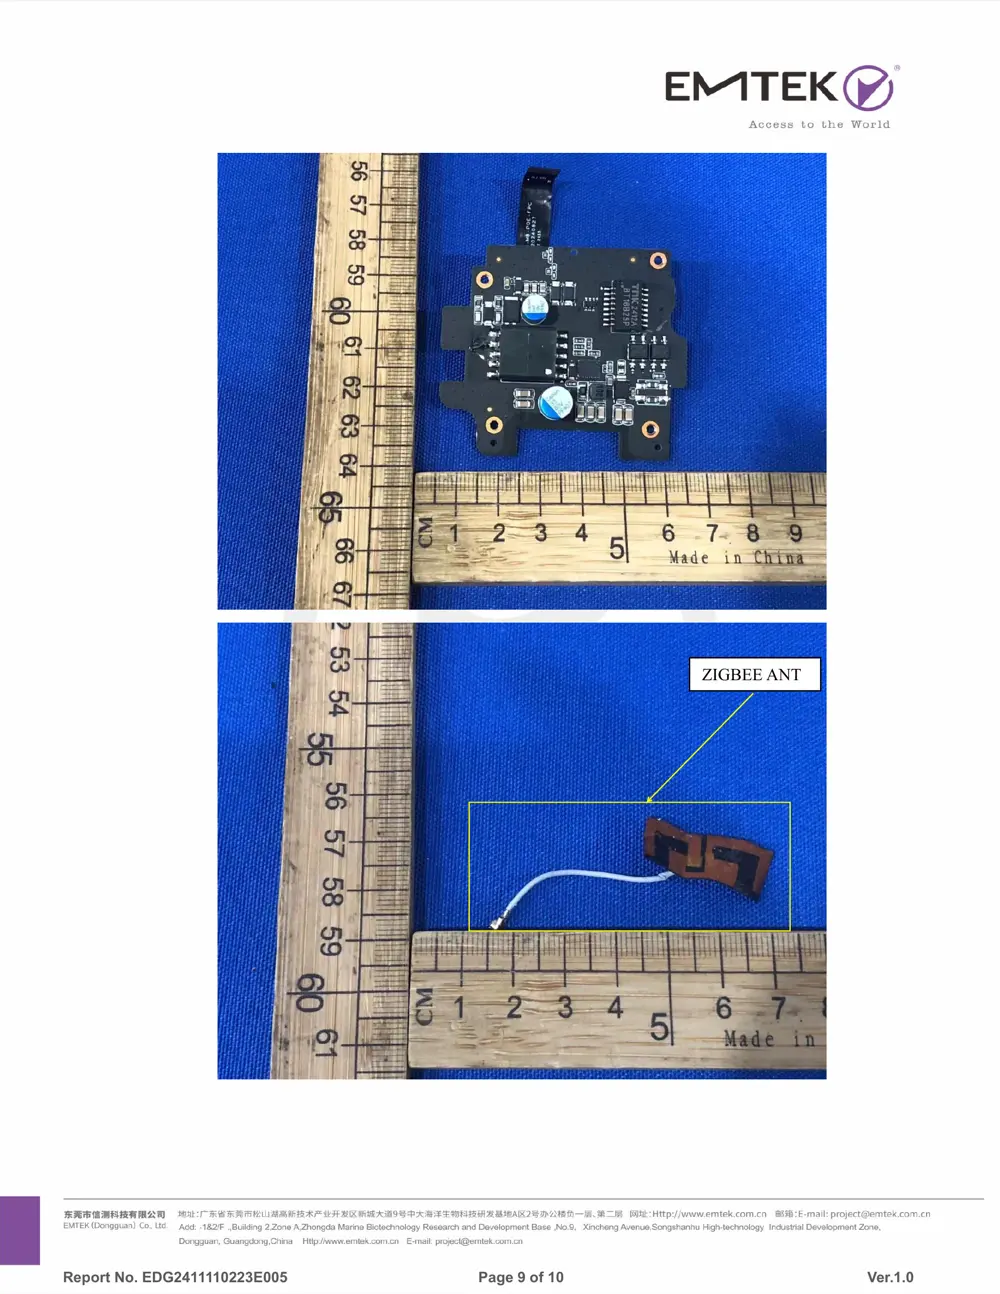
Internal Photos
Teardown photos showing the PCB and components:
Verdict
The CHC03 is a Zigbee device from the Aqara Zigbee ecosystem.
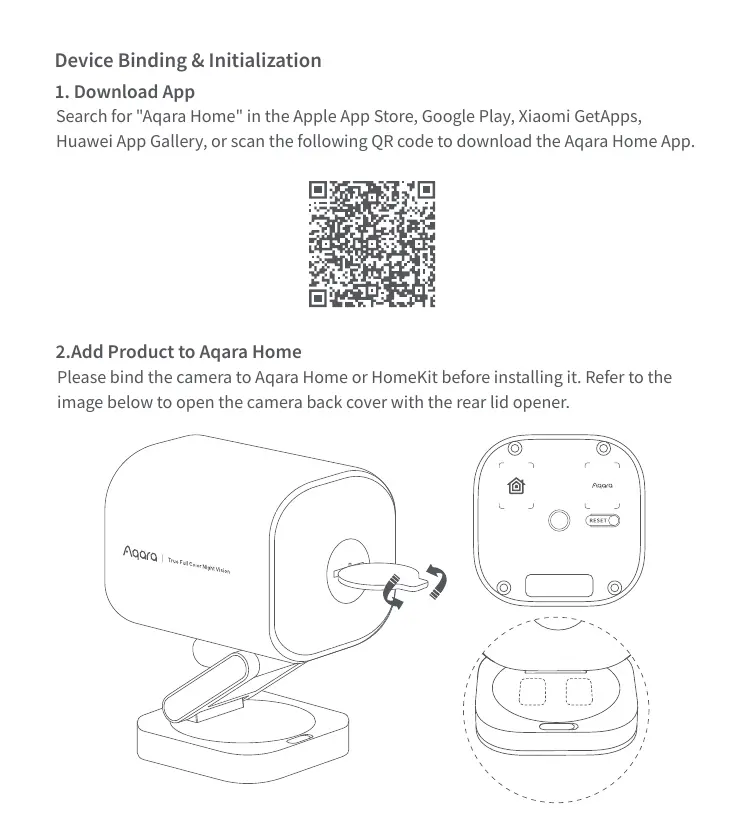
📄 Click to view full text manual (SEO)
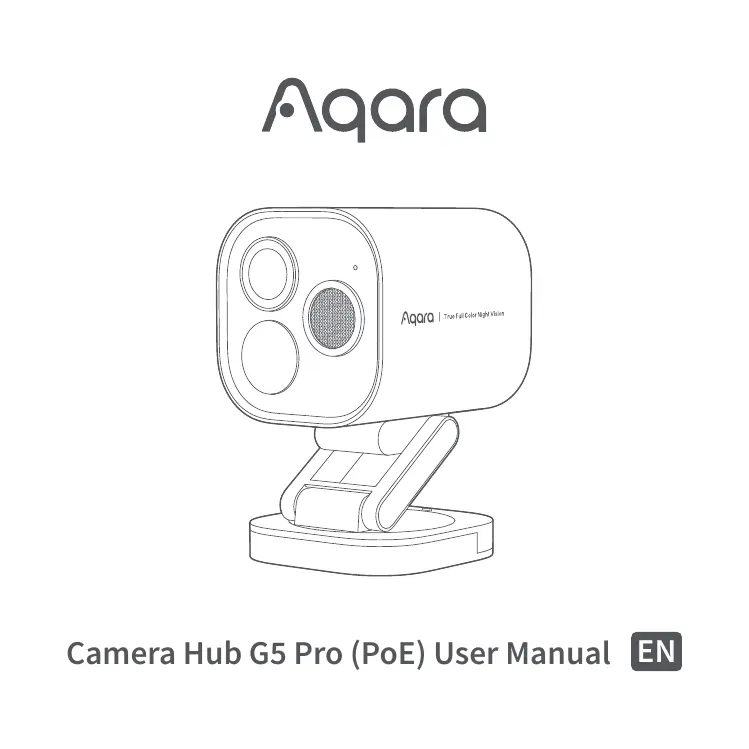
Camera Hub G5 Pro (PoE) User Manual EN
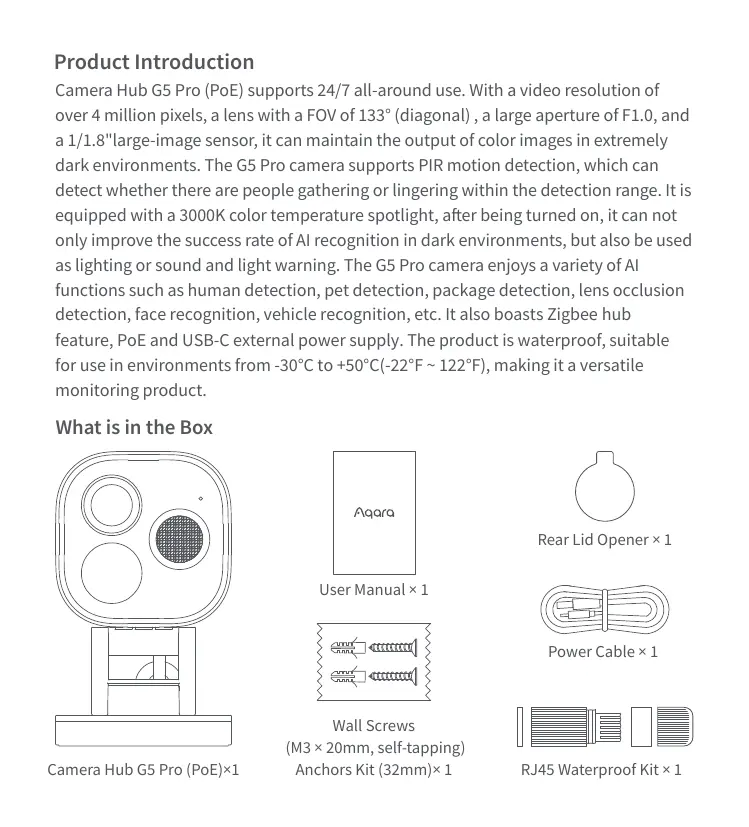
Product Introduction
Camera Hub G5 Pro (PoE) supports 24/7 all-around use. With a video resolution of
over 4 million pixels, a lens with a FOV of 133° (diagonal) , a large aperture of F1.0, and
a 1/1.8"large-image sensor, it can maintain the output of color images in extremely
dark environments. The G5 Pro camera supports PIR motion detection, which can
detect whether there are people gathering or lingering within the detection range. It is
equipped with a 3000K color temperature spotlight, after being turned on, it can not
only improve the success rate of AI recognition in dark environments, but also be used
as lighting or sound and light warning. The G5 Pro camera enjoys a variety of AI
functions such as human detection, pet detection, package detection, lens occlusion
detection, face recognition, vehicle recognition, etc. It also boasts Zigbee hub
feature, PoE and USB-C external power supply. The product is waterproof, suitable
for use in environments from -30°C to +50°C(-22°F ~ 122°F), making it a versatile
monitoring product.
What is in the Box
Camera Hub G5 Pro (PoE)×1 RJ45 Waterproof Kit × 1
Power Cable × 1
User Manual × 1
Rear Lid Opener × 1
Wall Screws
(M3 × 20mm, self-tapping)
Anchors Kit (32mm)× 1
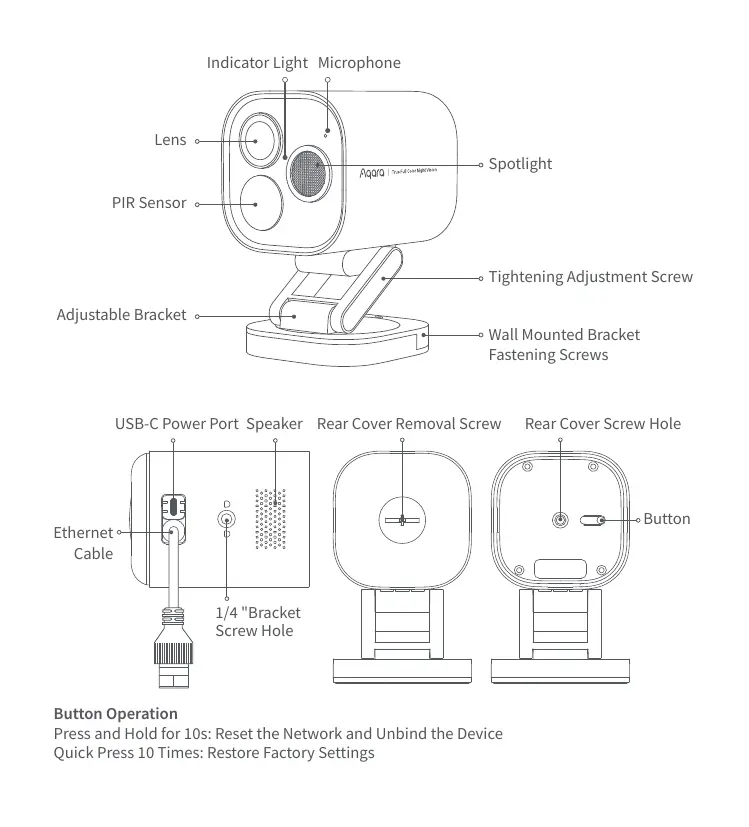
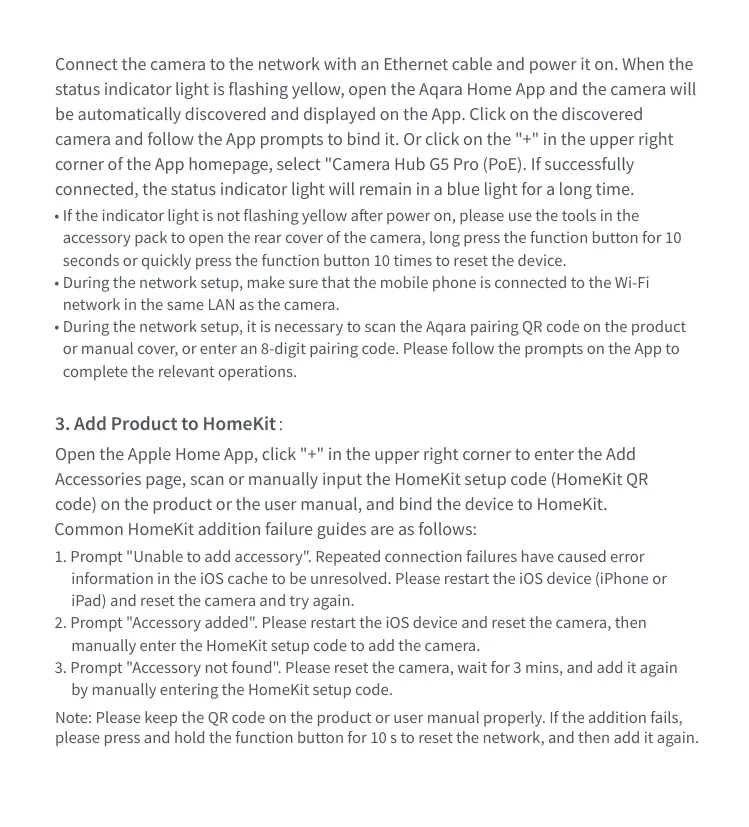
Button Operation
Press and Hold for 10s: Reset the Network and Unbind the Device
Quick Press 10 Times: Restore Factory Settings
Indicator Light
Lens
PIR Sensor
Adjustable Bracket
Wall Mounted Bracket
Fastening Screws
Tightening Adjustment Screw
Spotlight
Microphone
Rear Cover Removal Screw Rear Cover Screw Hole
Button
Ethernet
Cable
USB-C Power Port
1/4 "Bracket
Screw Hole
Speaker
Table placement, wall mounting, ceiling mounting can be selected for this product,
and the instructions are as follows:
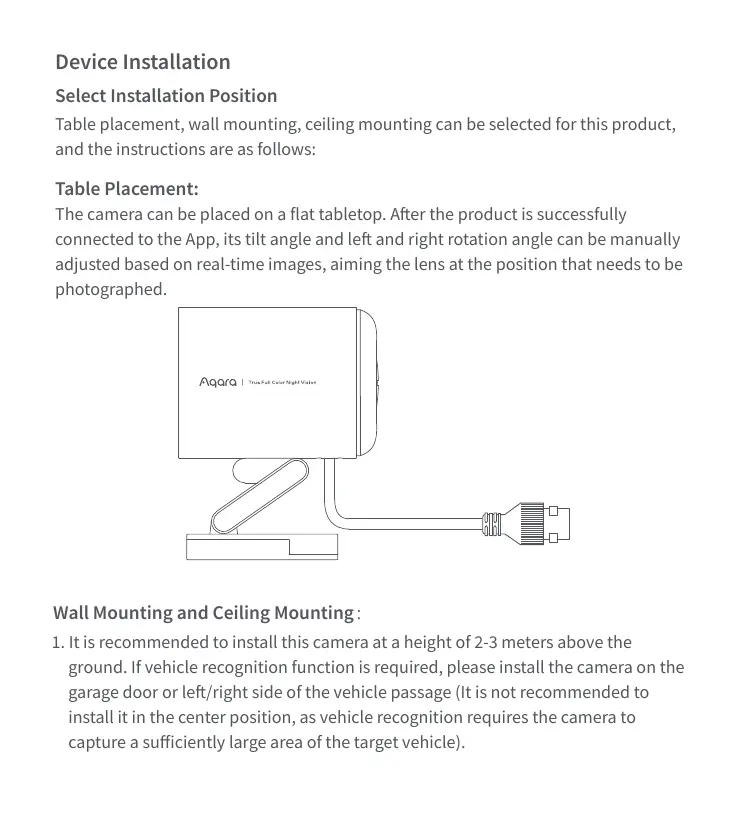
The camera can be placed on a flat tabletop. After the product is successfully
connected to the App, its tilt angle and left and right rotation angle can be manually
adjusted based on real-time images, aiming the lens at the position that needs to be
photographed.
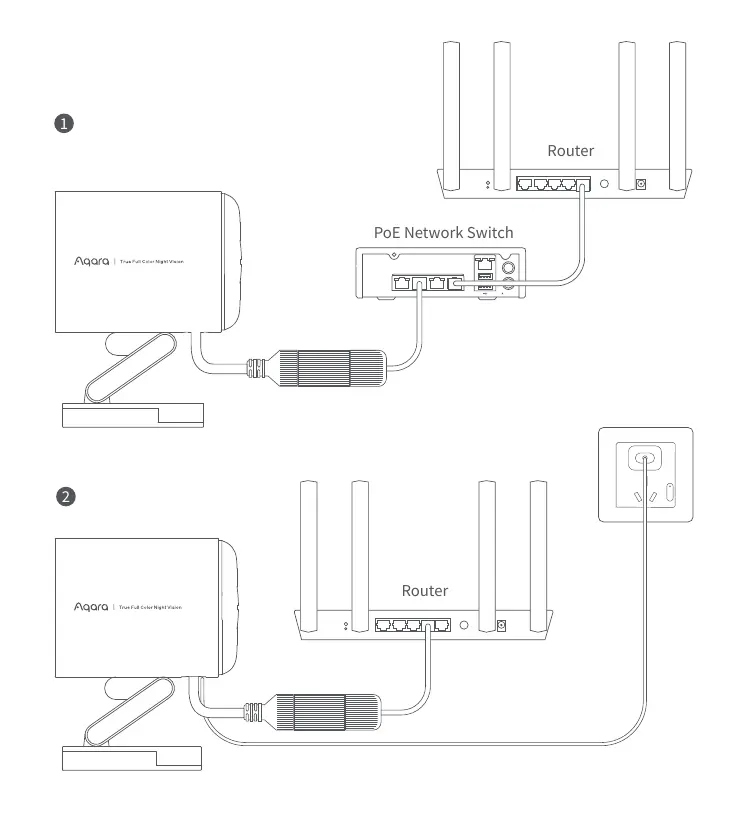
Device Installation
1. It is recommended to install this camera at a height of 2-3 meters above the
ground. If vehicle recognition function is required, please install the camera on the
garage door or left/right side of the vehicle passage (It is not recommended to
install it in the center position, as vehicle recognition requires the camera to
capture a sufficiently large area of the target vehicle).
Wall Mounting and Ceiling Mountingğ
Select Installation Position
Table Placement:
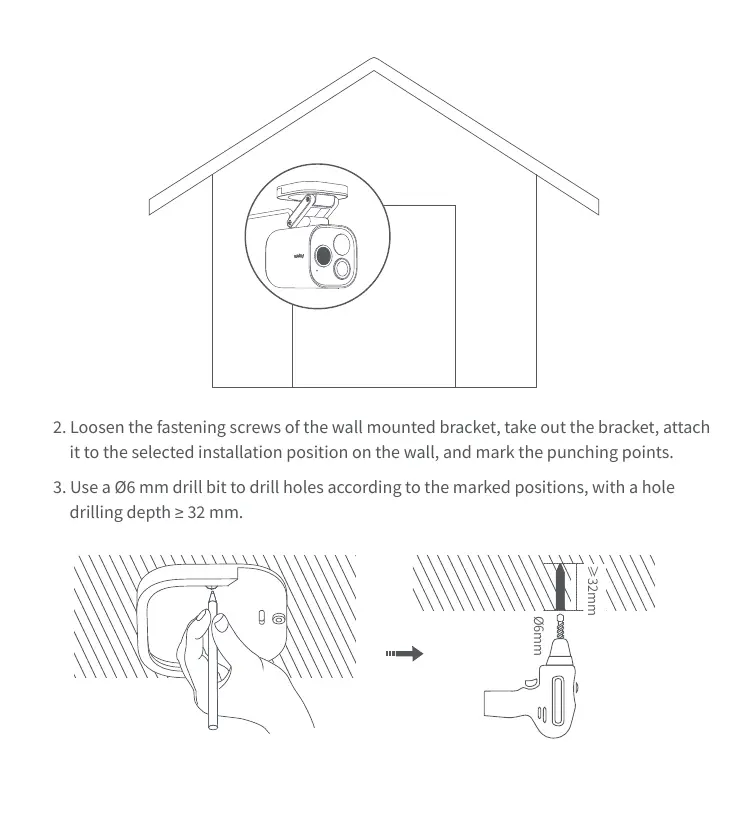
2. Loosen the fastening screws of the wall mounted bracket, take out the bracket, attach
it to the selected installation position on the wall, and mark the punching points.
3. Use a Ø6 mm drill bit to drill holes according to the marked positions, with a hole
drilling depth ≥ 32 mm.
≥32mm
Ø6mm
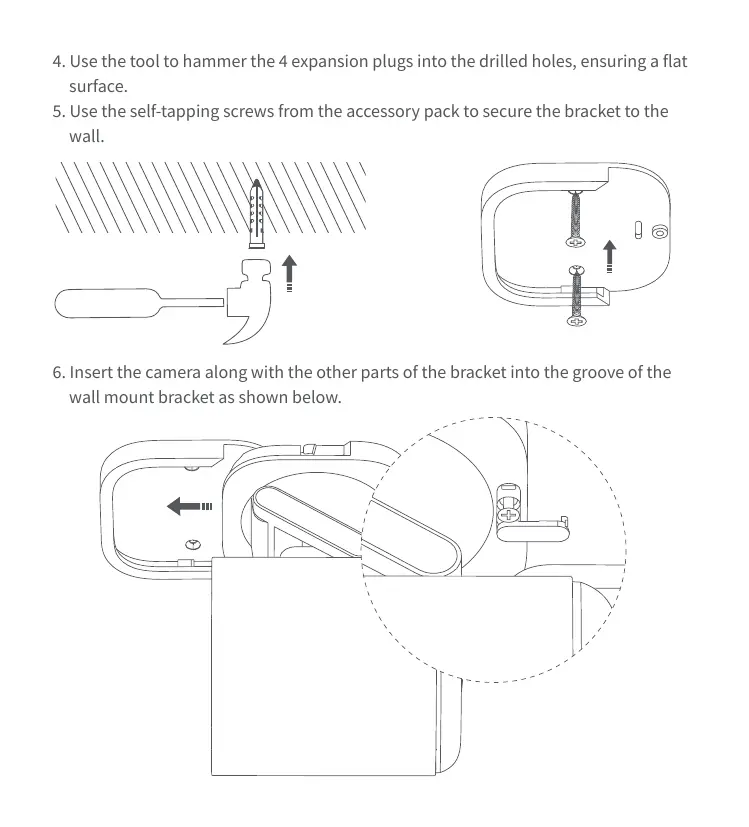
4. Use the tool to hammer the 4 expansion plugs into the drilled holes, ensuring a flat
surface.
5. Use the self-tapping screws from the accessory pac...