R8801 Reset & Teardown (FCC ID 2ANDLTY-R8801)
Factory reset and internal photos for Generic IoT R8801. Unknown smart plug.
January 15, 2026
•
10 read
Before you buy the Generic IoT R8801, check what's inside.
This device is a WiFi-enabled smart camera that connects to your home network via the TuyaSmart app. It is designed for indoor surveillance and remote monitoring, powered by a USB adapter connected to mains power.
⚠️ NOTE: Ensure the device is powered only by the provided USB cable and power adapter. Do not expose to water.
Quick Specs
- Manufacturer: Generic IoT
- Model: R8801
- Protocol: WiFi
- Chipset: Unknown
- Ecosystem: Unknown
- App: Unknown
🔧 Geek Corner (Flashing Info)
- Chipset: TYHX0001
- Flashable: ❌ No
- Info: Proprietary Tuya firmware, likely on a protected chipset, not easily flashable with custom firmware like Tasmota.
Reset Guide
Reset the device so that indicator light is flashing red.
User Manual
Scanned pages from the official user manual:


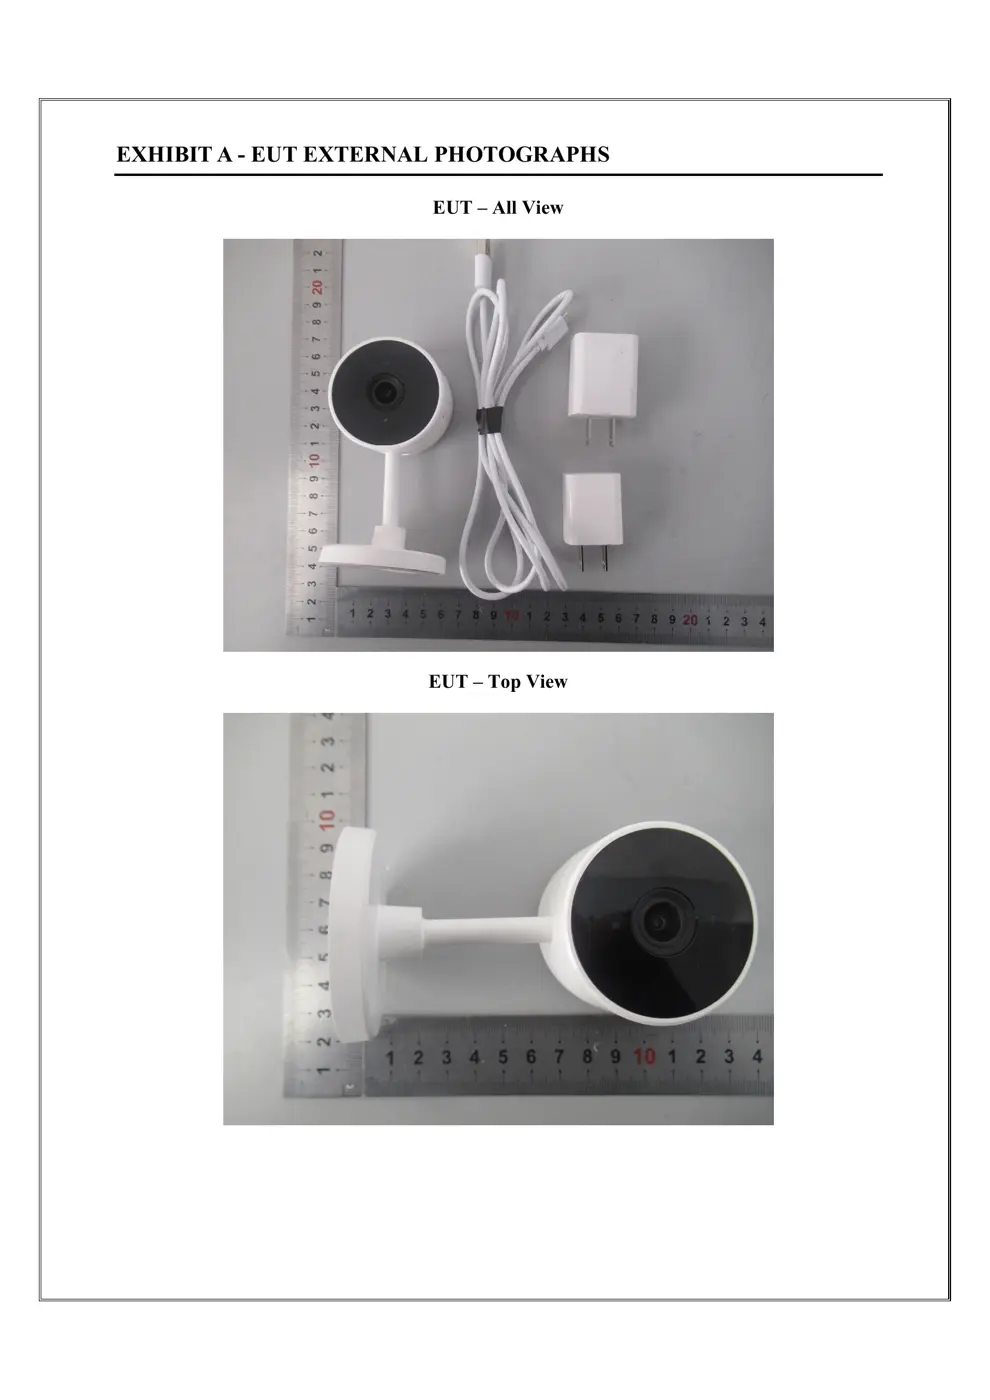
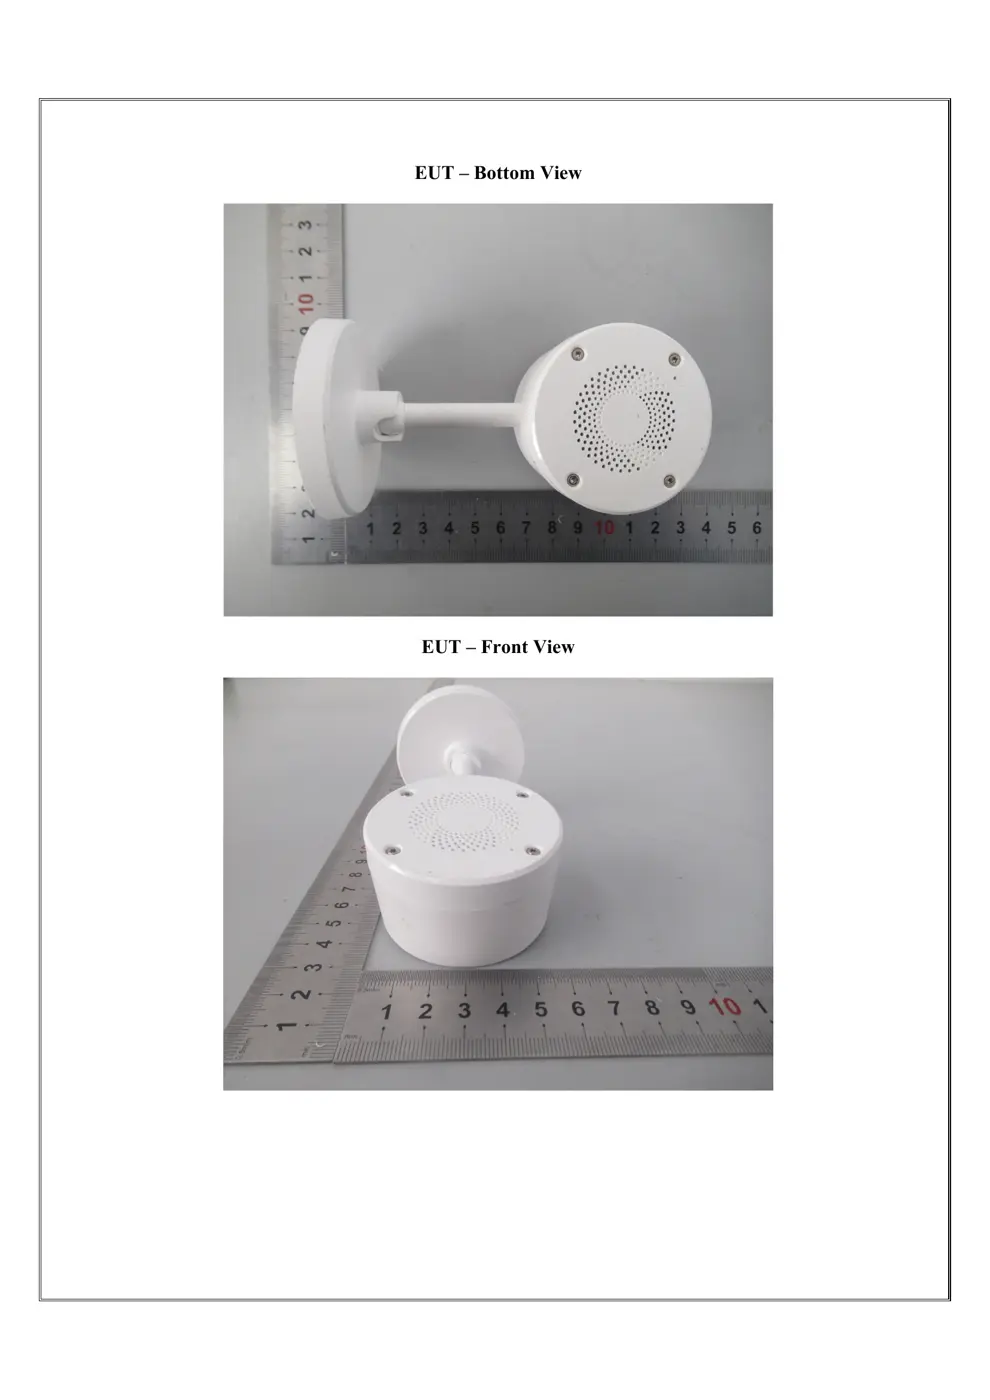
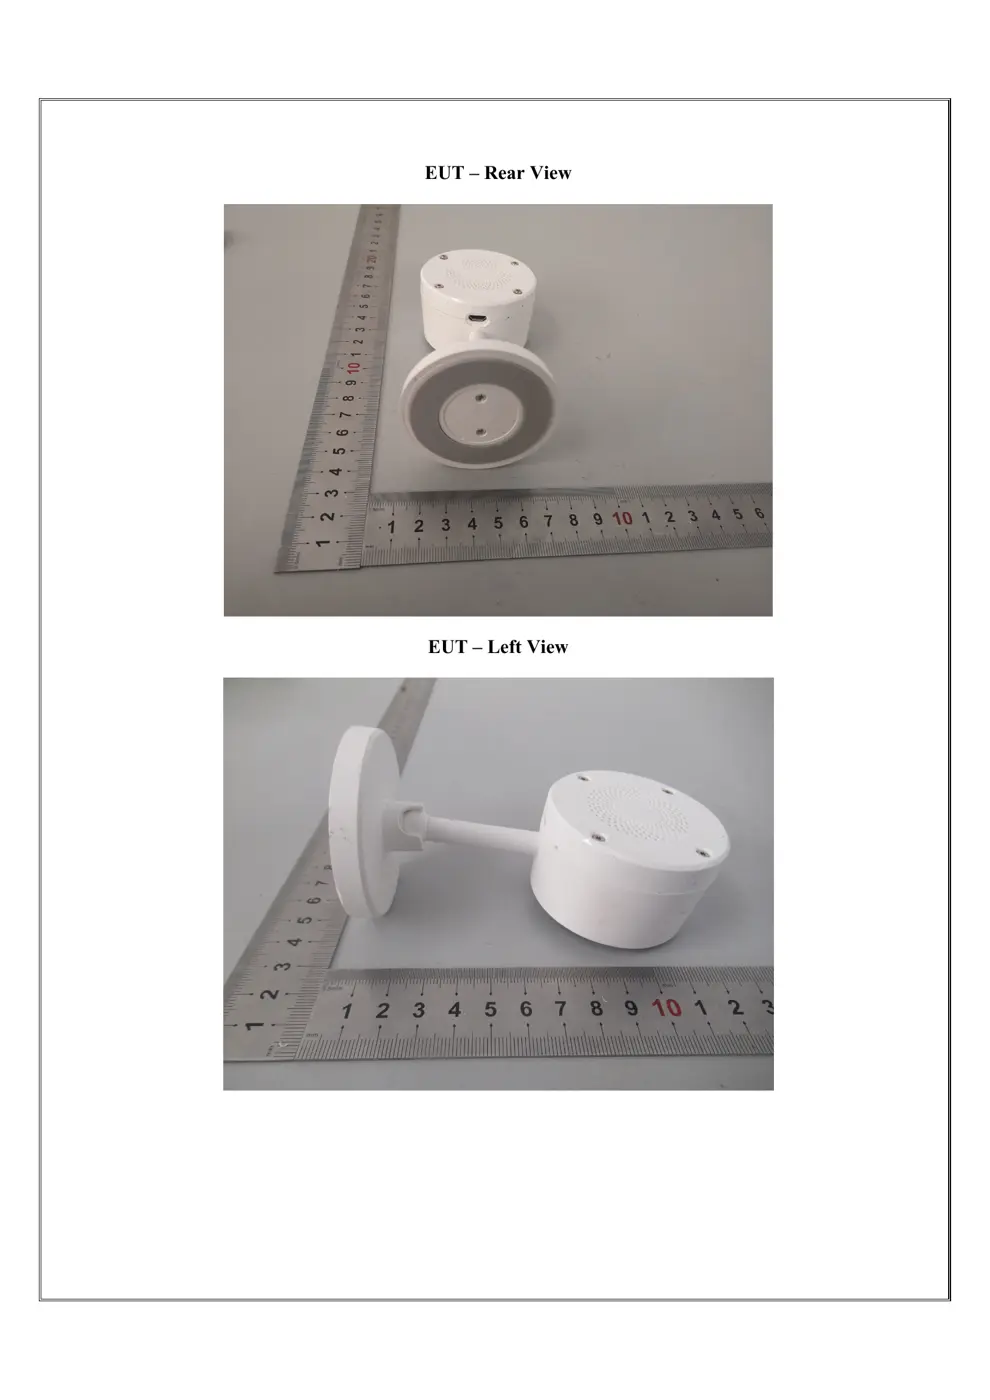
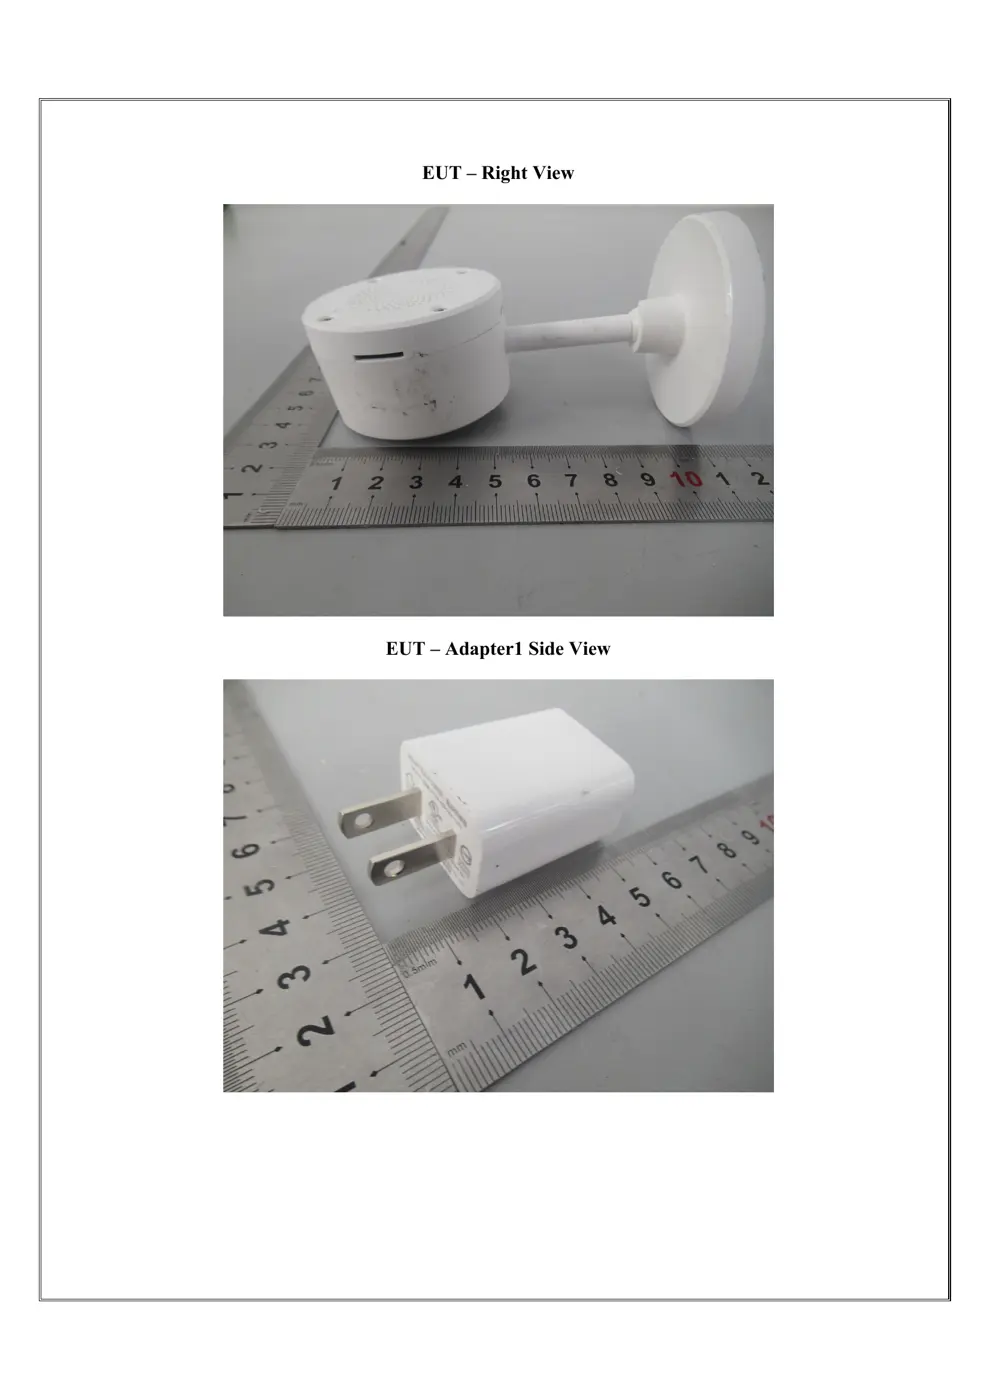
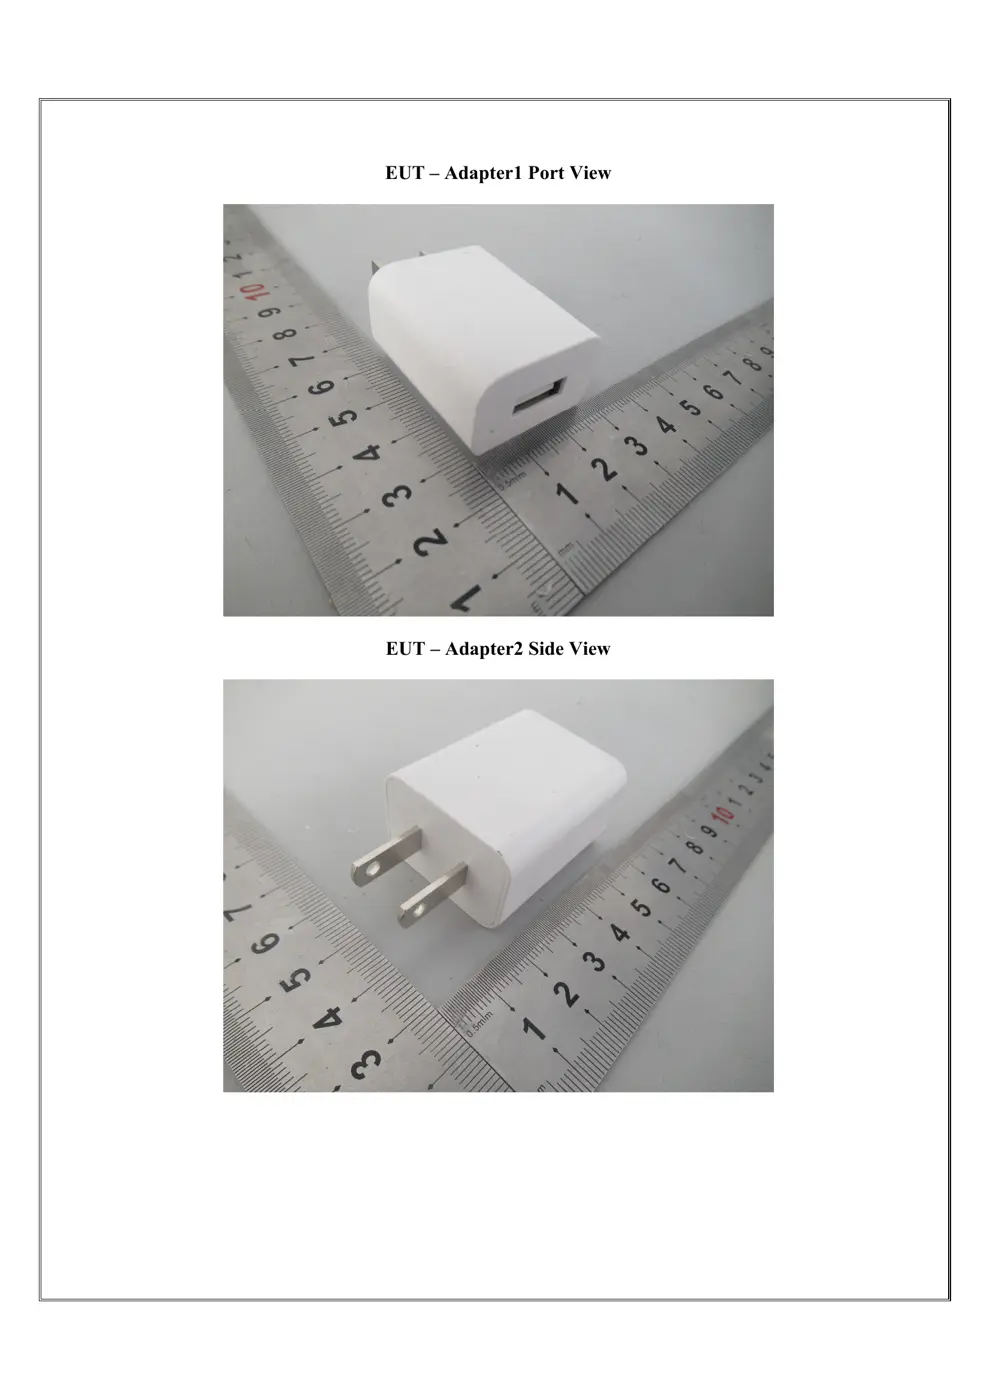
External Photos
Photos of the device exterior:
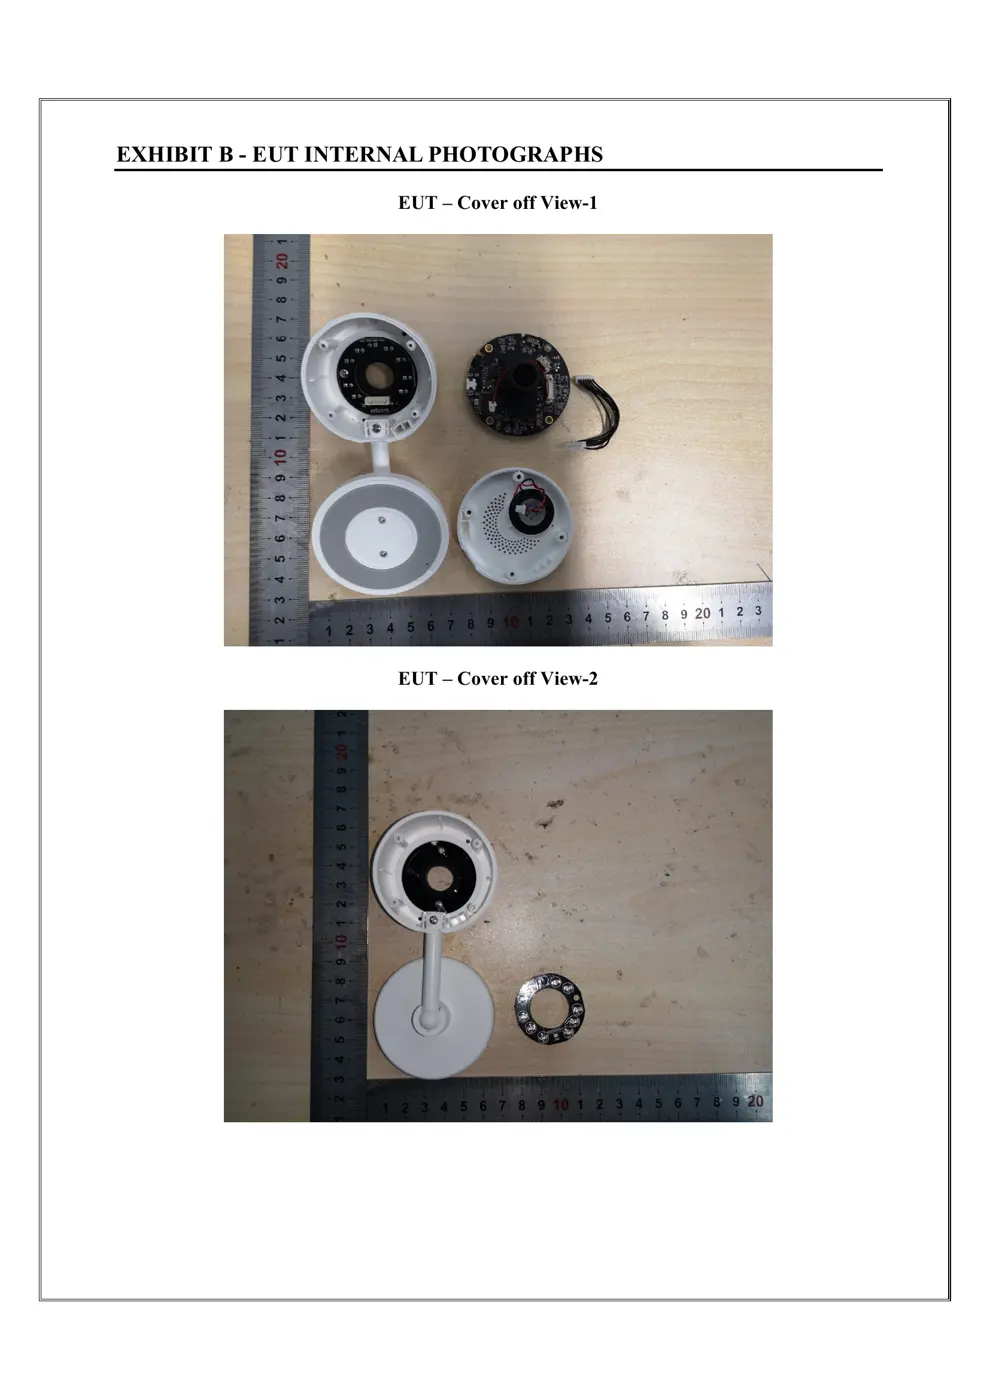
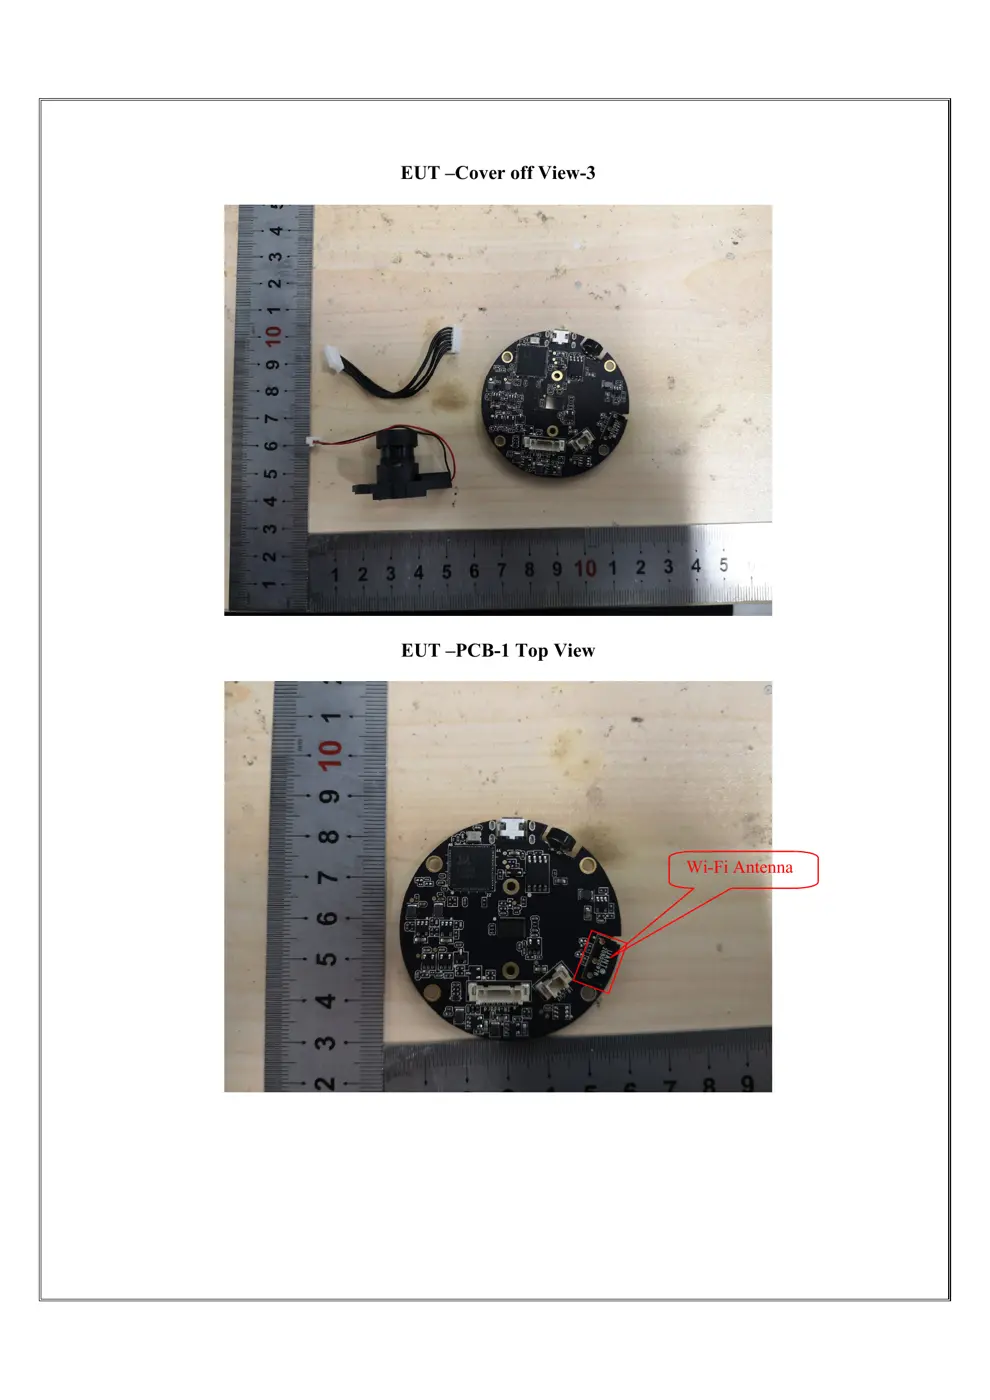
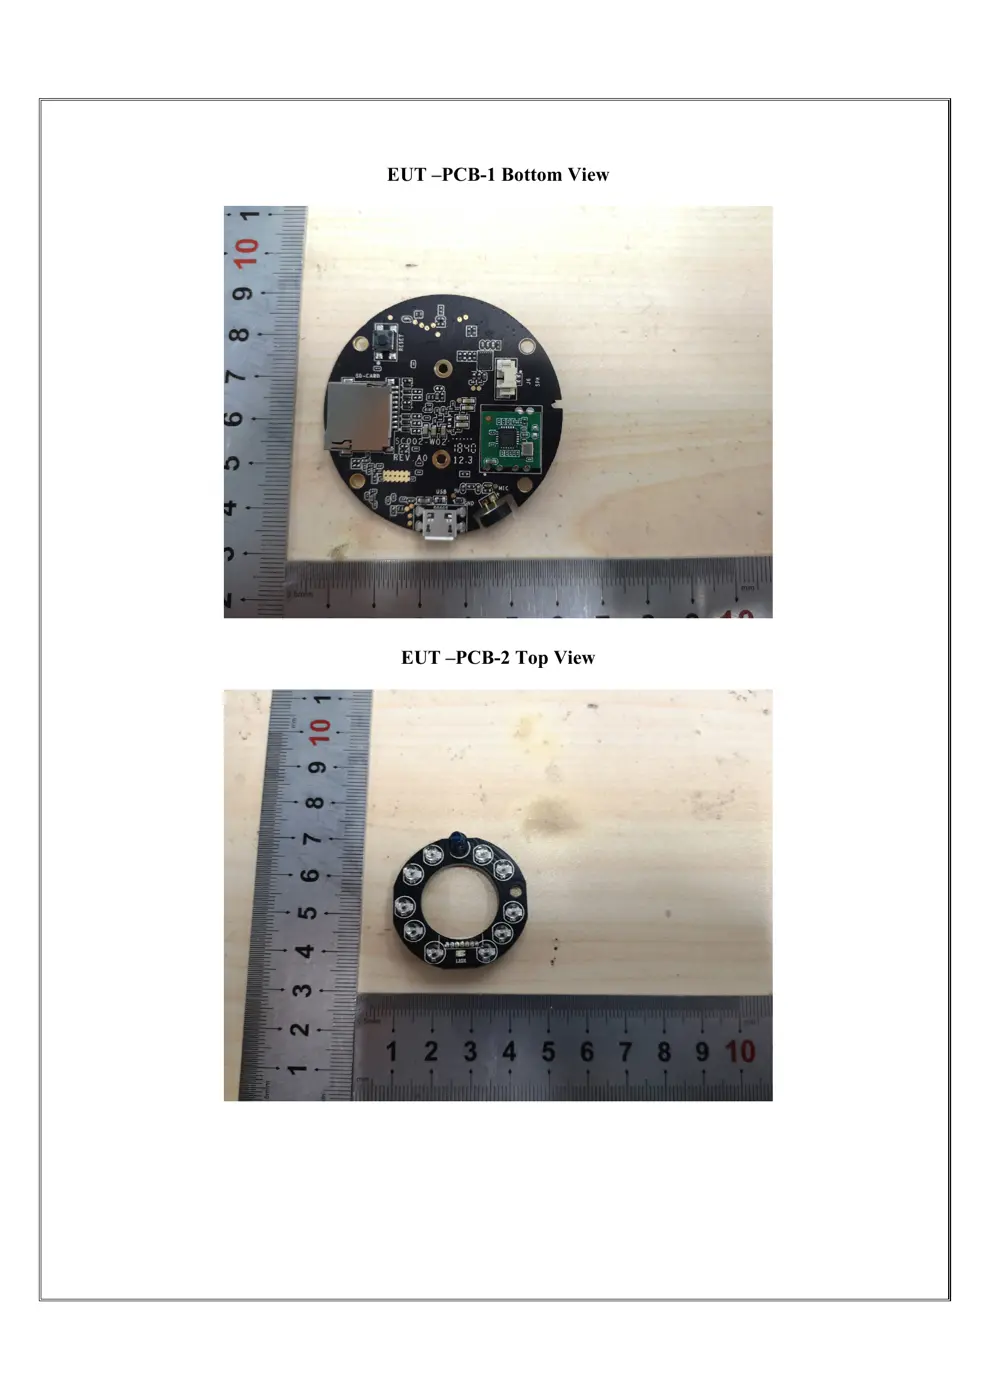
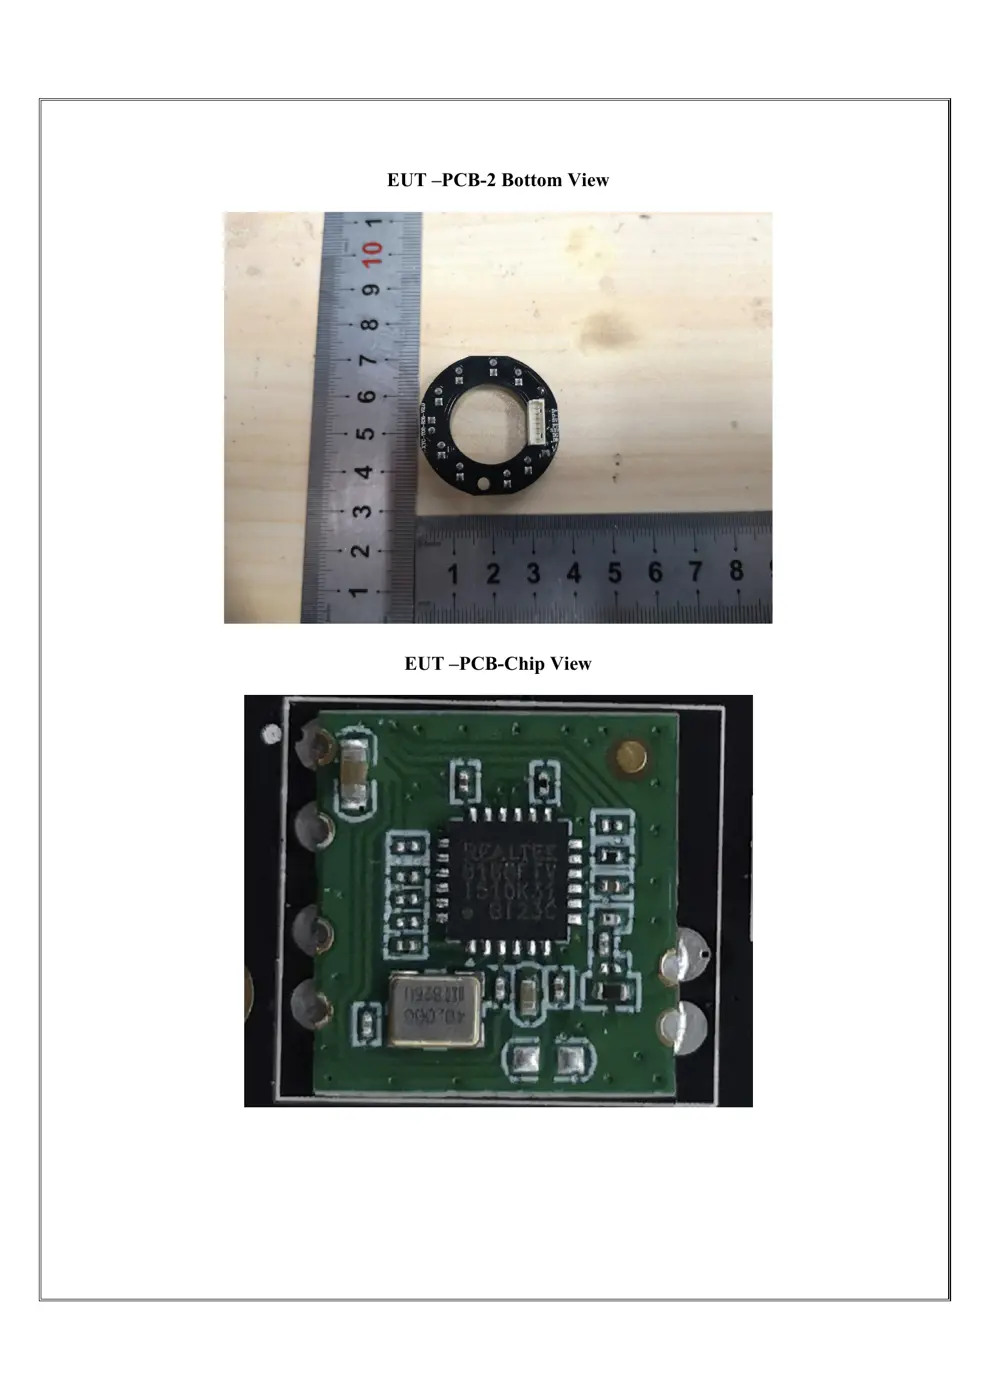
Internal Photos
Teardown photos showing the PCB and components:
Verdict
The R8801 is a WiFi device from the Unknown ecosystem.
📄 Click to view full text manual (SEO)
Smart Camera
USER MANUAL
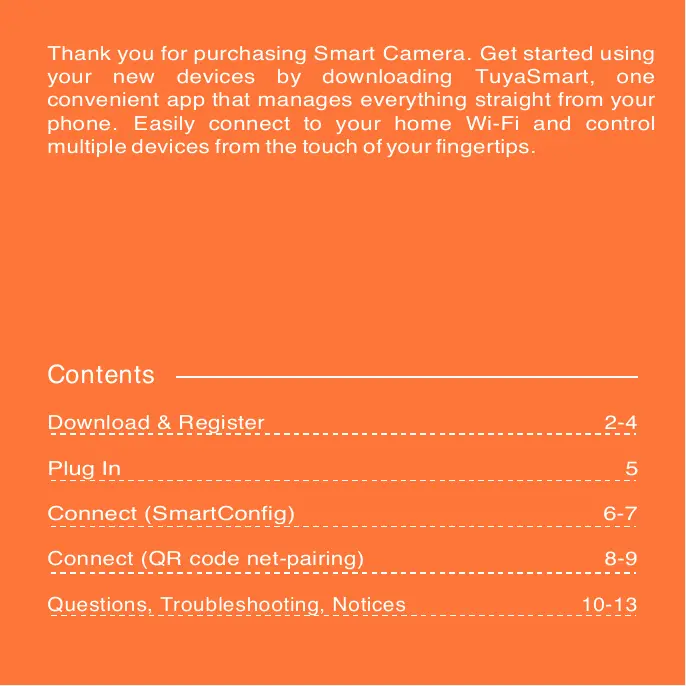
Thank you for purchasing Smart Camera . Get started using
your new devices by downloading TuyaSmart , one
convenient app that manages everything straight from your
phone. Easily connect to your home Wi-Fi and control
multiple devices from the touch of your fingertips.
Contents
Download & Register 2-4
Plug In 5
Connect (SmartConfig) 6-7
Connect (QR code net -pairing ) 8-9
Questions, Troubleshooting, Notices 10-13
What’s in the Box
• Smart Wi-Fi
Camera
• USB Cable
• Power Adapter
• User Manual
Get Ready
• Know your Wi-Fi network and password
• Make sure your mobile device is running iOS® 8 or
higher or Android™ 4.1× or higher
• Make sure you’re connecting to a 2.4GHz Wi-Fi
network (It can’t connect to 5GHz networks)
USER
MANUAL
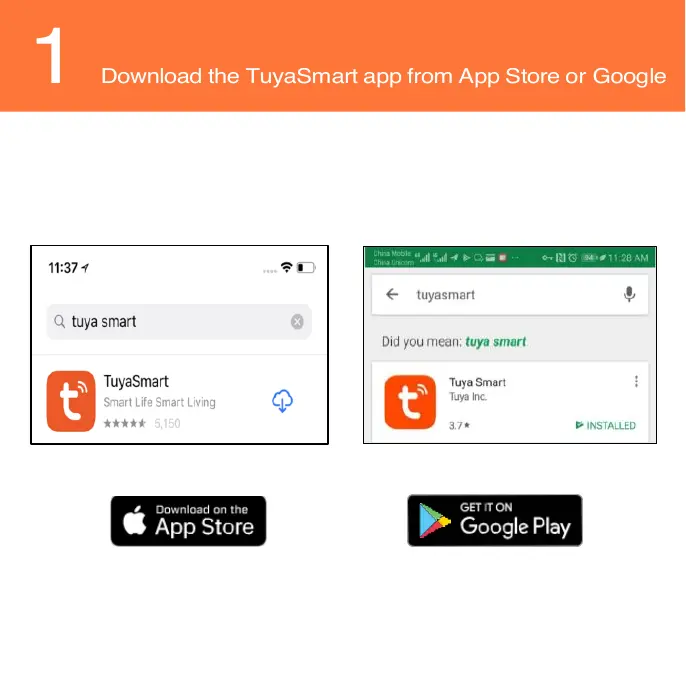
1 Download the TuyaSmart app from App Store or Google
Play.
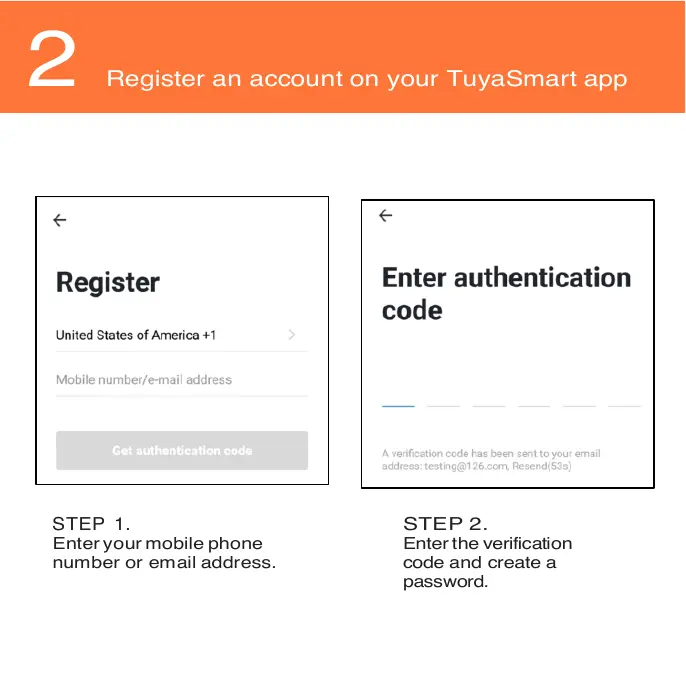
2 Register an account on your TuyaSmart app
STEP 1.
Enter your mobile phone
number or email address.
STEP 2.
Enter the verification
code and create a
password.
2 Register an account on your TuyaSmart
app
STEP 3.
Login to the
App.
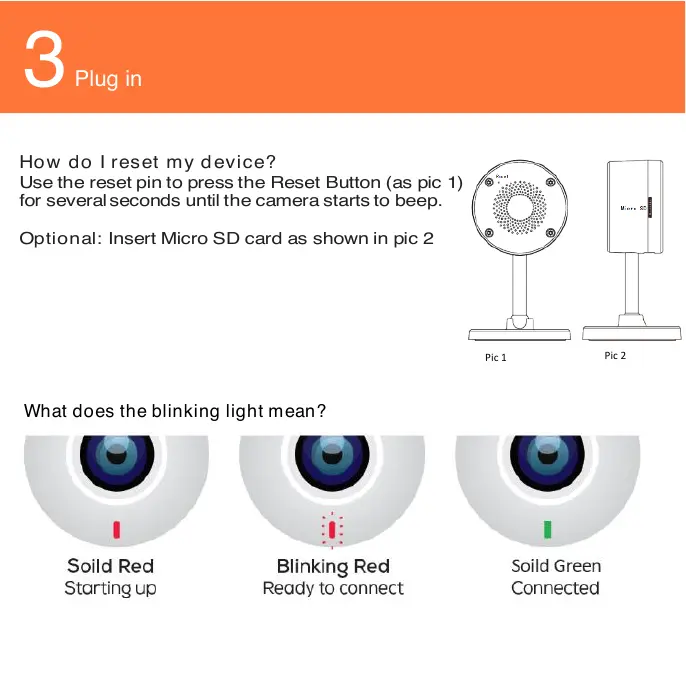
3 Plug in
How do I reset my device?
Use the reset pin to press the Reset Button (as pic 1)
for several seconds until the camera starts to beep.
Optional: Insert Micro SD card as shown in pic 2
What does the blinking light mean?
Pic 2 Pic 1
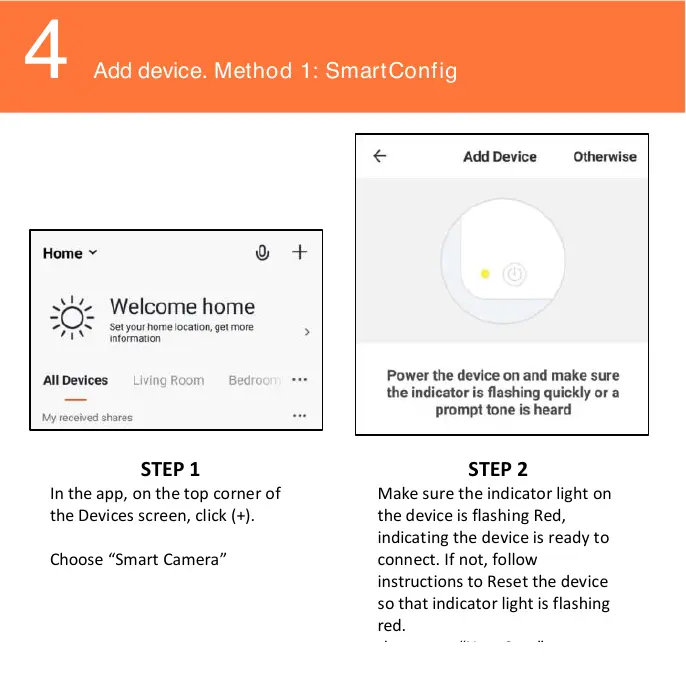
4 Add device. Method 1: SmartConfig
STEP 1
In the app, on the top corner of
the Devices screen, click (+).
Choose “Smart Camera”
STEP 2
Make sure the indicator light on
the device is flashing Red,
indicating the device is ready to
connect. If not, follow
instructions to Reset the device
so that indicator light is flashing
red.
then press “Next Step”.
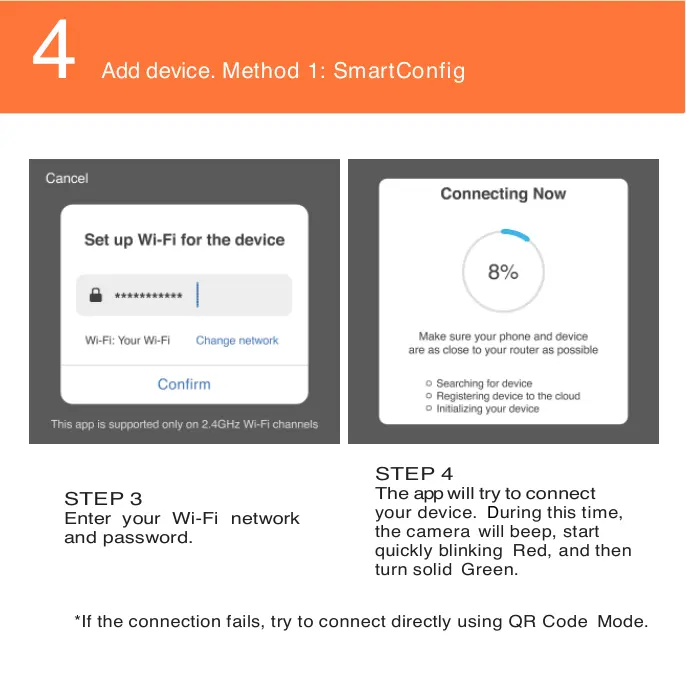
4 Add device. Method 1: SmartConfig
STEP 3
Enter your Wi-Fi network
and password.
STEP 4
The app will try to connect
your device. During this time,
the camera will beep, start
quickly blinking Red, and then
turn solid Green.
*If the connection fails, try to connect directly using QR Code Mode.
Add device. Method 1: SmartConfig
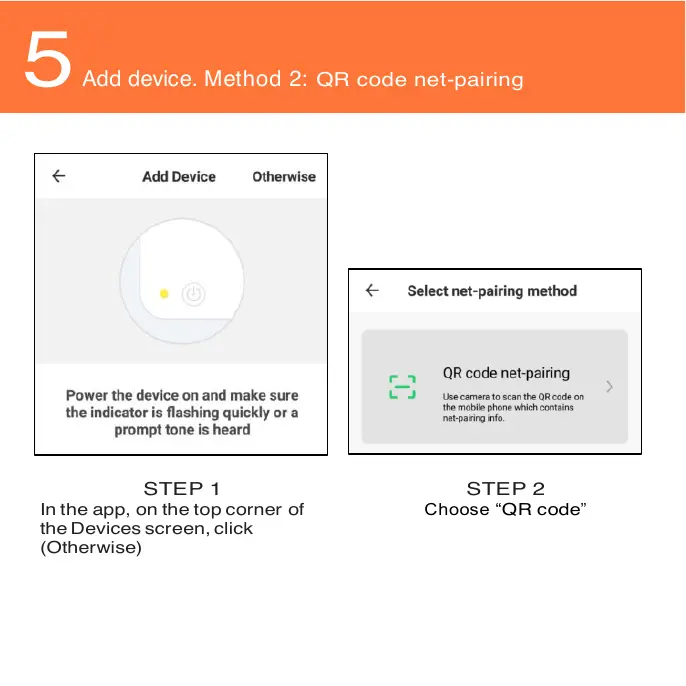
5 Add device. Method 2: QR code net -pairing
STEP 1
In the app, on the top corner of
the Devices screen, click
(Otherwise)
STEP 2
Choose “ QR code”
5 Add device. Method 2: QR code net -pairing
STEP 3
Enter your Wi-Fi network and
password.
STEP 4
Scan the QR Code
with the camera.”
10
Frequently Asked Questions
1. Can I share with family and friends?
Yes, you can share your cameras with family and friends who will
have access to view the camera and control your bulbs, plugs, and
other d e v i c e s. In the app, press the Profile button and click on the
“Device Sharing” button, and you will be able to give or revoke
sharing permissions. In order to share, the other user should already
have downloaded the app and registered a new account.
2. What’s the Wireless Range?
The range of your home Wi-Fi is heavily dependent on your home
router and the conditions of the room. Check with your router
specificati...