WAVEPMMINI Reset & Teardown (FCC ID 2BDC6-WAVEPMMINI)
Factory reset and internal photos for Shelly Group WAVEPMMINI. Shelly smart plug.
Before you buy the Shelly Group WAVEPMMINI, check what's inside.
This is a Shelly Qubino WAVEPMMINI, a compact Z-Wave smart power meter designed for remote monitoring of electrical appliance consumption. It supports loads up to 16A and can be integrated into standard electrical wall boxes.
⚠️ NOTE: Risk of electric shock. Ensure the device's screw terminals are inaccessible and protected after installation.
Quick Specs
- Manufacturer: Shelly Group
- Model: WAVEPMMINI
- Protocol: Z-Wave
- Chipset: ESP32
- Ecosystem: Shelly
- App: Shelly App
🔧 Geek Corner (Flashing Info)
- Chipset: Unknown
- Flashable: ❌ No
- Info: Z-Wave devices typically use proprietary firmware and chipsets not designed for flashing with custom firmware like Tasmota or ESPHome. The ESP32 mention might be for a secondary microcontroller or a misunderstanding of the primary Z-Wave chipset.
Reset Guide
Factory reset, led signalization, z-wave® command classes, parameters, and much more, refer to the extended user guide at: https://shelly.
User Manual
Scanned pages from the official user manual:
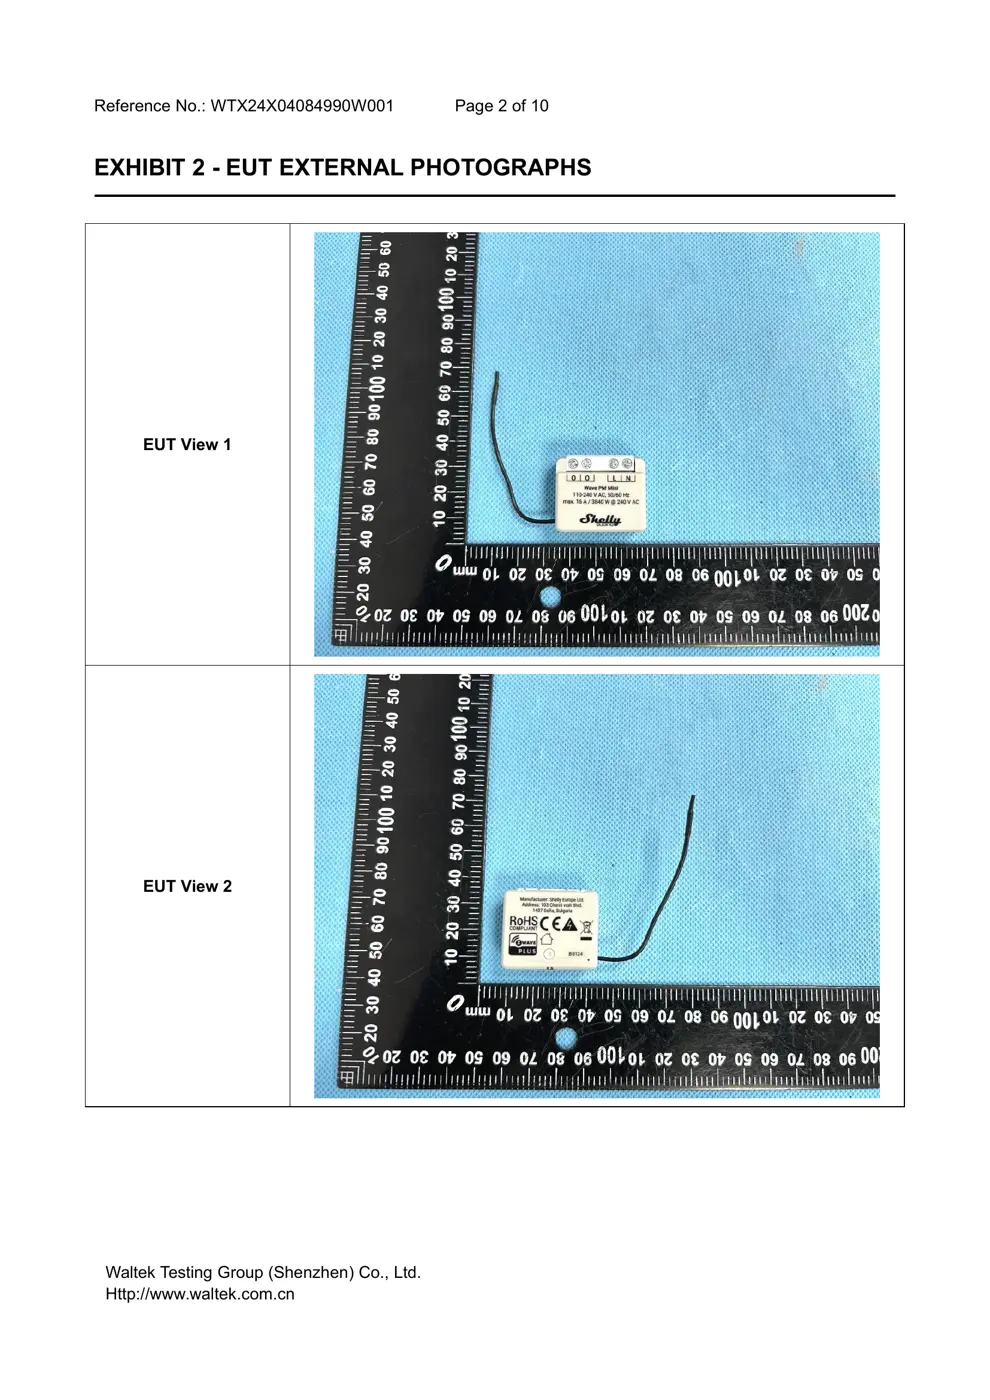
External Photos
Photos of the device exterior:
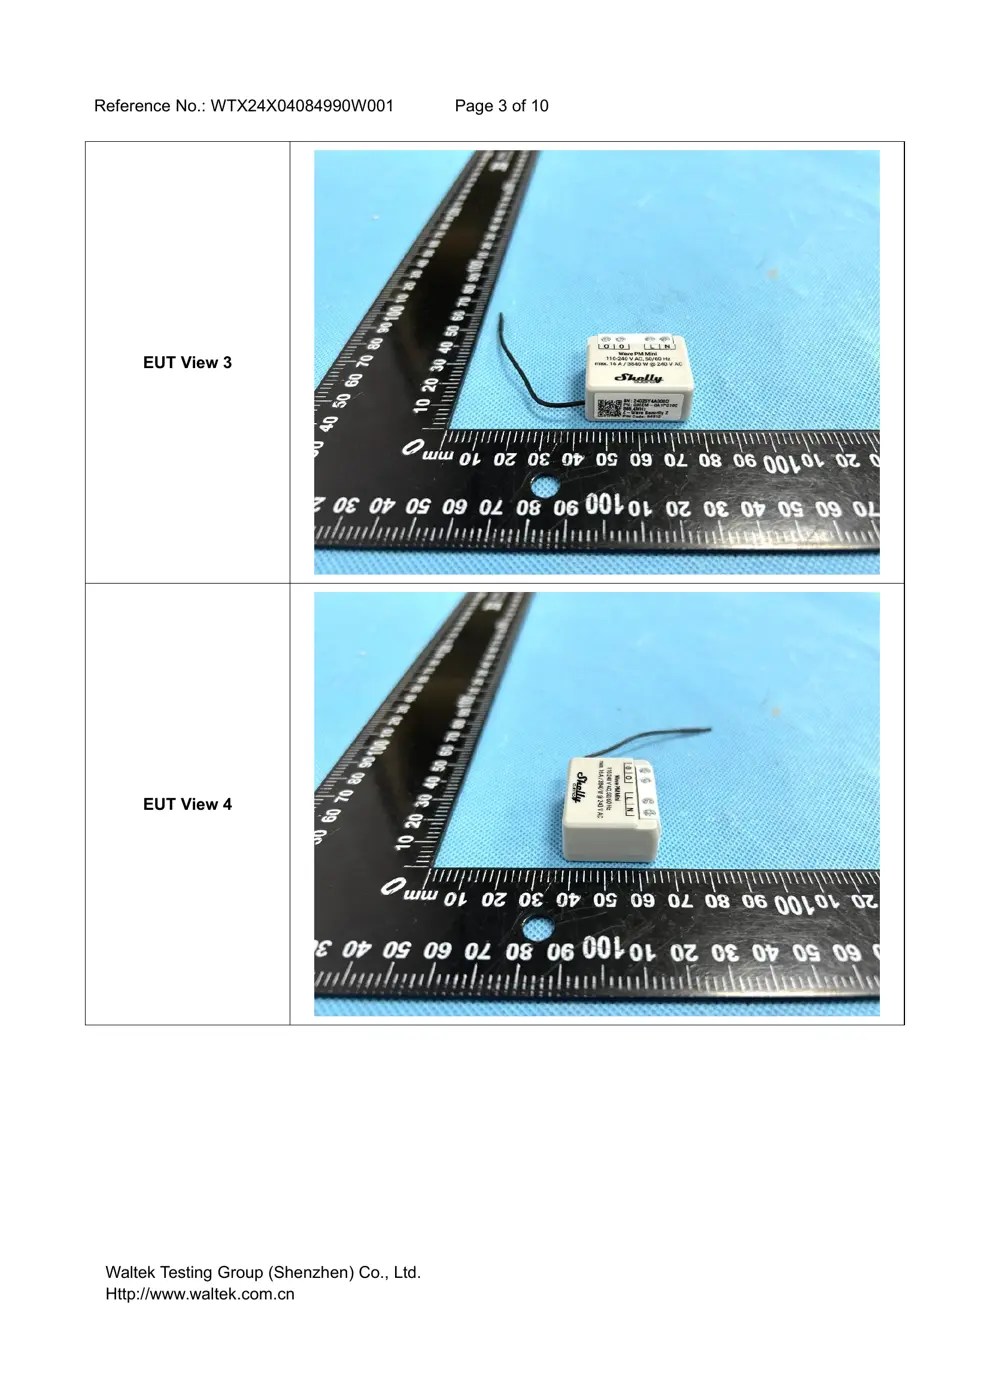
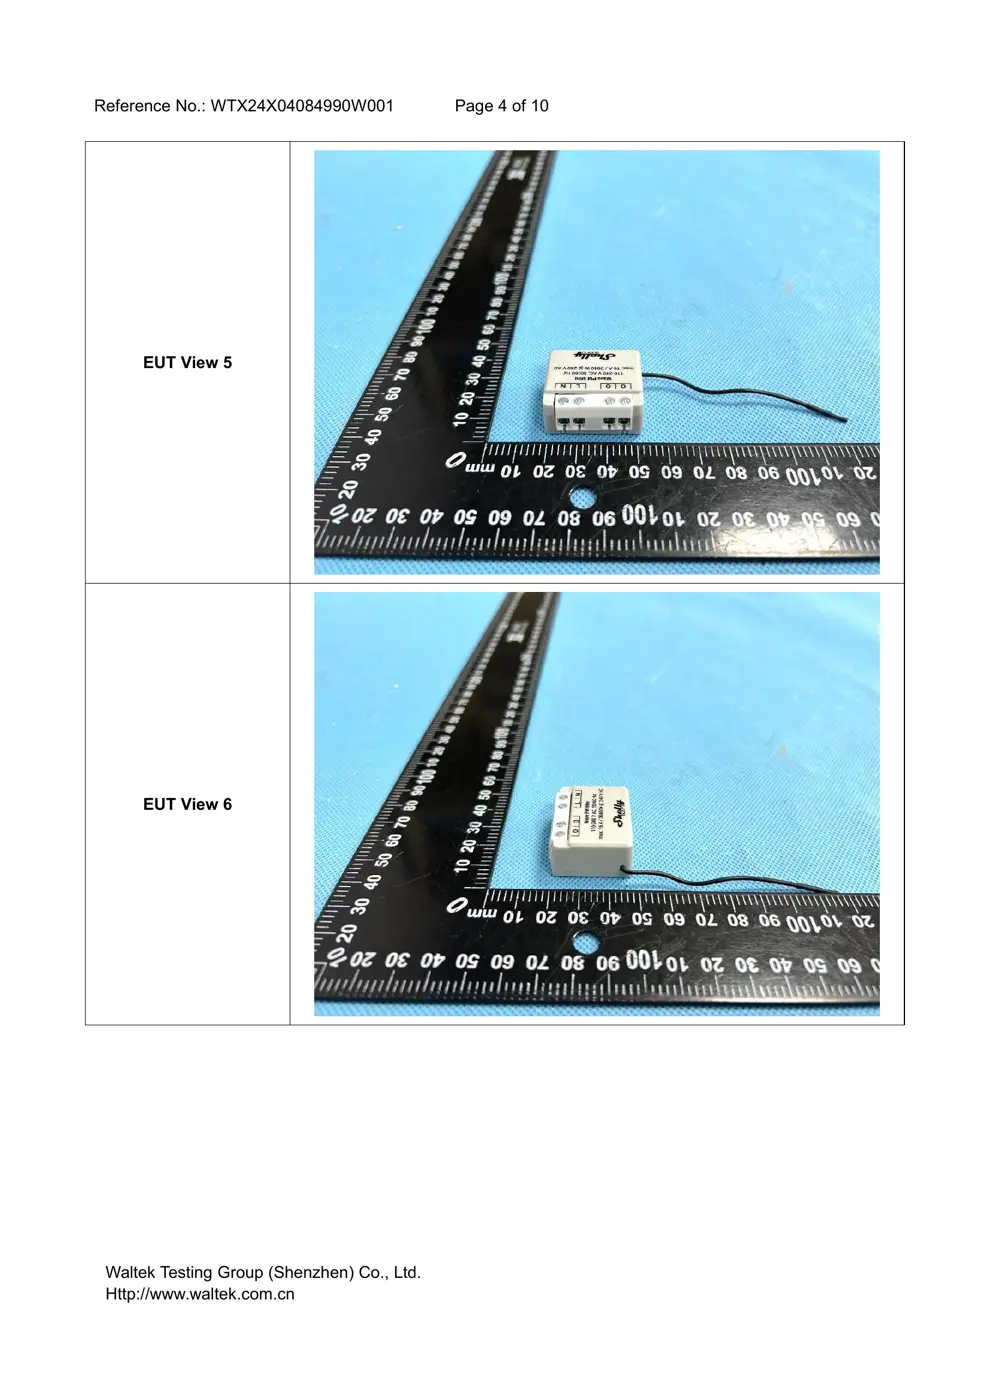
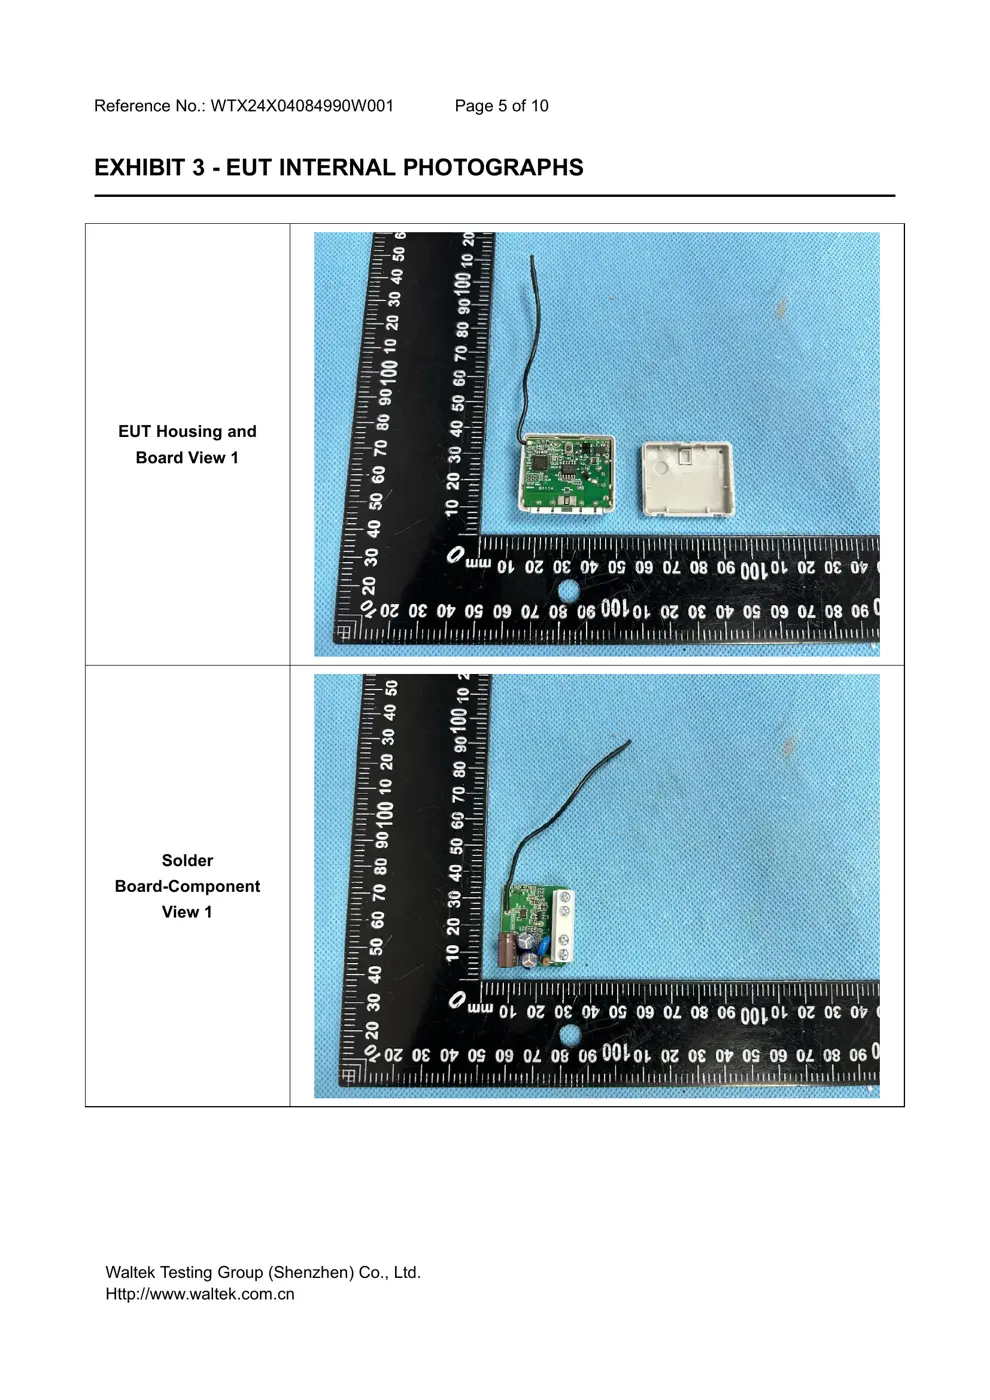
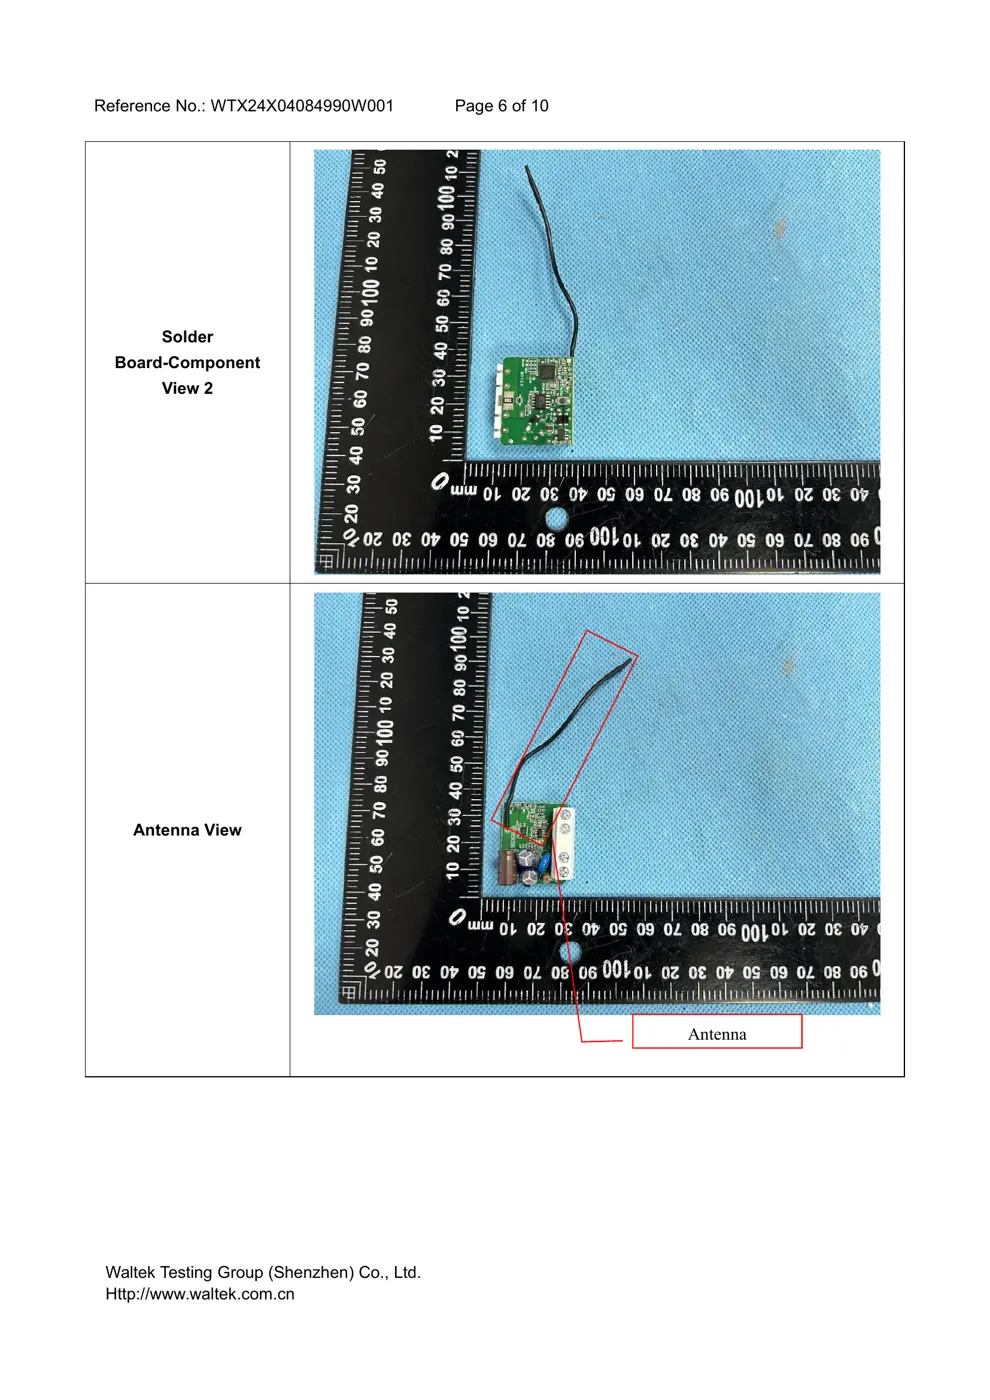
Internal Photos
Teardown photos showing the PCB and components:

Verdict
The WAVEPMMINI is a Z-Wave device from the Shelly ecosystem.
📄 Click to view full text manual (SEO)
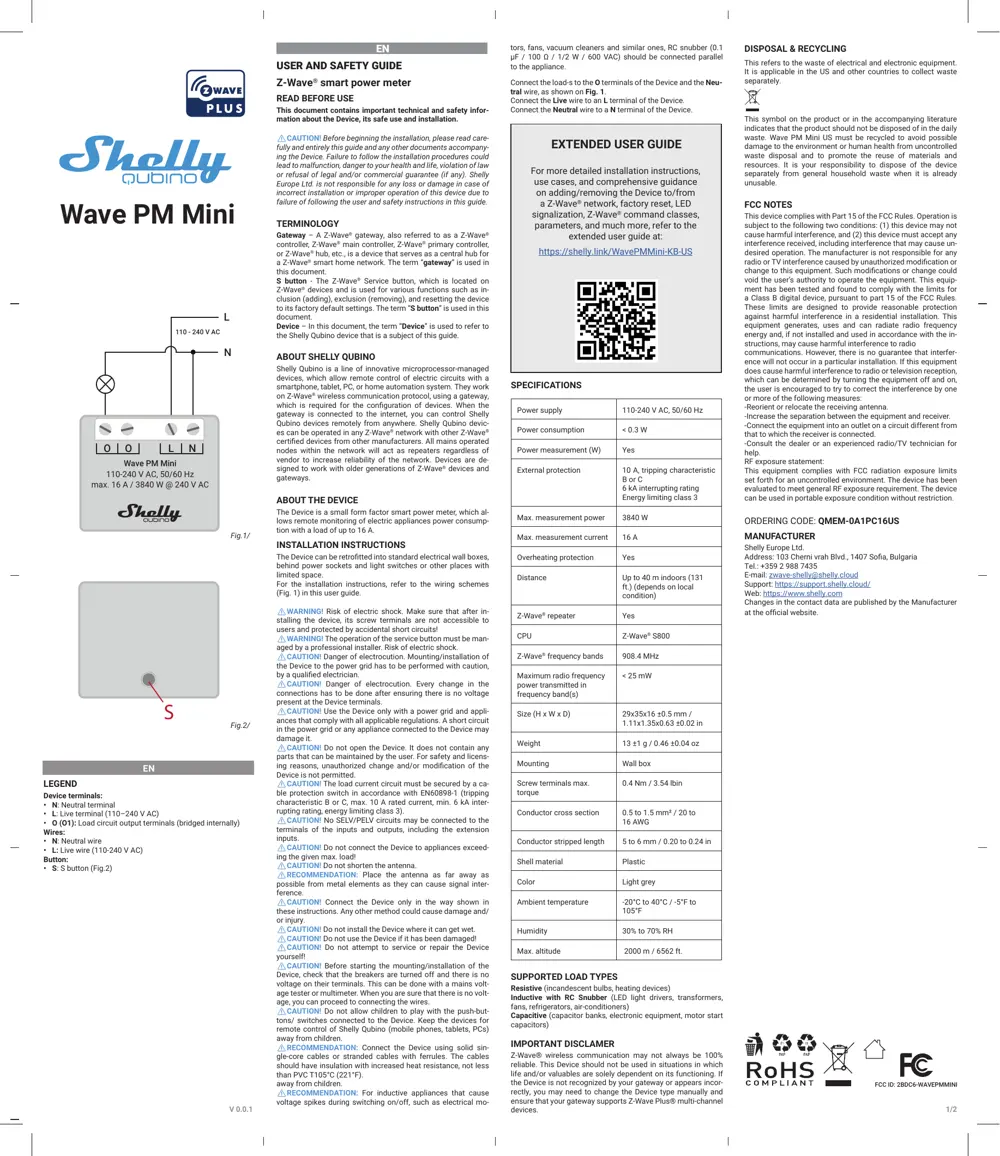
EN
LEGEND
Device terminals:
• N: Neutral terminal
• L: Live terminal (110–240 V AC)
• O (O1): Load circuit output terminals (bridged internally)
Wires:
• N: Neutral wire
• L: Live wire (110-240 V AC)
Button:
• S: S button (Fig.2)
EN
USER AND SAFETY GUIDE
Z-Wave® smart power meter
READ BEFORE USE
This document contains important technical and safety infor -
mation about the Device, its safe use and installation.
⚠CAUTION! Before beginning the installation, please read care-
fully and entirely this guide and any other documents accompany-
ing the Device. Failure to follow the installation procedures could
lead to malfunction, danger to your health and life, violation of law
or refusal of legal and/or commercial guarantee (if any). Shelly
Europe Ltd. is not responsible for any loss or damage in case of
incorrect installation or improper operation of this device due to
failure of following the user and safety instructions in this guide.
TERMINOLOGY
Gateway – A Z-Wave ® gateway, also referred to as a Z-Wave ®
controller, Z-Wave® main controller, Z-Wave® primary controller,
or Z-Wave® hub, etc., is a device that serves as a central hub for
a Z-Wave® smart home network. The term “gateway” is used in
this document.
S button - The Z-Wave ® Service button, which is located on
Z-Wave® devices and is used for various functions such as in -
clusion (adding), exclusion (removing), and resetting the device
to its factory default settings. The term “S button” is used in this
document.
Device – In this document, the term “ Device” is used to refer to
the Shelly Qubino device that is a subject of this guide.
ABOUT SHELL Y QUBINO
Shelly Qubino is a line of innovative microprocessor-managed
devices, which allow remote control of electric circuits with a
smartphone, tablet, PC, or home automation system. They work
on Z-Wave® wireless communication protocol, using a gateway,
which is required for the configuration of devices. When the
gateway is connected to the internet, you can control Shelly
Qubino devices remotely from anywhere. Shelly Qubino devic -
es can be operated in any Z-Wave® network with other Z-Wave®
certified devices from other manufacturers. All mains operated
nodes within the network will act as repeaters regardless of
vendor to increase reliability of the network. Devices are de -
signed to work with older generations of Z-Wave ® devices and
gateways.
ABOUT THE DEVICE
The Device is a small form factor smart power meter, which al -
lows remote monitoring of electric appliances power consump-
tion with a load of up to 16 A.
INSTALLATION INSTRUCTIONS
The Device can be retrofitted into standard electrical wall boxes,
behind power sockets and light switches or other places with
limited space.
For the installation instructions, refer to the wiring schemes
(Fig. 1) in this user guide.
⚠WARNING! Risk of electric shock. Make sure that after in -
stalling the device, its screw terminals are not accessible to
users and protected by...