SJCGQ11LM Reset & Teardown (FCC ID 2AKIT-SJCGQ11LM)
Factory reset and internal photos for Aqara (Lumi United) SJCGQ11LM. Aqara Zigbee smart plug.
January 15, 2026
•
8 read
Before you buy the Aqara (Lumi United) SJCGQ11LM, check what's inside.
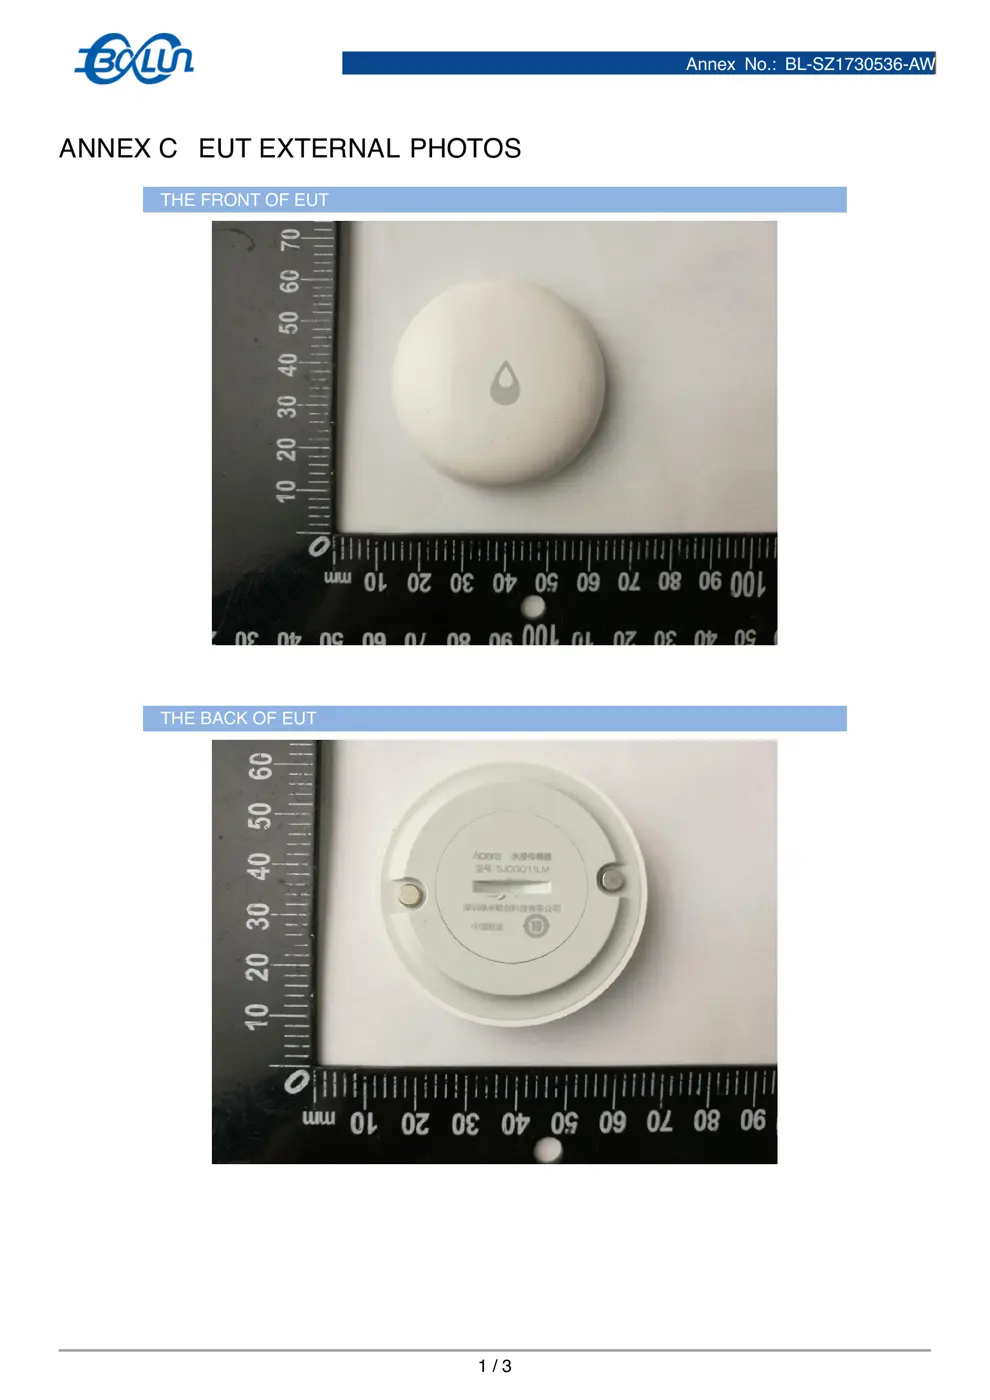
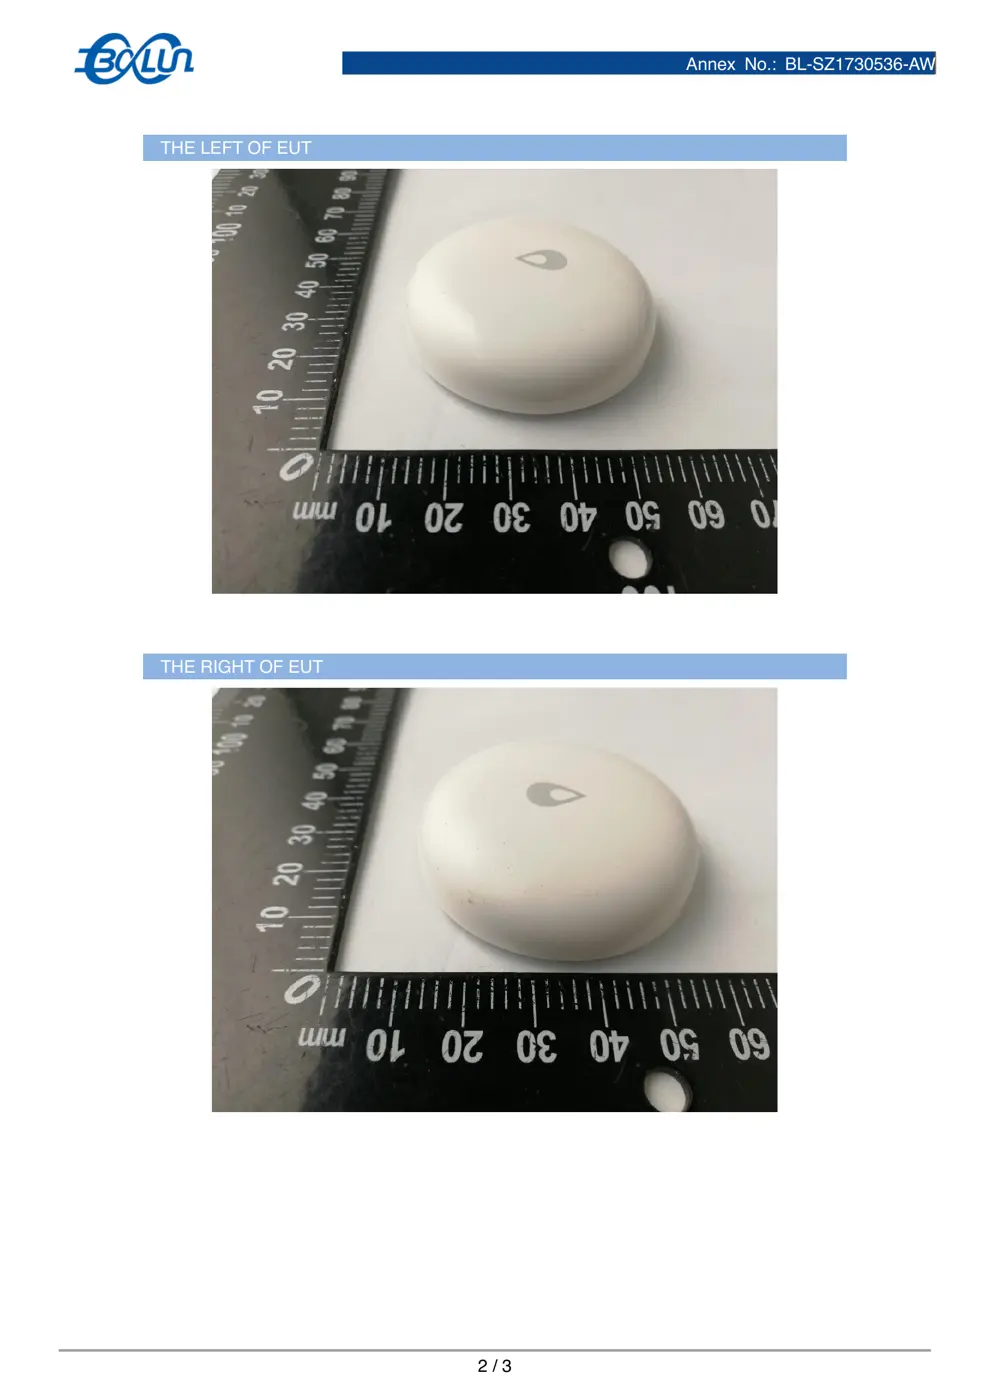
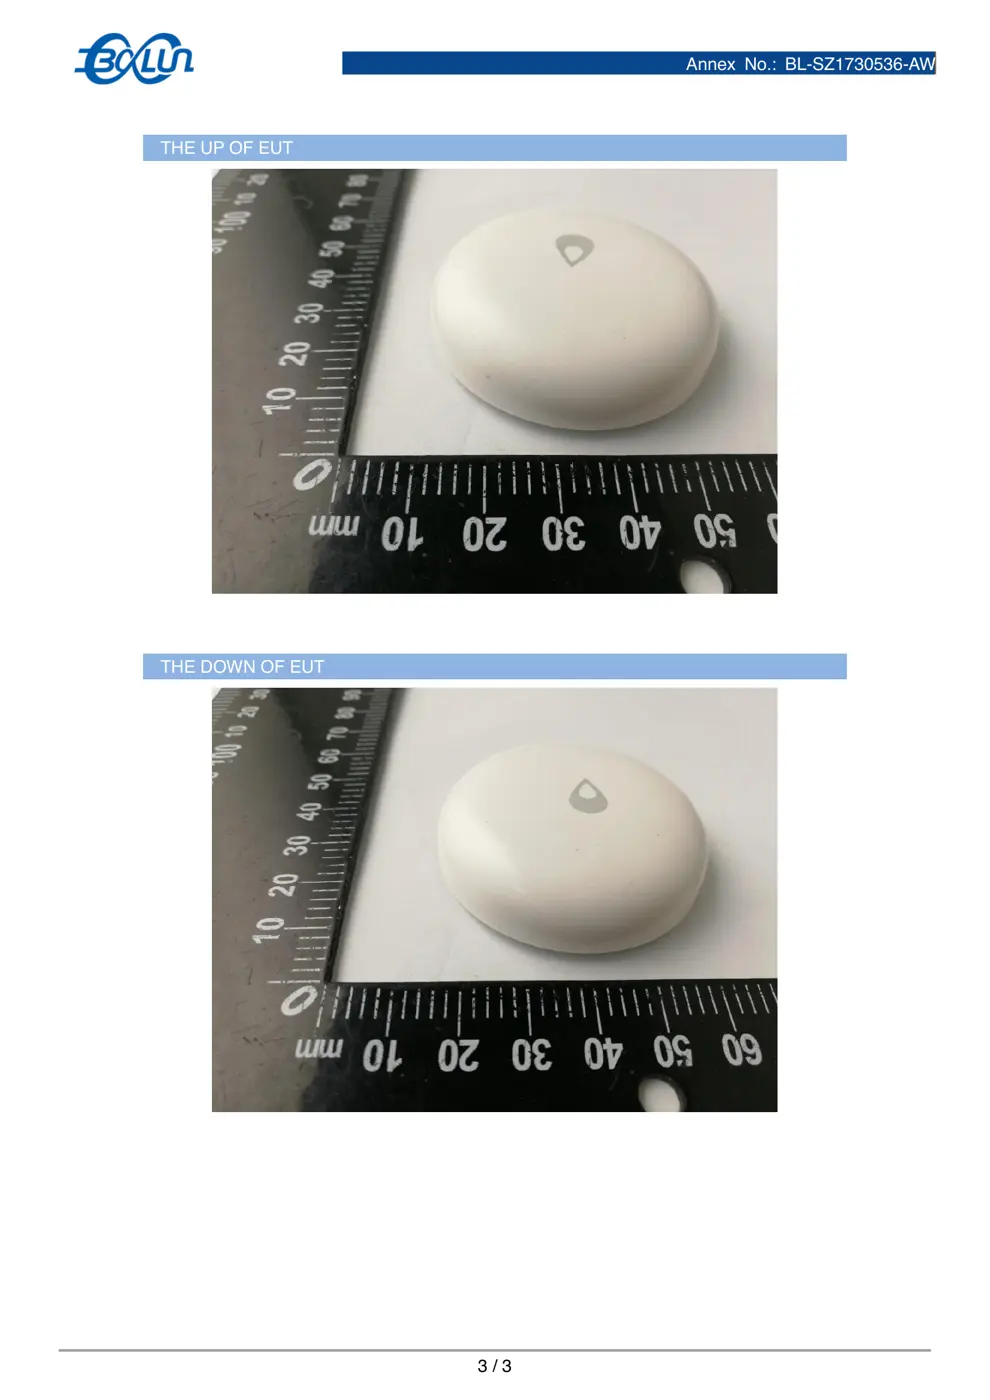
This is the Aqara SJCGQ11LM, a compact Zigbee-based water leak sensor designed to detect the presence of water and trigger alarms through a compatible Aqara or Mijia gateway. It requires a gateway to function and operates on battery power.
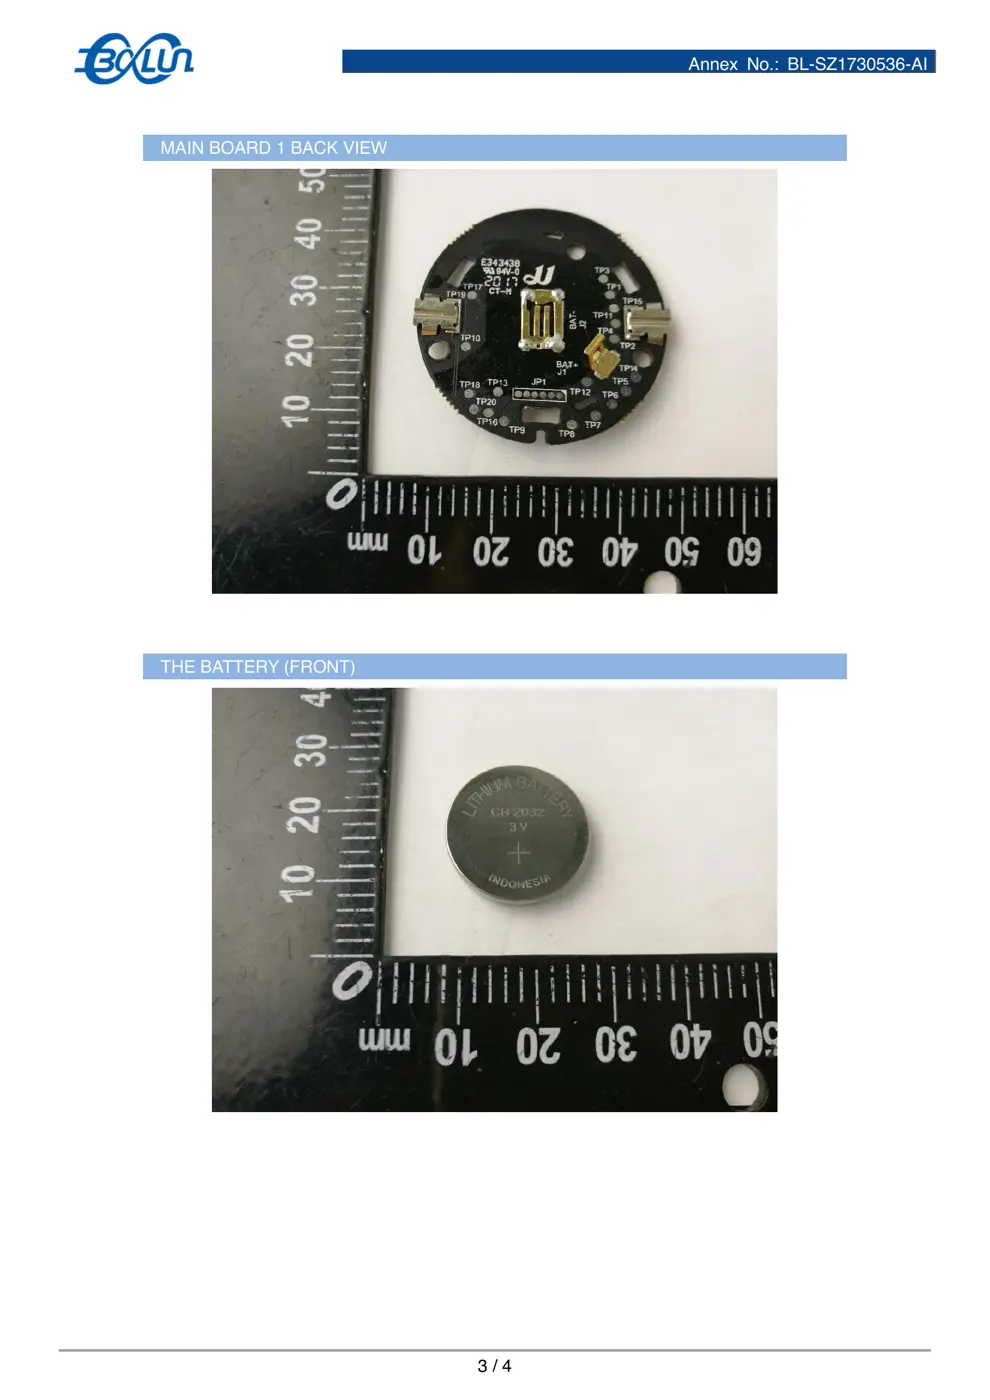
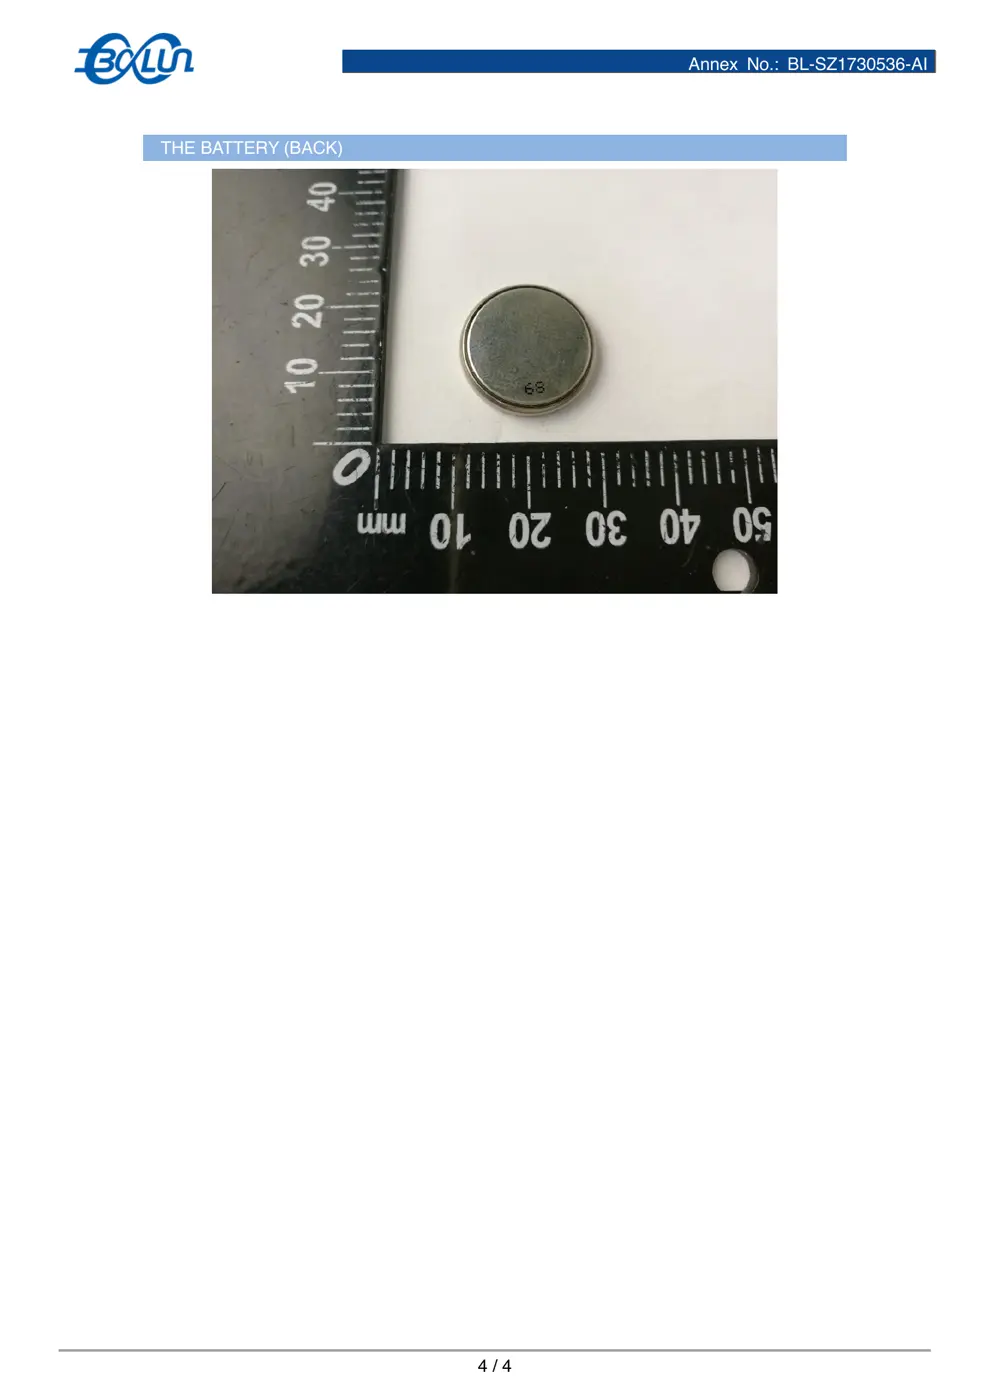
⚠️ NOTE: Ensure correct battery polarity and use the specified CR2032 battery.
Quick Specs
- Manufacturer: Aqara (Lumi United)
- Model: SJCGQ11LM
- Protocol: Zigbee
- Chipset: Zigbee SoC
- Ecosystem: Aqara Zigbee
- App: Aqara Home
🔧 Geek Corner (Flashing Info)
- Chipset: Unknown (likely Ti CC253x or similar Zigbee SoC)
- Flashable: ❌ No
- Info: Proprietary Zigbee SoC, not designed for flashing custom firmware.
User Manual
Scanned pages from the official user manual:
External Photos
Photos of the device exterior:
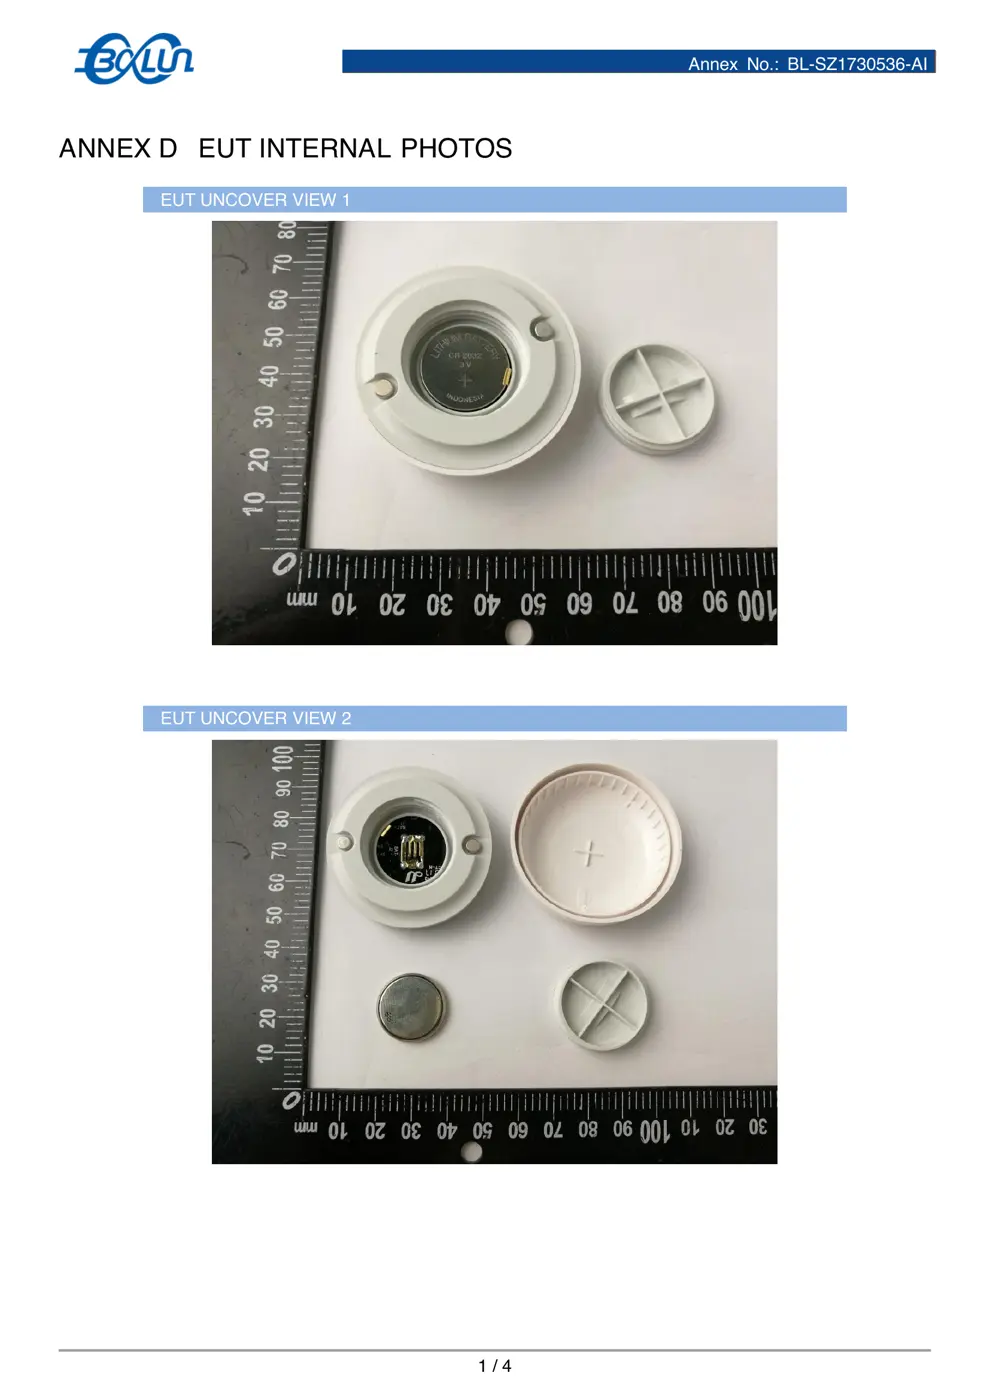
Internal Photos
Teardown photos showing the PCB and components:


Verdict
The SJCGQ11LM is a Zigbee device from the Aqara Zigbee ecosystem.
📄 Click to view full text manual (SEO)
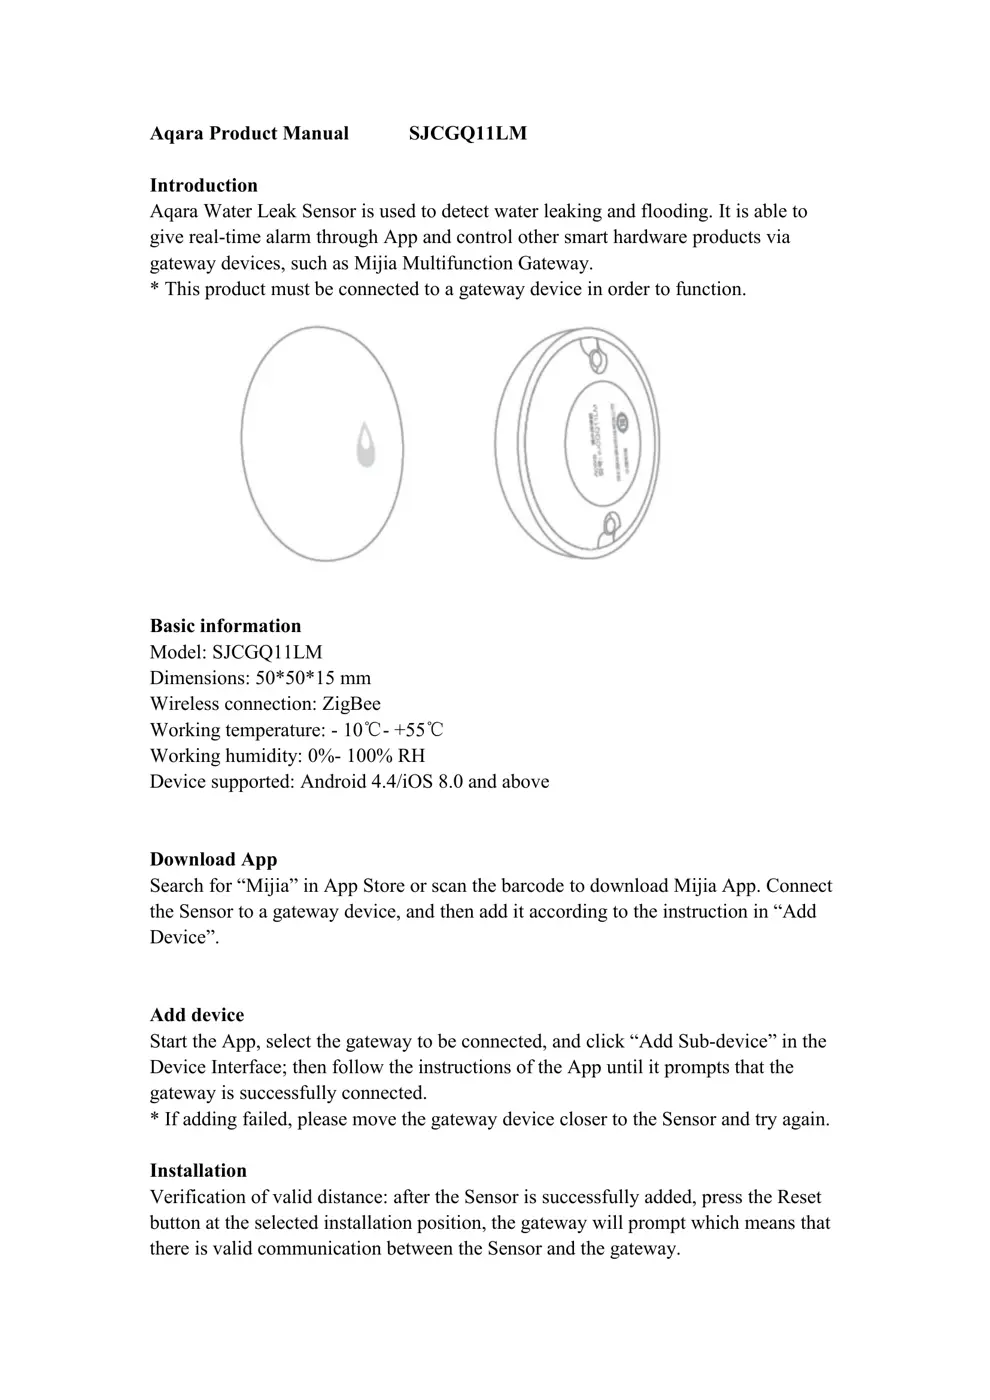
Aqara Product Manual SJCGQ11LM
Introduction
Aqara Water Leak Sensor is used to detect water leaking and flooding. It is able to
give real-time alarm through App and control other smart hardware products via
gateway devices, such as Mijia Multifunction Gateway.
* This product must be connected to a gateway device in order to function.
Basic information
Model: SJCGQ11LM
Dimensions: 50*50*15 mm
Wireless connection: ZigBee
Working temperature: - 10℃- +55℃
Working humidity: 0%- 100% RH
Device supported: Android 4.4/iOS 8.0 and above
Download App
Search for “Mijia” in App Store or scan the barcode to download Mijia App. Connect
the Sensor to a gateway device, and then add it according to the instruction in “Add
Device”.
Add device
Start the App, select the gateway to be connected, and click “Add Sub-device” in the
Device Interface; then follow the instructions of the App until it prompts that the
gateway is successfully connected.
* If adding failed, please move the gateway device closer to the Sensor and try again.
Installation
Verification of valid distance: after the Sensor is successfully added, press the Reset
button at the selected installation position, the gateway will prompt which means that
there is valid communication between the Sensor and the gateway.
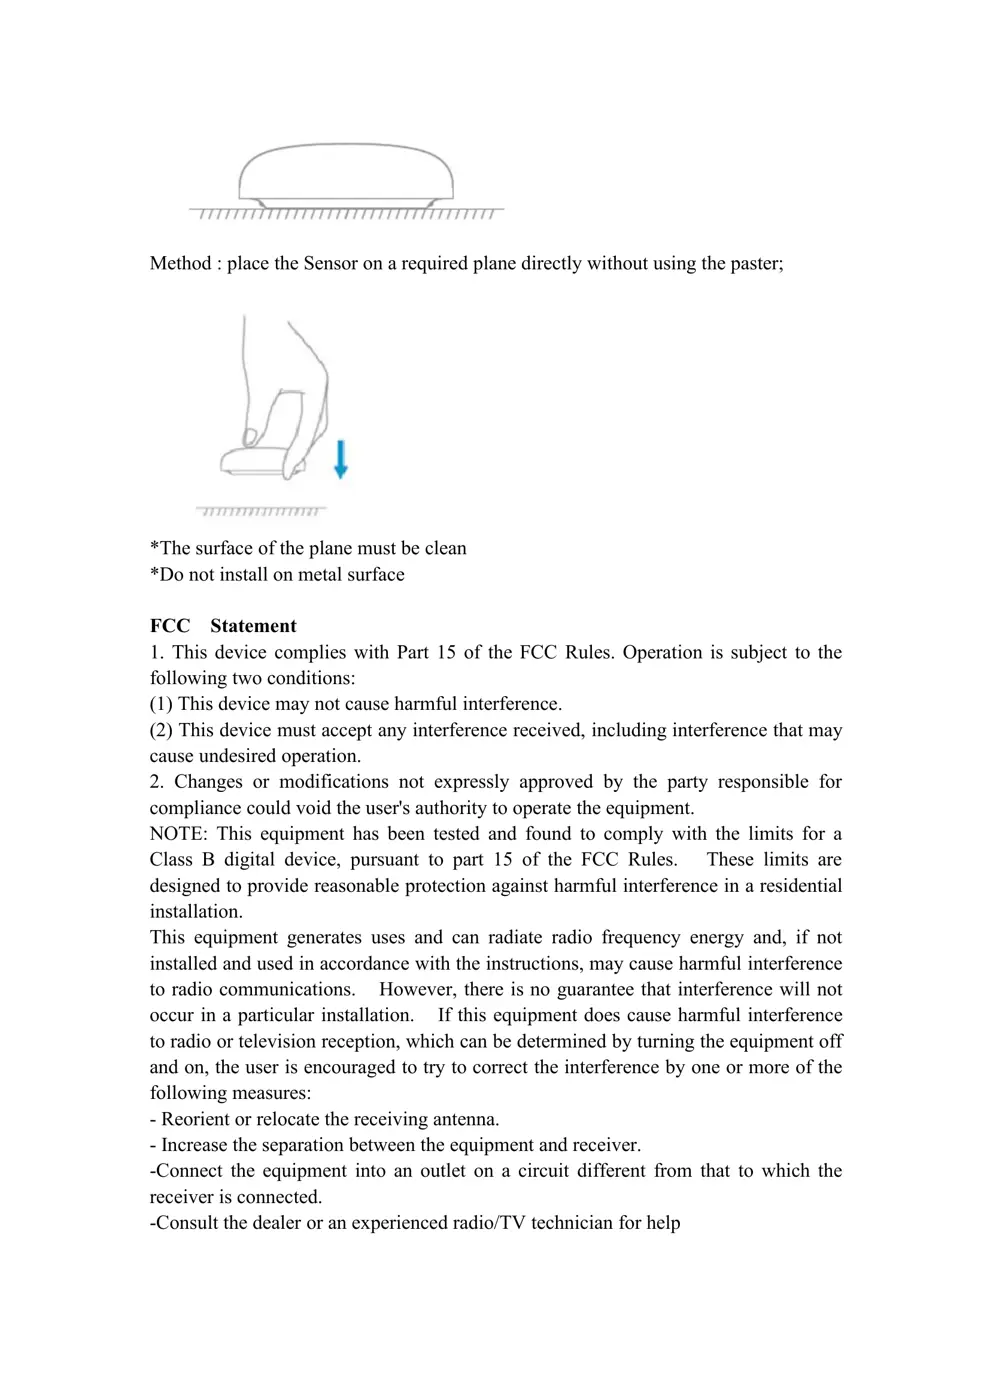
Method : place the Sensor on a required plane directly without using the paster;
*The surface of the plane must be clean
*Do not install on metal surface
FCC Statement
1. This device complies with Part 15 of the FCC Rules. Operation is subject to the
following two conditions:
(1) This device may not cause harmful interference.
(2) This device must accept any interference received, including interference that may
cause undesired operation.
2. Changes or modifications not expressly approved by the party responsible for
compliance could void the user's authority to operate the equipment.
NOTE: This equipment has been tested and found to comply with the limits for a
Class B digital device, pursuant to part 15 of the FCC Rules. These limits are
designed to provide reasonable protection against harmful interference in a residential
installation.
This equipment generates uses and can radiate radio frequency energy and, if not
installed and used in accordance with the instructions, may cause harmful interference
to radio communications. However, there is no guarantee that interference will not
occur in a particular installation. If this equipment does cause harmful interference
to radio or television reception, which can be determined by turning the equipment off
and on, the user is encouraged to try to correct the interference by one or more of the
following measures:
- Reorient or relocate the receiving antenna.
- Increase the separation between the equipment and receiver.
-Connect the equipment into an outlet on a circuit different from that to which the
receiver is connected.
-Consult the dealer or an experienced radio/TV technician for help
IC NOTICE TO CANADIAN USERS
This device complies with I...