HMG01 Reset & Teardown (FCC ID 2AKIT-HMG01)
Factory reset and internal photos for Aqara (Lumi United) HMG01. Aqara Zigbee smart plug.
January 16, 2026
•
11 read
Before you buy the Aqara (Lumi United) HMG01, check what's inside.
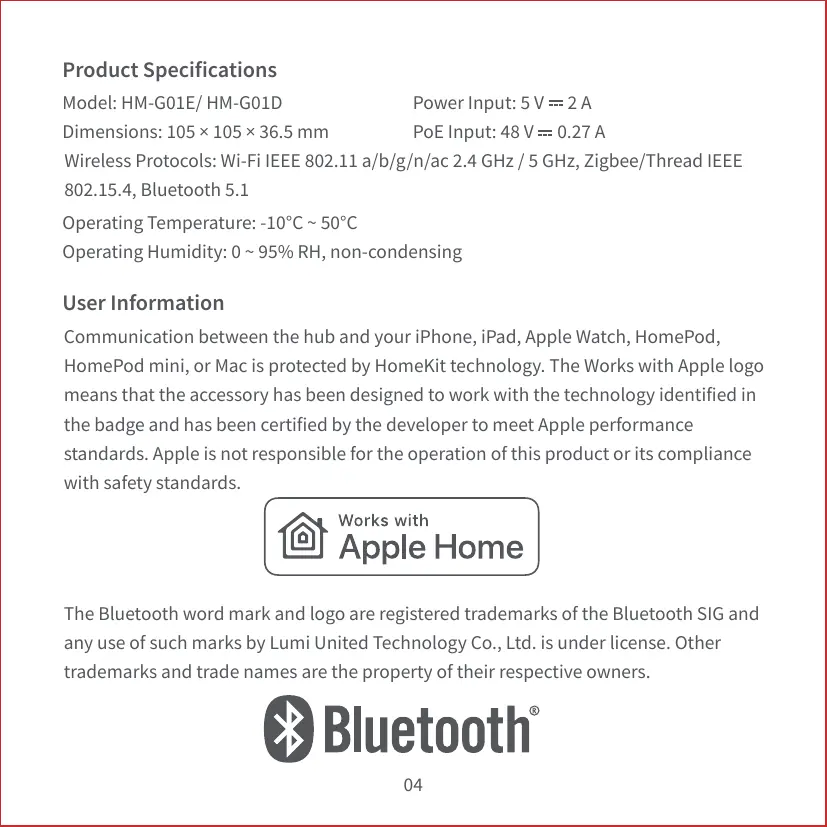
The Aqara HMG01 is a Zigbee-enabled device designed to act as a hub or gateway, specifically mentioned in relation to the Aqara Hub M3. It facilitates the connection of other Aqara Zigbee and Bluetooth child devices and integrates with both Aqara Home and Apple HomeKit ecosystems.
⚠️ NOTE: Ensure proper installation and connection to Mains power.
Quick Specs
- Manufacturer: Aqara (Lumi United)
- Model: HMG01
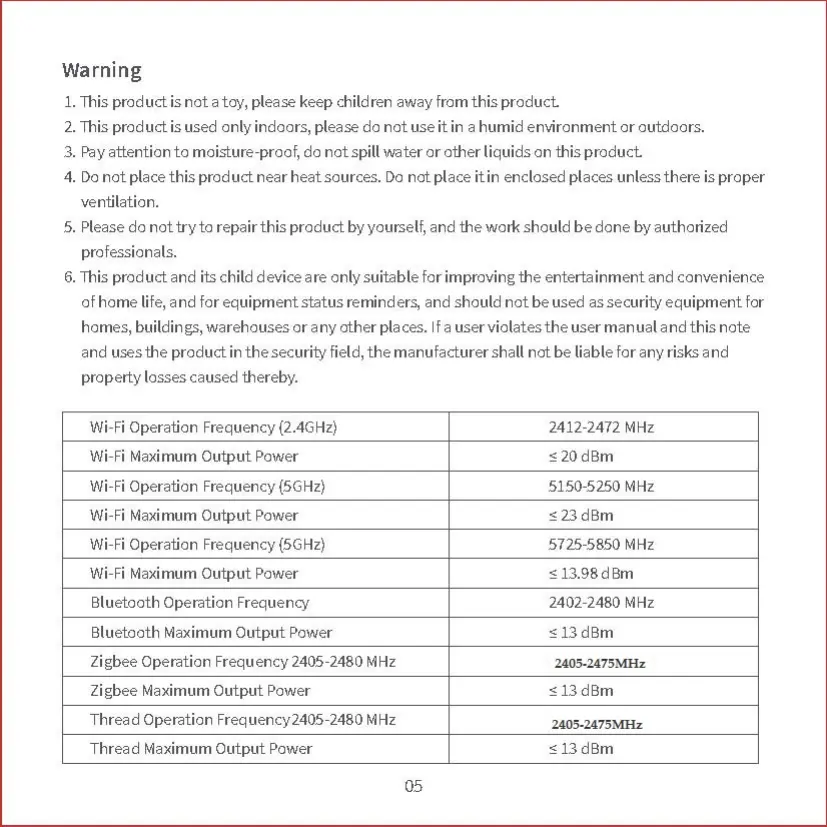
- Protocol: Zigbee
- Chipset: Zigbee SoC
- Ecosystem: Aqara Zigbee
- App: Aqara Home
🔧 Geek Corner (Flashing Info)
- Chipset: Unknown
- Flashable: ❌ No
- Info: Proprietary Aqara hardware, likely not designed for third-party firmware flashing.
User Manual
Scanned pages from the official user manual:

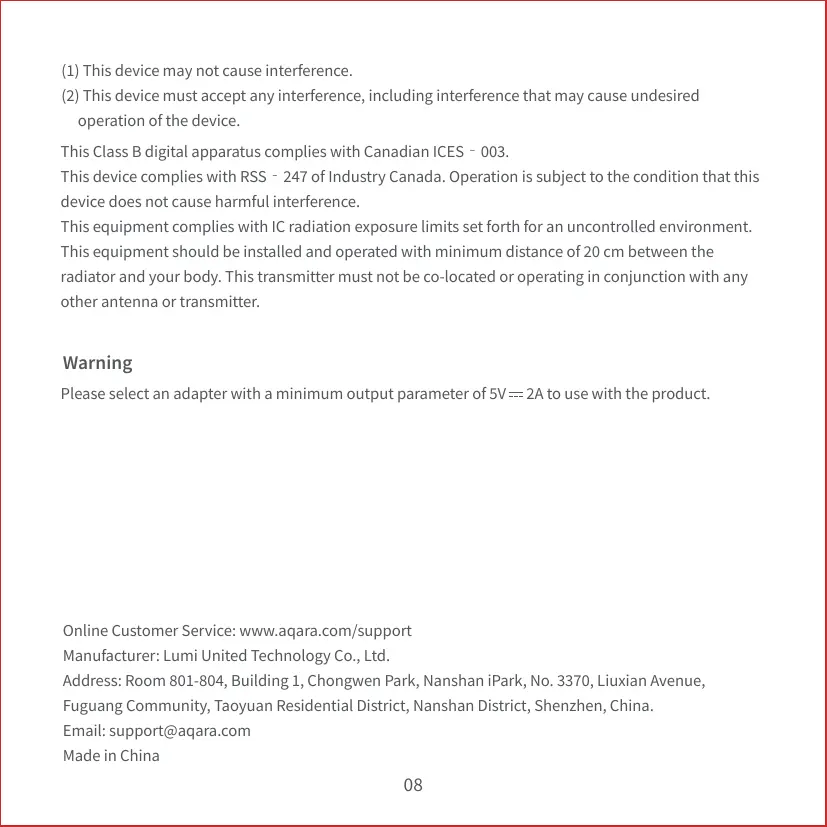

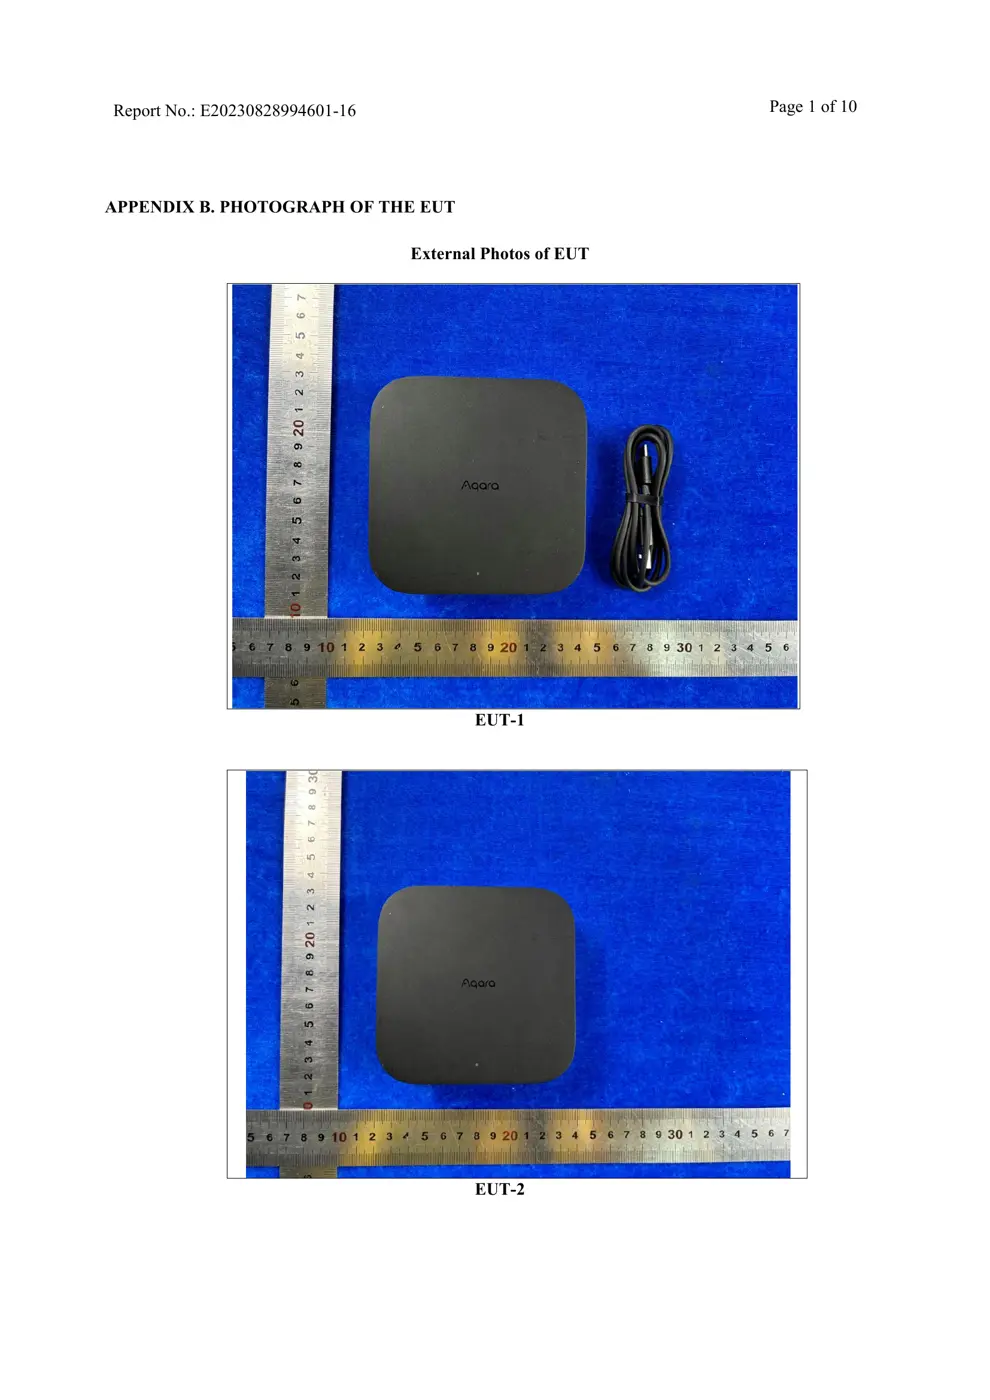
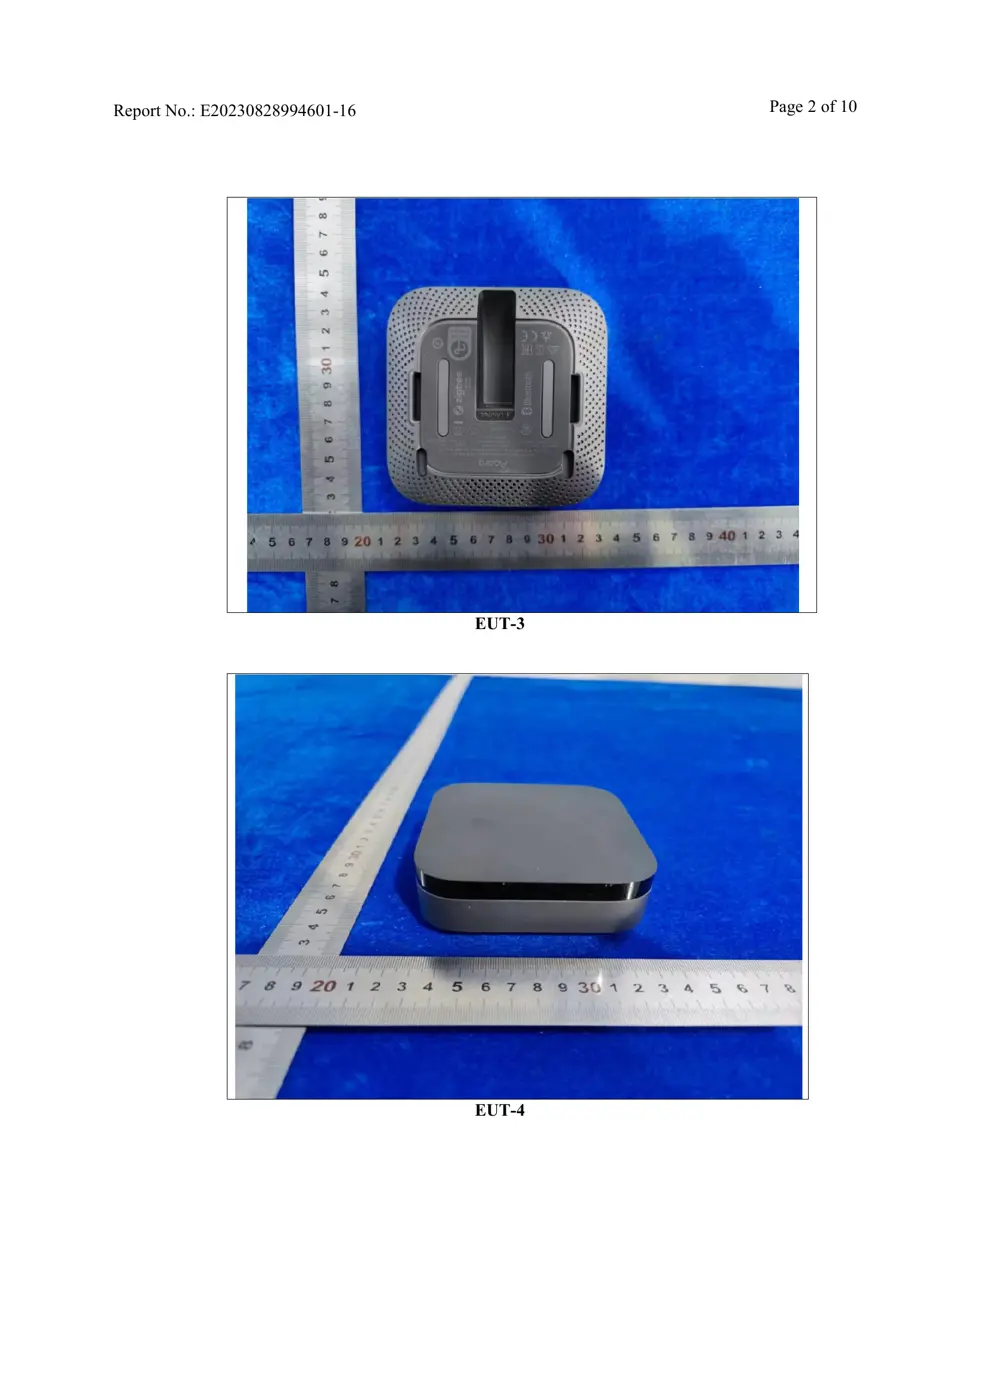
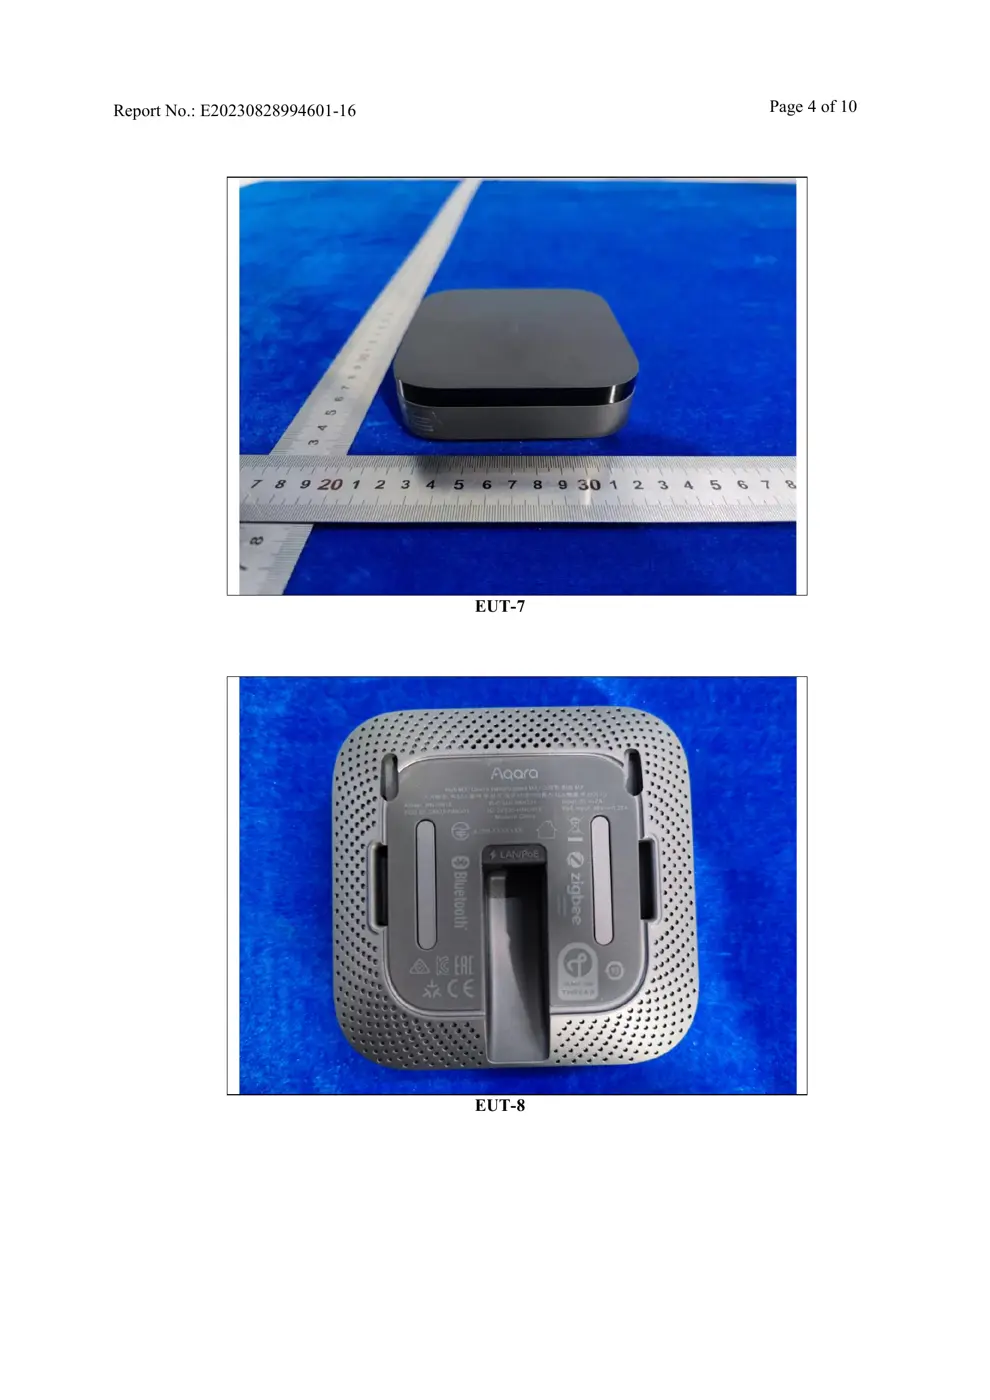
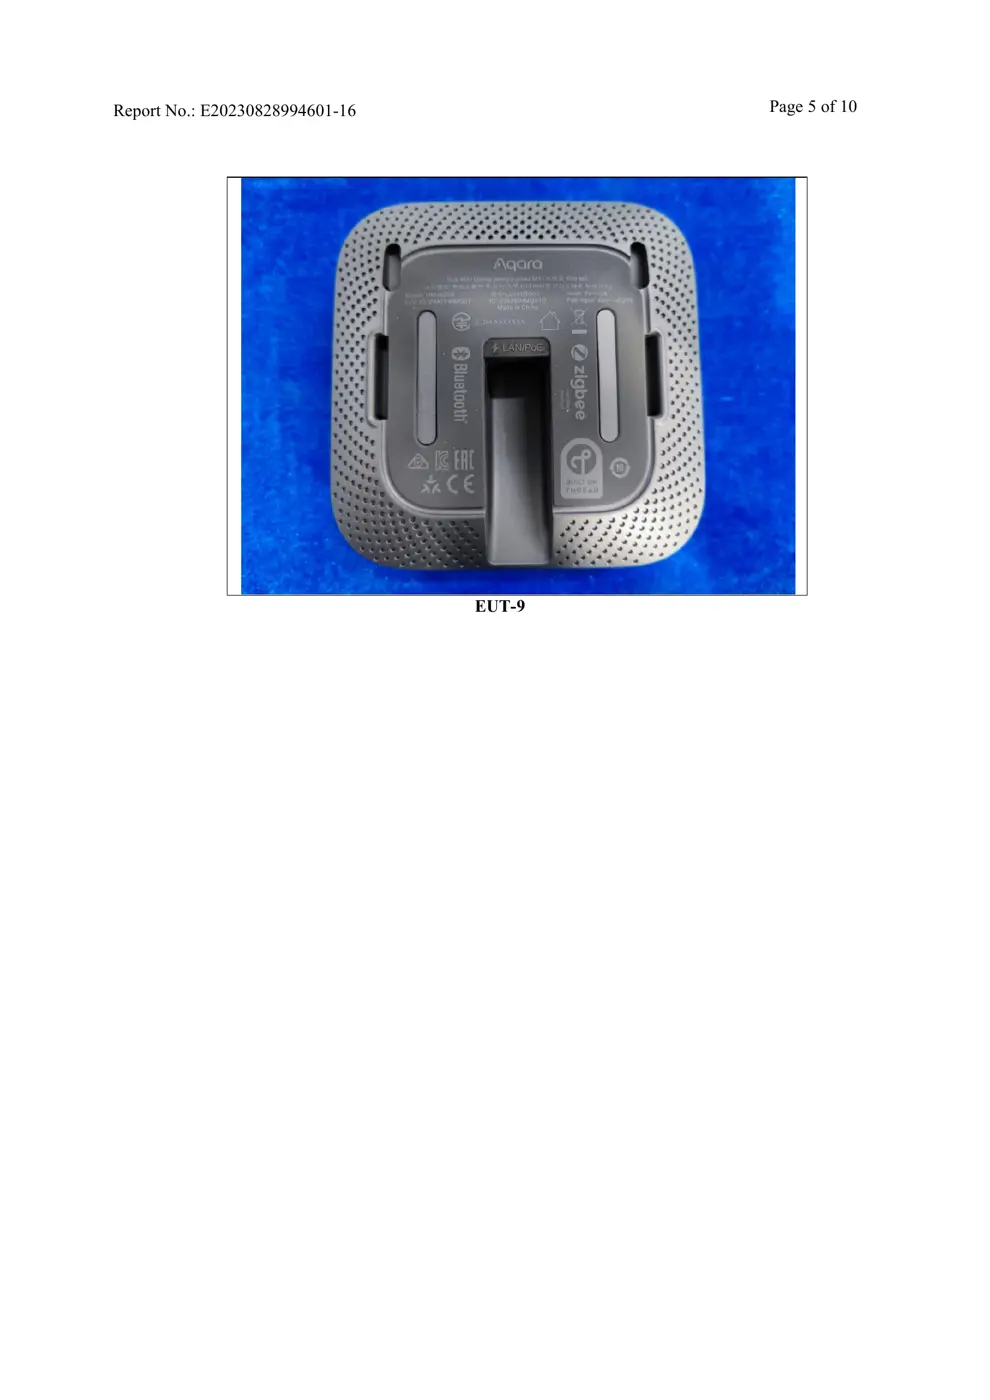
External Photos
Photos of the device exterior:
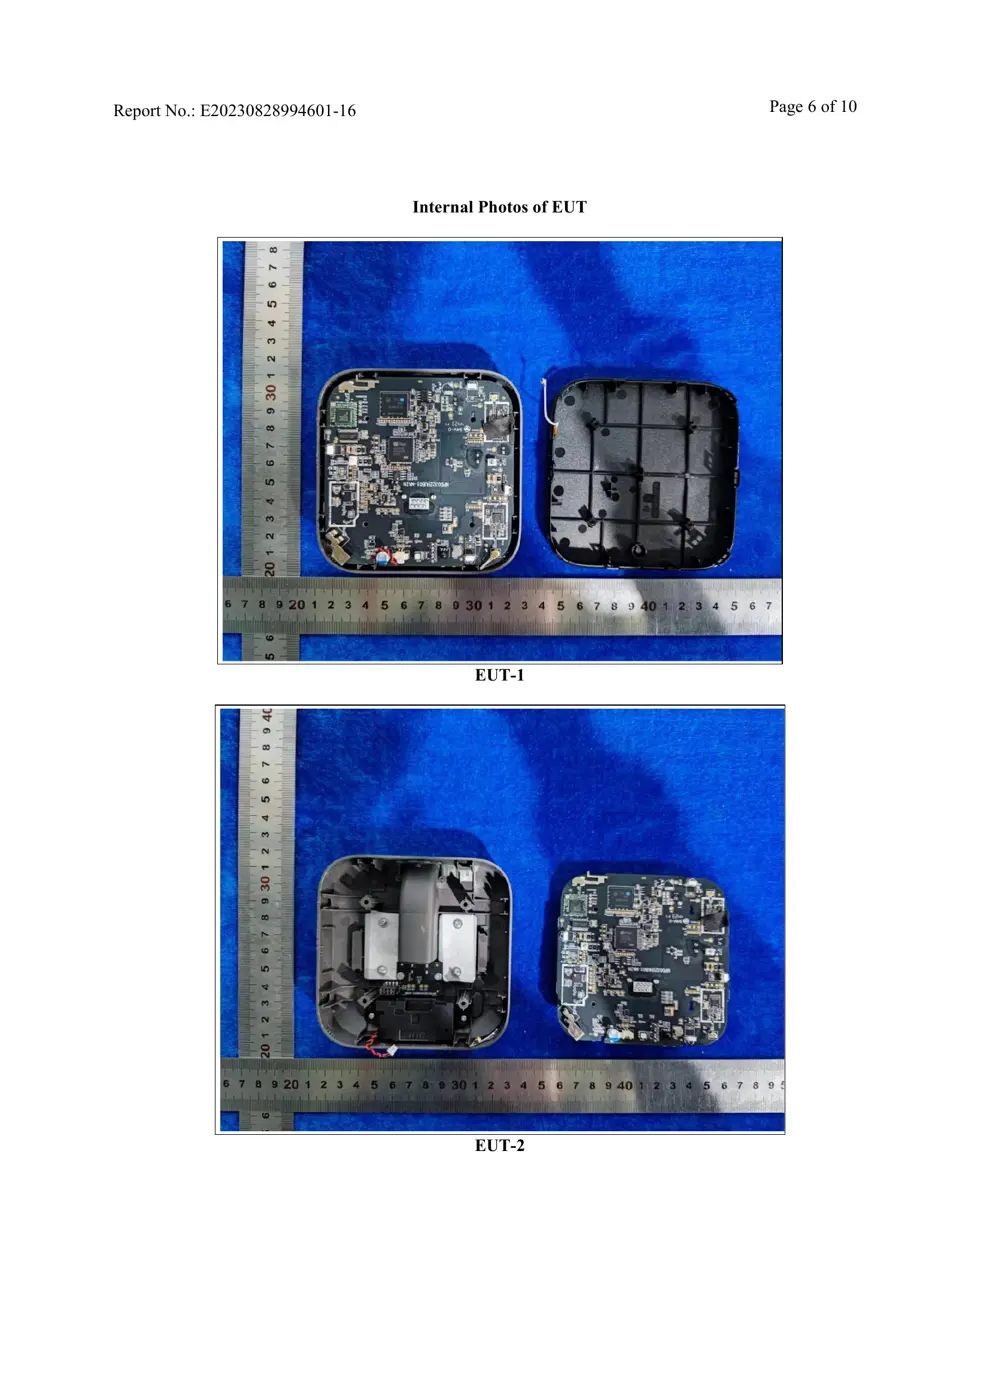
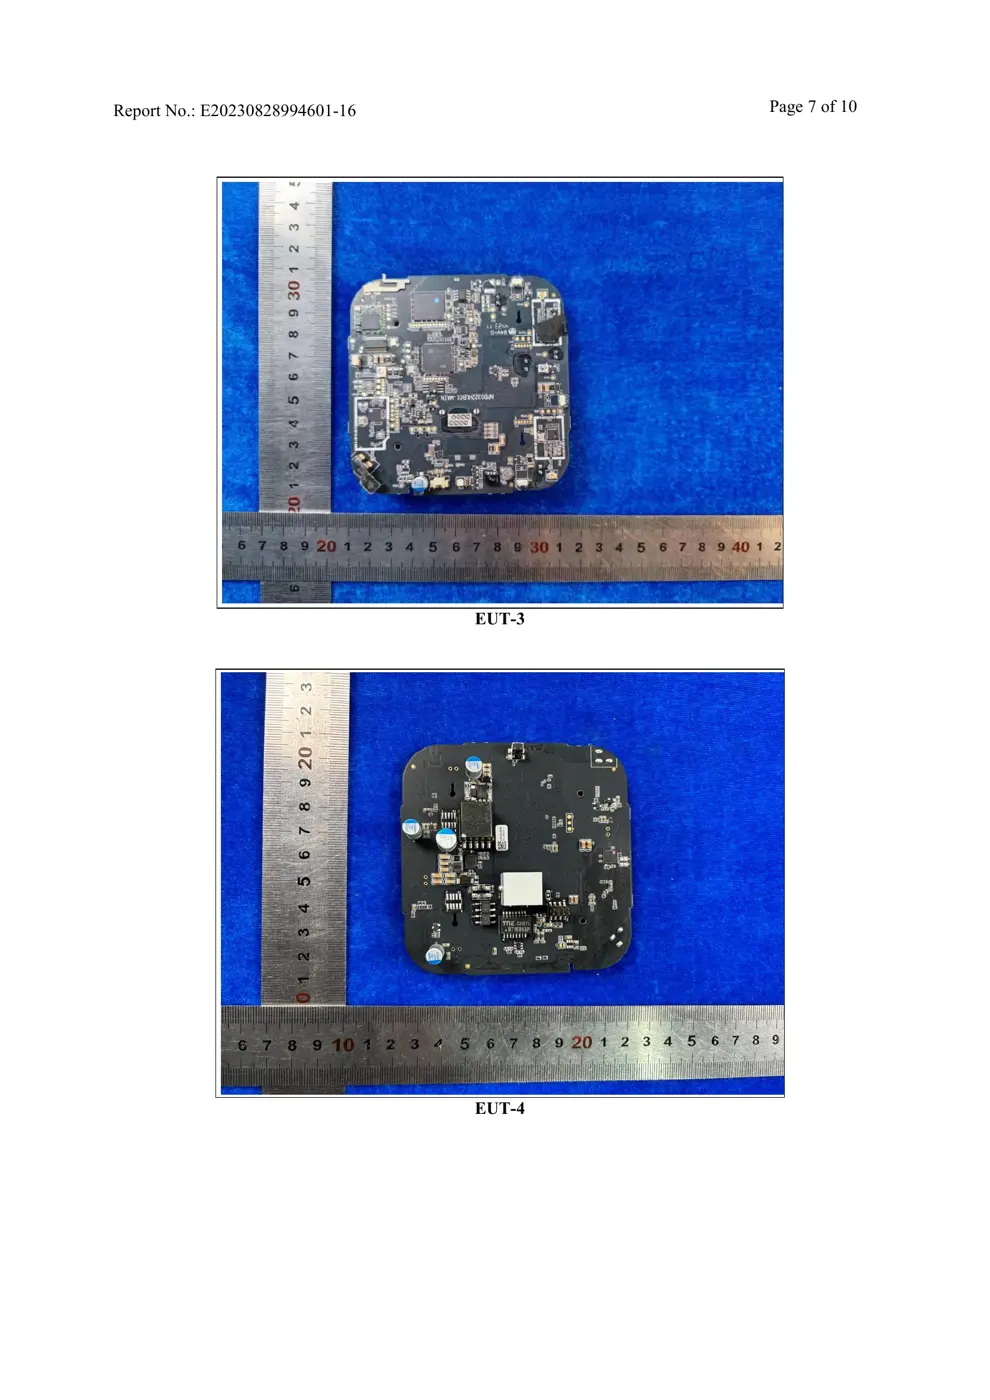
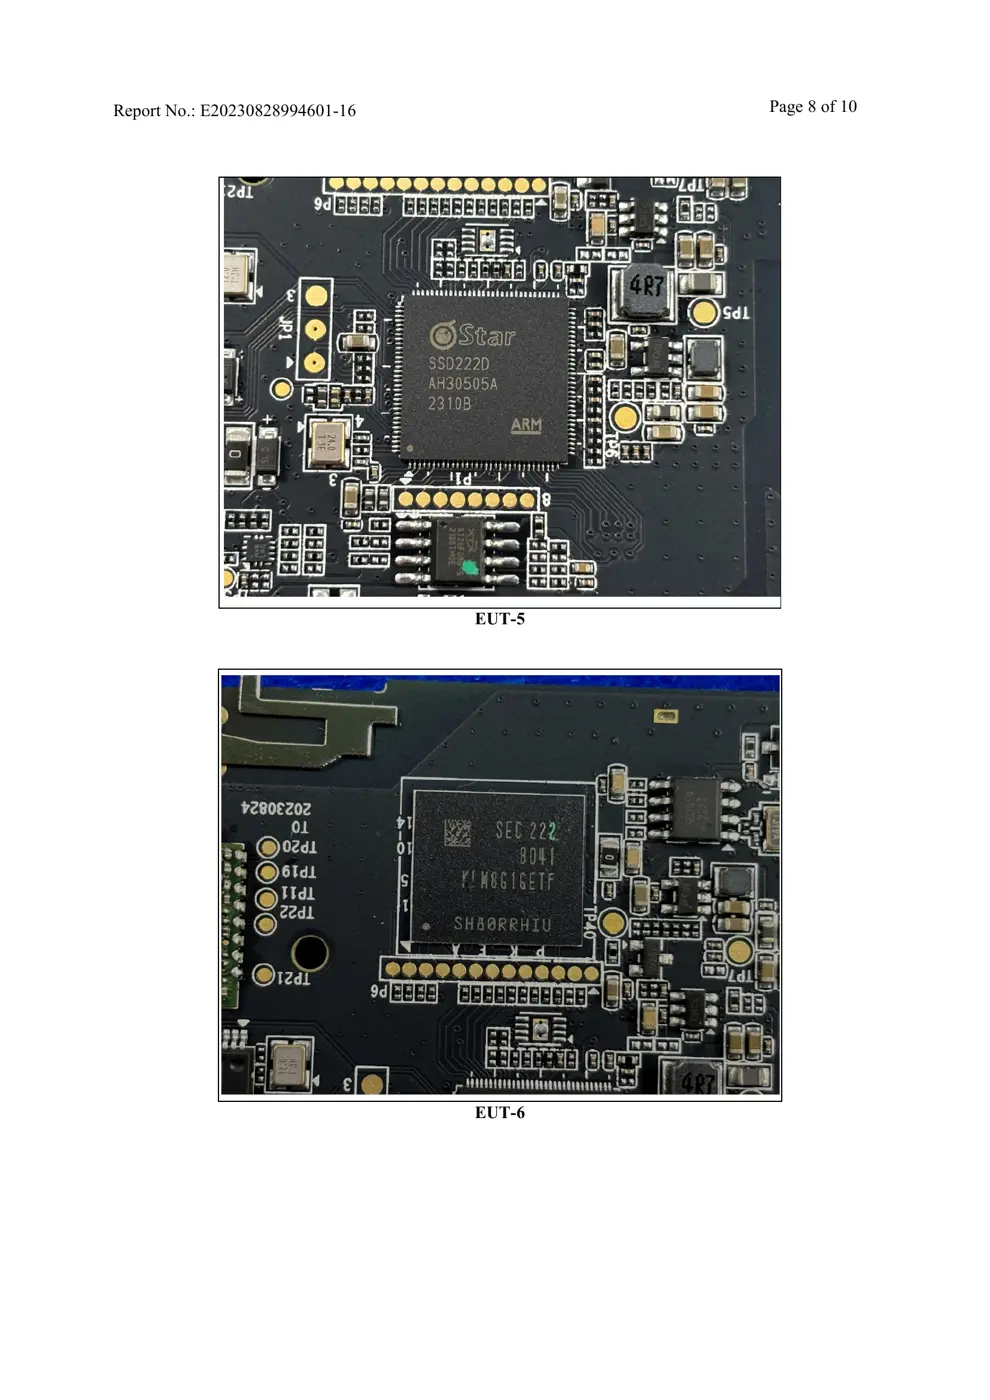
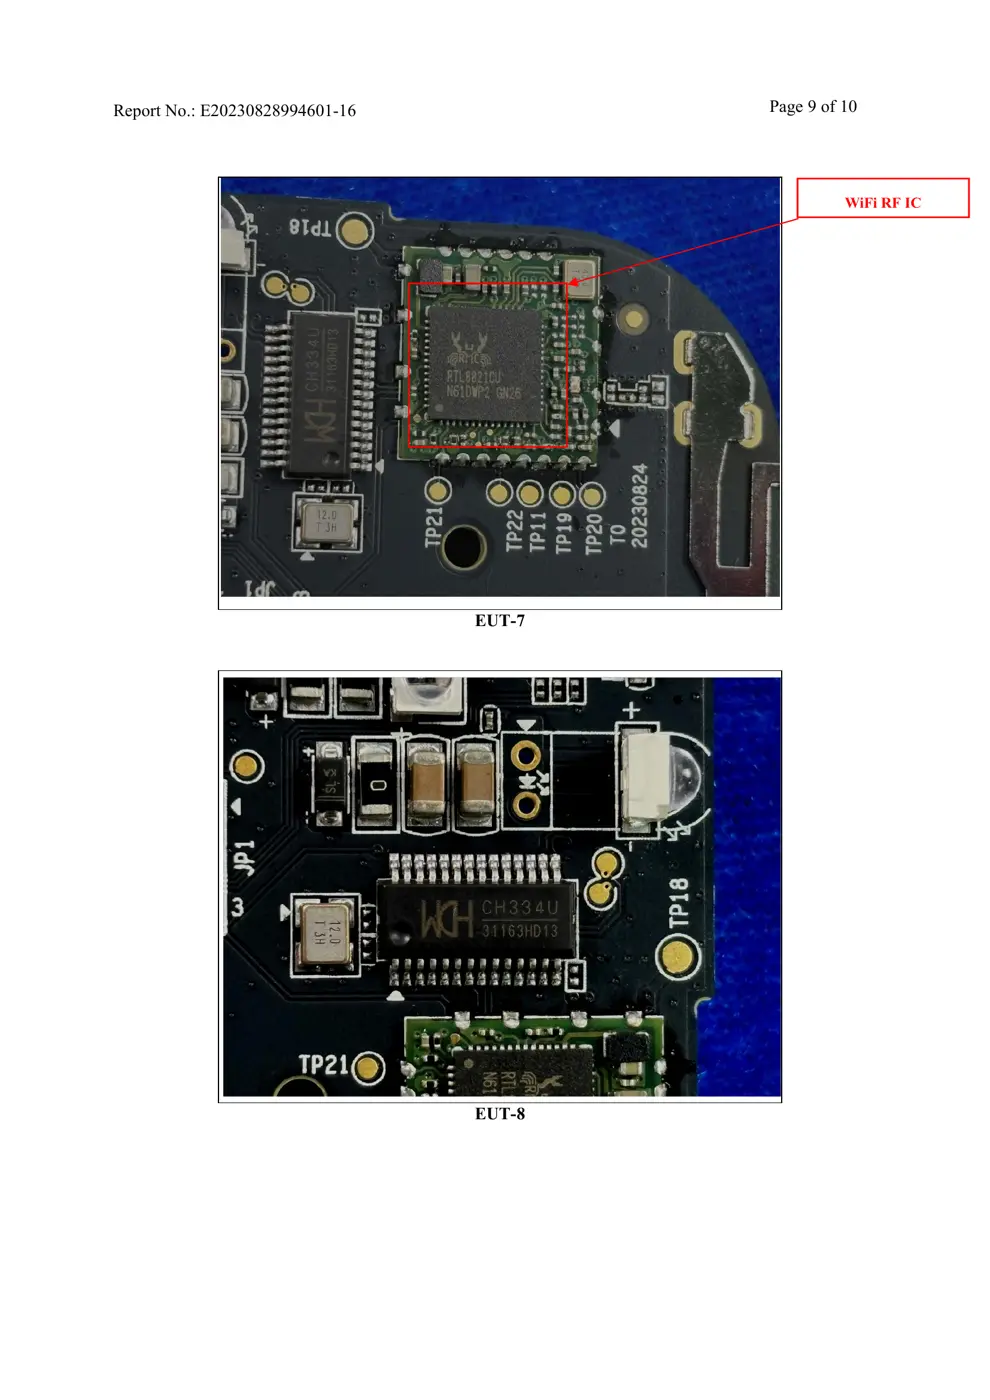
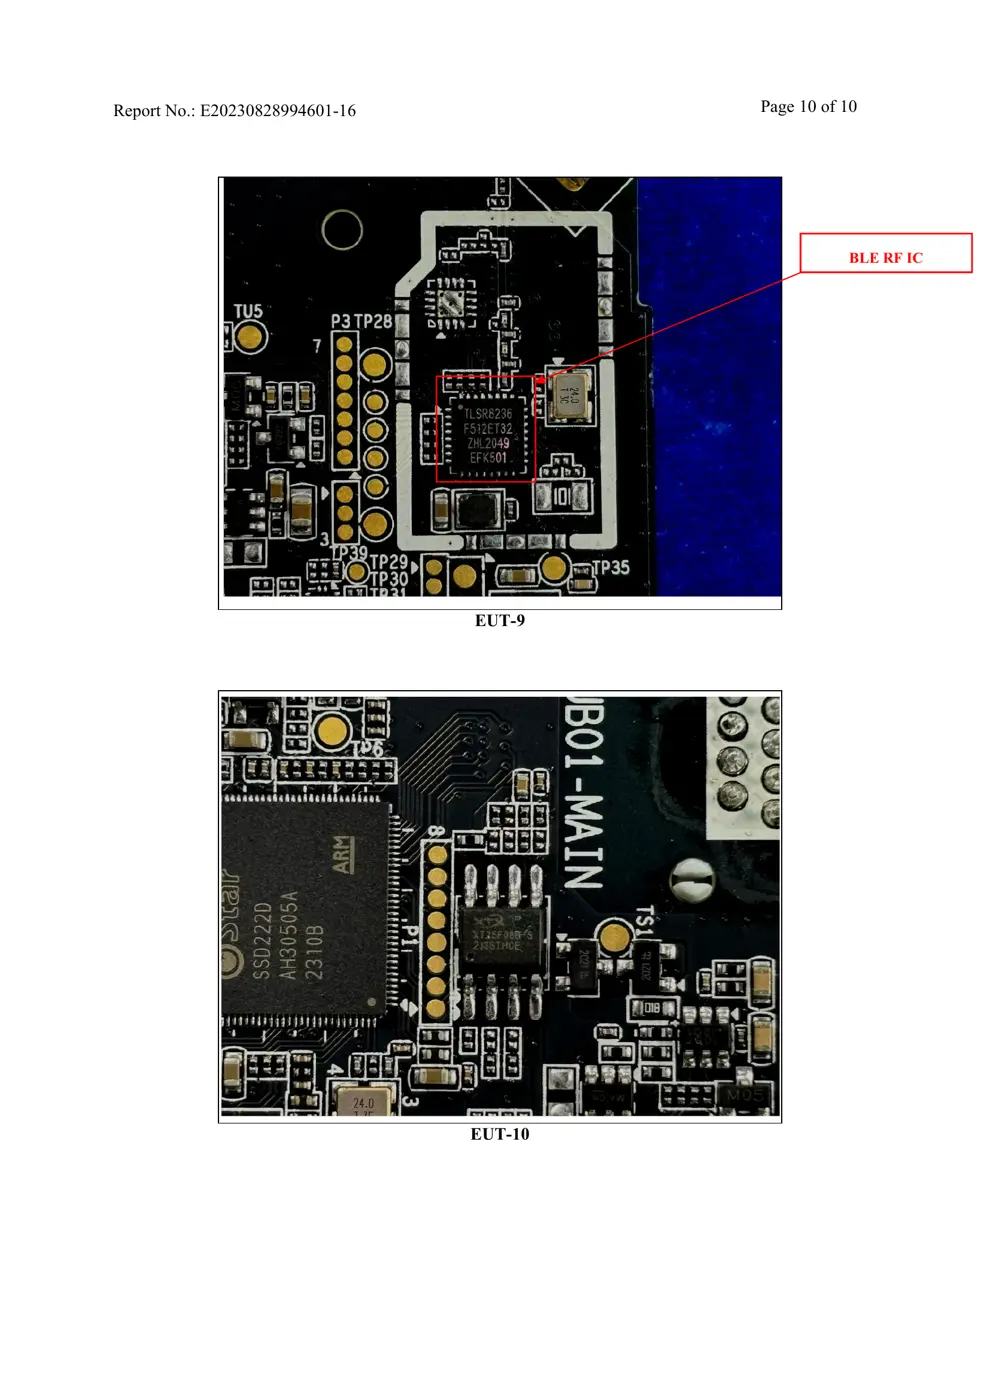
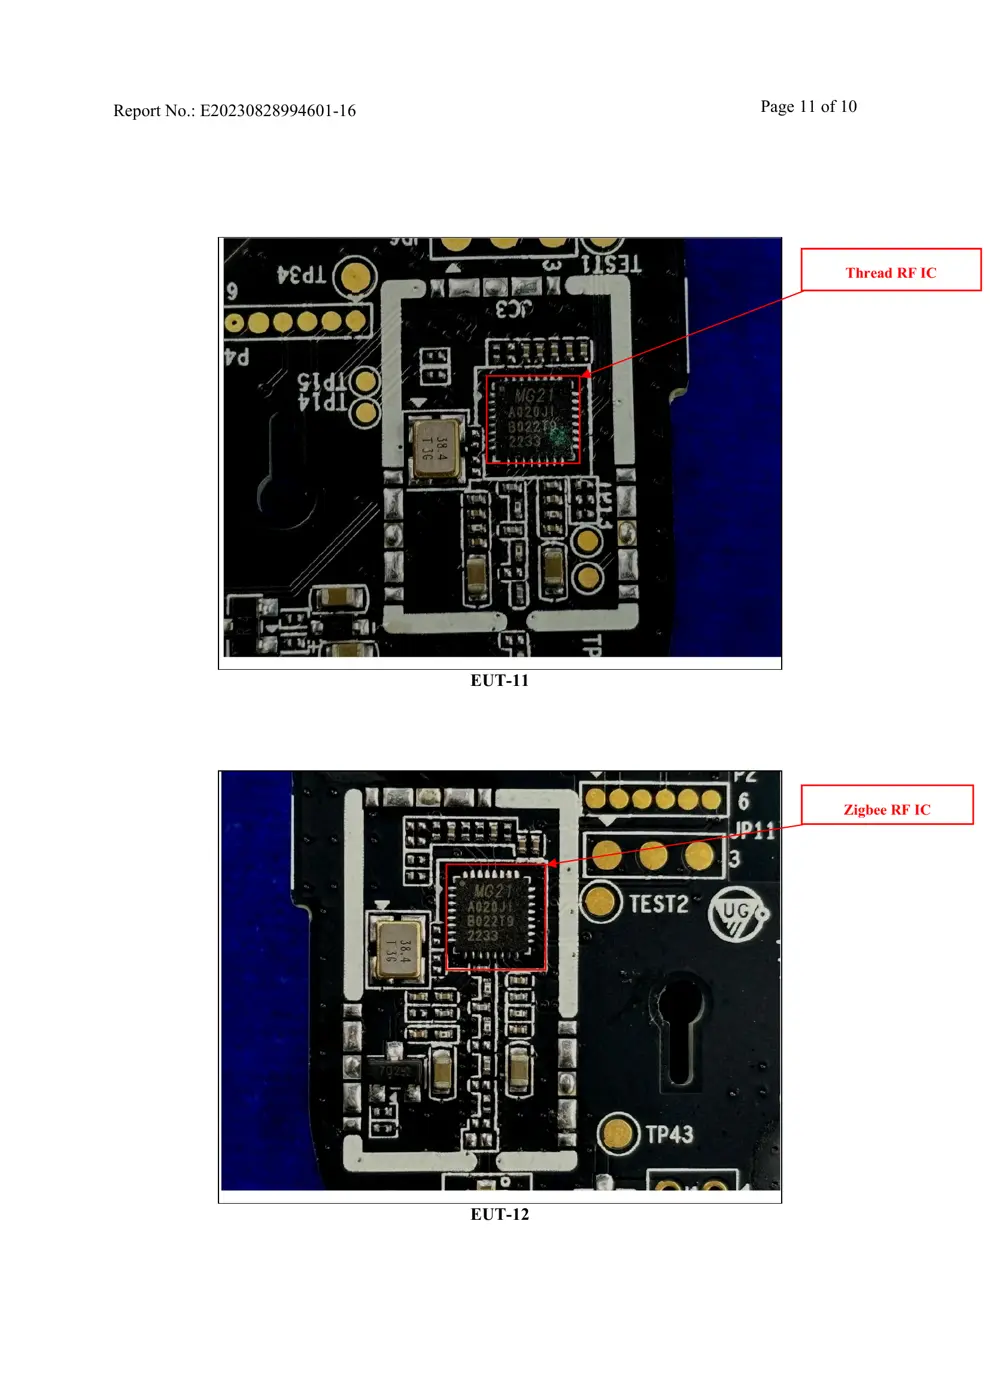
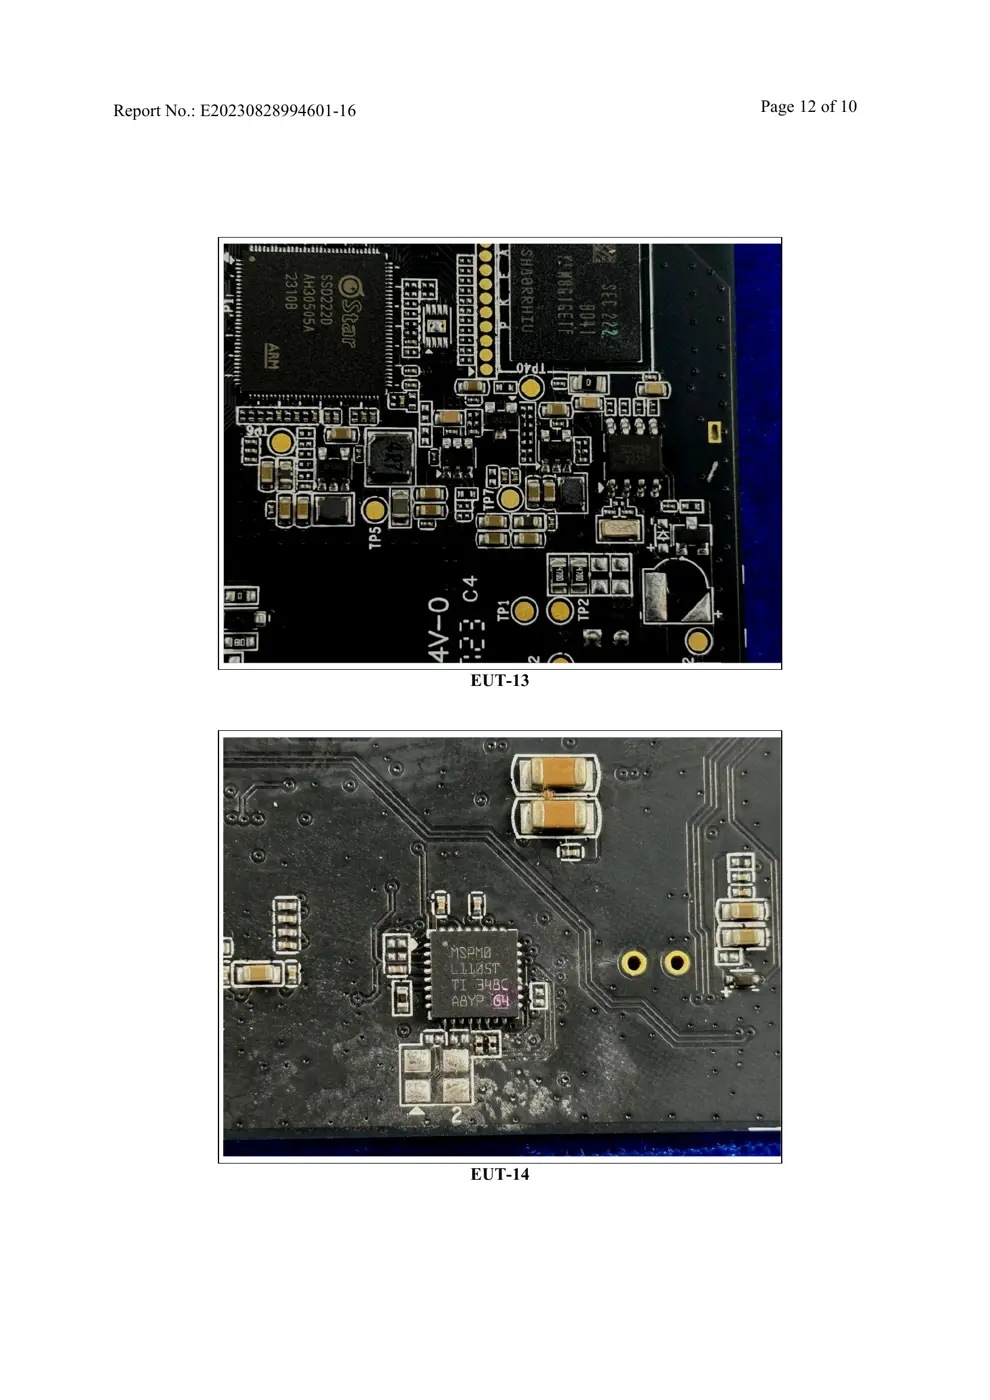
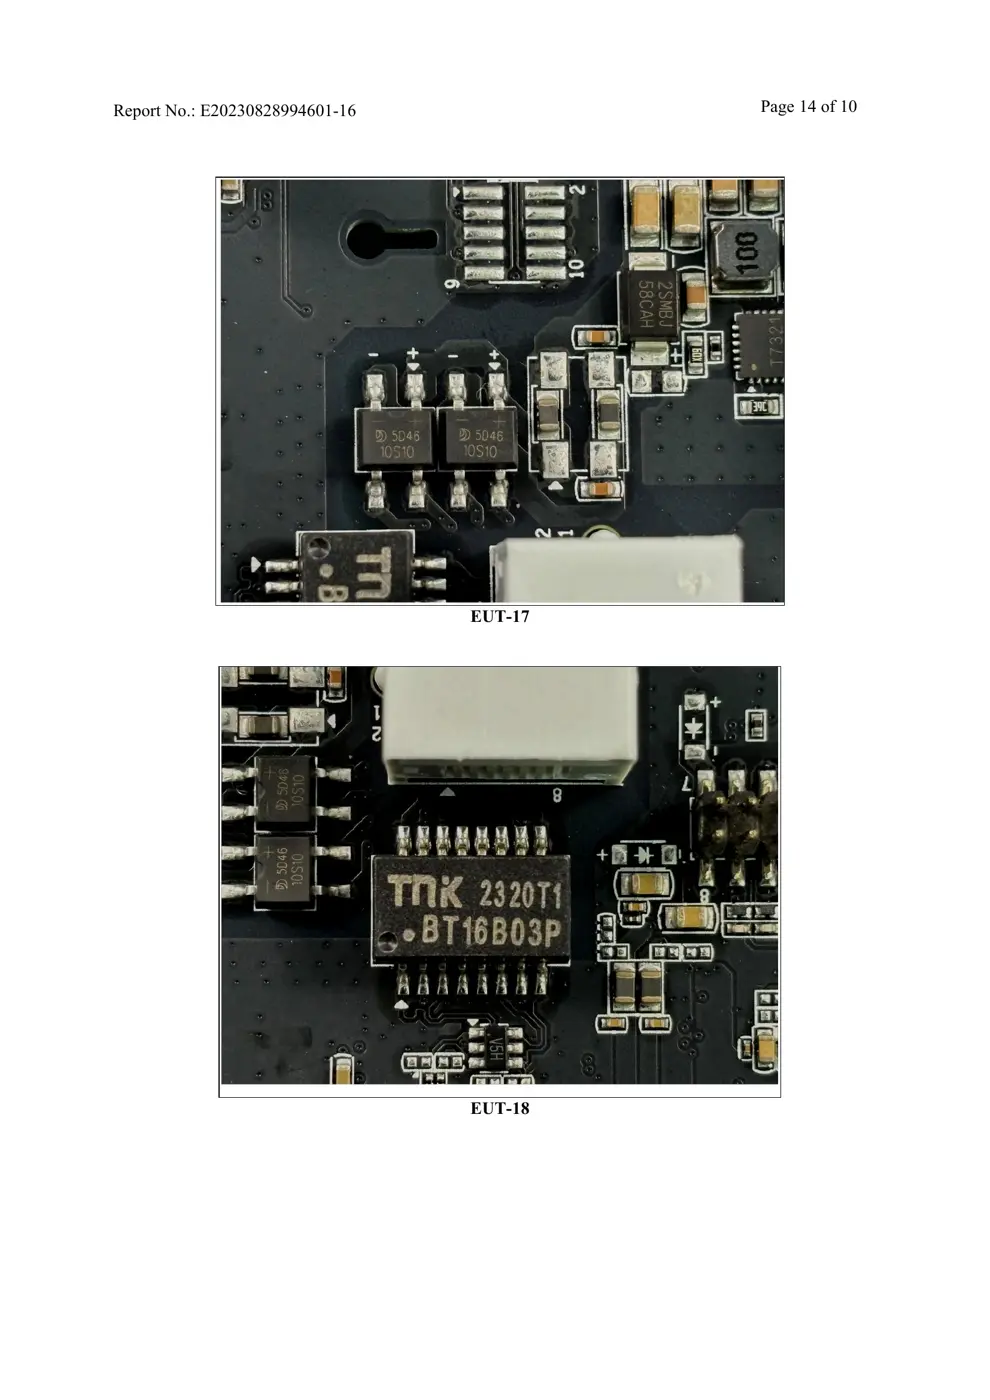
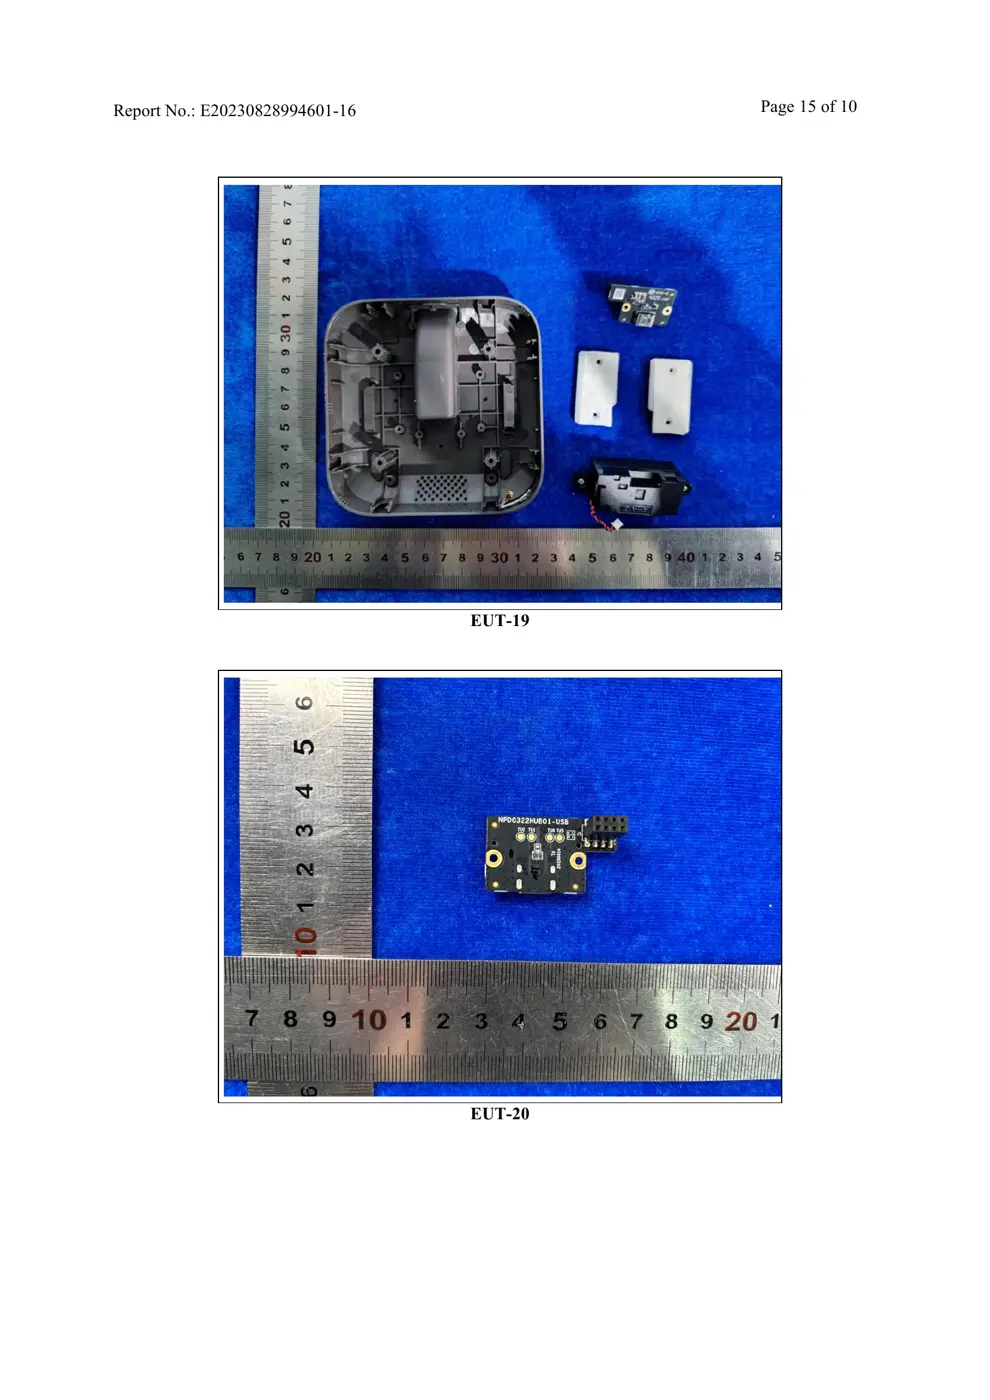
Internal Photos
Teardown photos showing the PCB and components:

Verdict
The HMG01 is a Zigbee device from the Aqara Zigbee ecosystem.
📄 Click to view full text manual (SEO)
Device Binding & Initialization
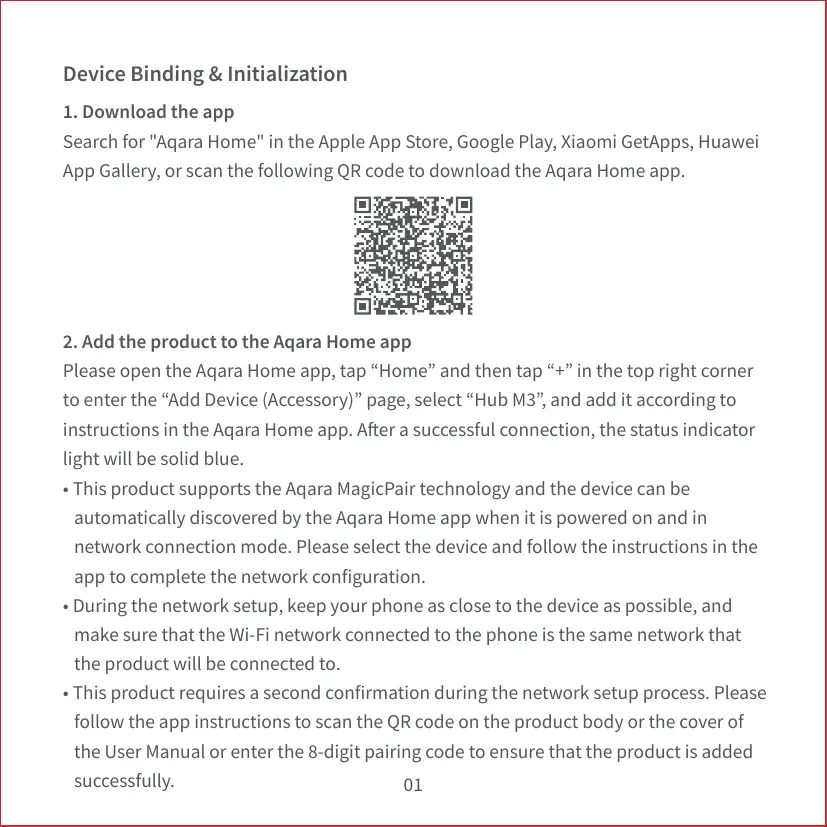
1. Download the app
2. Add the product to the Aqara Home app
Search for "Aqara Home" in the Apple App Store, Google Play, Xiaomi GetApps, Huawei
App Gallery, or scan the following QR code to download the Aqara Home app.
Please open the Aqara Home app, tap “Home” and then tap “+” in the top right corner
to enter the “Add Device (Accessory)” page, select “Hub M3” , and add it according to
instructions in the Aqara Home app. After a successful connection, the status indicator
light will be solid blue.
• This product supports the Aqara MagicPair technology and the device can be
automatically discovered by the Aqara Home app when it is powered on and in
network connection mode. Please select the device and follow the instructions in the
app to complete the network configuration.
• During the network setup, keep your phone as close to the device as possible, and
make sure that the Wi-Fi network connected to the phone is the same network that
the product will be connected to.
• This product requires a second confirmation during the network setup process. Please
follow the app instructions to scan the QR code on the product body or the cover of
the User Manual or enter the 8-digit pairing code to ensure that the product is added
successfully. 01
Common reasons for binding failure:
1. The Wi-Fi name or password contains special characters that are not supported by
the device, resulting in failure to connect to the router. Please change it to a
commonly used character and try again.
2. Check if your router has enabled Wi-Fi anti-leeching settings, preventing the device
from connecting to the network properly.
3. Check if your router has enabled AP isolation, preventing your phone from
discovering the device within the local network.
1. Prompt "Unable to add accessory" . Repeated connection failures have caused error
information in the iOS cache to be unresolved. Please restart the iOS device (iPhone
or iPad) and reset the repeater and try again.
2. Prompt "Accessory added" . Please restart the iOS device and reset the repeater, then
manually enter the HomeKit setup code to add the doorbell.
3. Prompt "Accessory not found" . Please reset the repeater, wait for 3 mins, and add it
again by manually entering the HomeKit setup code.
Connecting to HomeKit
Common HomeKit addition failure guidelines are as follows:
Open the Apple "Home" app, click "+" in the upper right corner to enter the Add
Accessories page, scan or manually input the HomeKit setup code (HomeKit QR code)
on the homepage of the User Manual, and bind the device to HomeKit.
Note: Please keep the QR code on the front page of the User Manual in a safe place. If
the addition fails, please press and hold the product function button for 10 s to reset
the network, and then add it again.
02
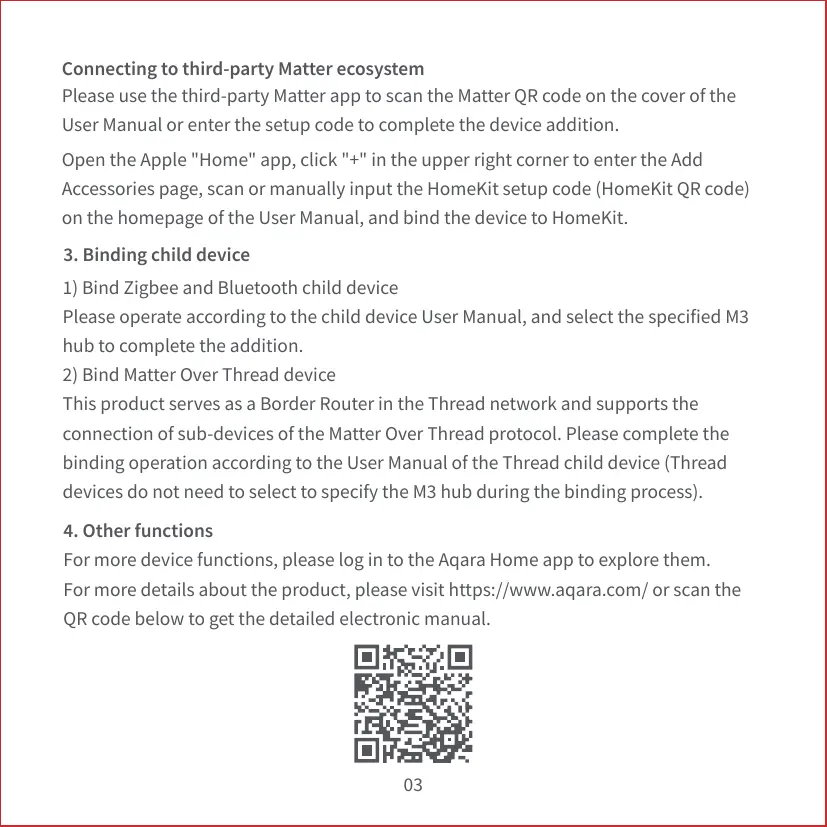
3. Binding child device
1) Bind Zigbee and Bluetooth child device
Please operate according to the child device User Manual, and select the specified M3...